One of the most gratifying things you can do is have a backyard garden in your yard. When you get a bit filthy, you can find that it rewards you with pleasant surprises, such as fragrant flowers, fresh fruits for your smoothie, or fresh leafy greens for a nutritious bowl of salad. Beginning your gardening experience might be challenging if you do not already have a backyard garden, but it does not have to be.
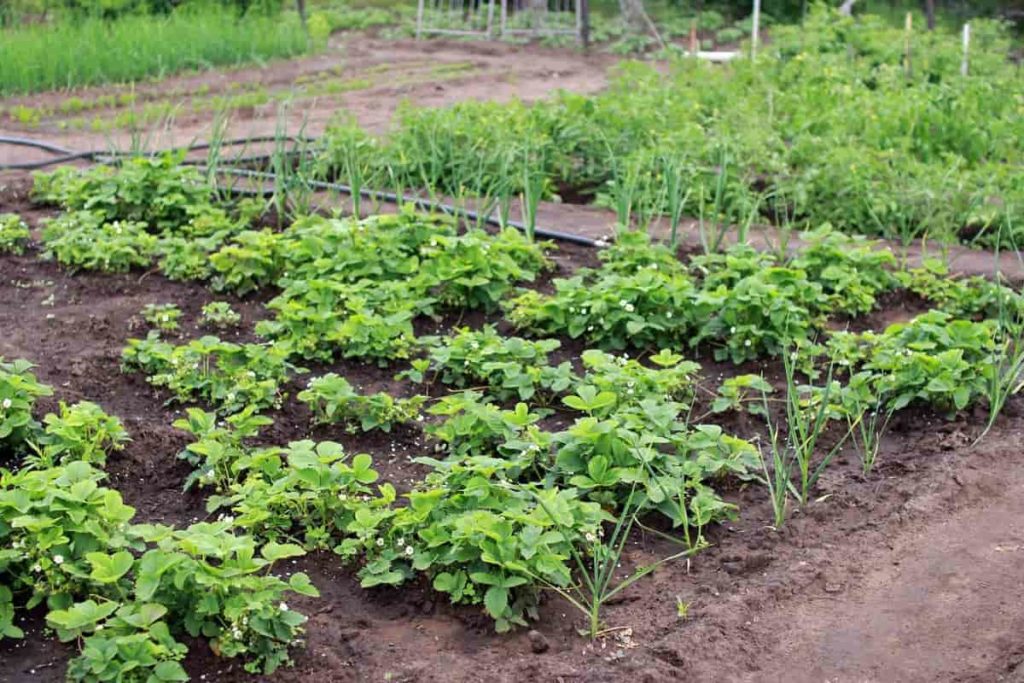
If you do not have a backyard garden, you can still enjoy the benefits of growth. In this post, we have analyzed the undertaking of growing a garden in your backyard into more doable phases. Below we will discuss how to start a backyard garden from scratch for beginners, backyard gardening at home, and a detailed step-by-step guide to growing your own backyard.
How to start a backyard garden from scratch: A step-by-step guide to starting your own backyard garden from scratch
Choose your plants for your backyard garden
If you had a backyard garden, what would it look like? What kind of garden do you want to have? If you want to grow plants and herbs, focus on those that can be used in your kitchen and dining area. Choose between annuals, which bloom for most of the summer but must be replaced each spring, and perennials, which bloom for just a portion of the summer but return year after year.
In any scenario, it’s critical to be familiar with the local climate and weather. Vegetables, herbs, and flowers can all be combined, but bear in mind that each will need a different level of care.
Choose the right location in your backyard
Choosing a location with a lot of light and shade throughout the day is best. Most plants, particularly those that produce fruit, thrive in full light for six to eight hours daily. Partial shadow can be tolerated by leafy and root crops. Planting gardens beneath or near trees or huge shrubs is a bad idea since the roots of these plants deprive the plants of nutrients and water.
The small, shady area between buildings and walls is not ideal for growing plants. The ideal soil is loose, rich, flat, and well-drained. Avoid using heavy clays and sandy soils if at all feasible. Weeds must be excavated and removed if found. Avoid locations where alkali salts have formed a crust. Synthetic soil can be used in raised beds or containers if suitable soil is unavailable.
In case you missed it: How to Start Organic Backyard Gardening: A Step-by-Step Guide for Beginners
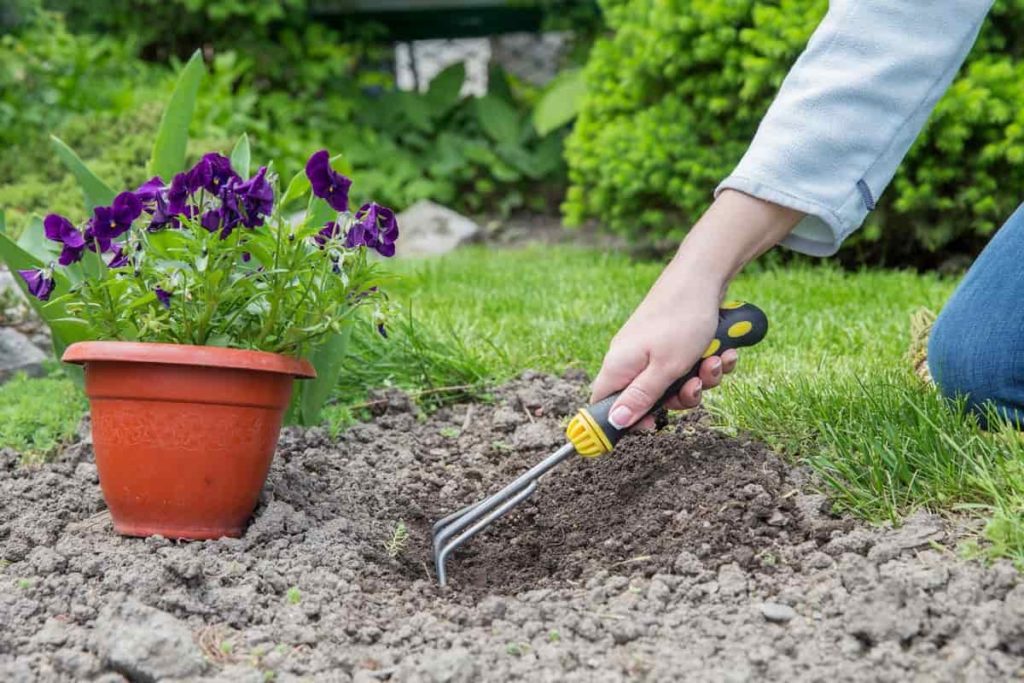
Container gardening can be used in areas when space is limited. Watering requires access to a reliable water source. Depending on your elevation, various microclimates can be found across the site—select areas of your land most suited to warm or cold plants.
Prepare the soil in the selected location
Plants rely on soil for nutrients and water. Plants can’t thrive in soil that’s too dry or compact or becomes water-soaked and sticky when it’s moist. Prepare and nurture the soil while it is dry or slightly wet so that organic matter and fertilizers can be mixed before planting. Organic matter helps the soil’s ability to retain nutrients and water, as well as its ability to drain and aerate.
Typical organic ingredients include well-rotted manure, compost, and leaf mulch. Manure that has been composted is convenient to utilize and contains few weed seeds. Layer 2 to 3 inches of organic debris over the garden area before planting. Mix it into the top ten to twelve inches of the soil. A thorough soaking of the soil can remove salts in the root zone. Apply chicken manure at a reduced rate if it is utilized.
Before planting, a fertilizer comprising nitrogen and phosphorus should be added. Garden plants will benefit from the addition of these fertilizers. Although soil fertility varies, a typical application of 16-20-0 (ammonium phosphate) would be 1 to 2 pounds (1 to 2 cups) per 100 feet. The soil was uniformly covered with two. If water drainage is a problem, 3 to 5 pounds of soil sulfur per 100 square feet can be used.
Before planting, these components should be added to the top 10 to 12 inches of soil before planting. Please don’t disturb the soil while it’s too moist when preparing the seedbed. Wait until it’s dry enough to crumble in your hands before you eat it. Rake the area to even it out. Furrow irrigation necessitates the use of elevated beds. After seedlings sprout or are transplanted, cover the planted area with a three-inch layer of organic mulch.
In case you missed it: How to Grow Papaya from Seeds at Home: In Containers, Indoors, Backyard, and On the Terrace
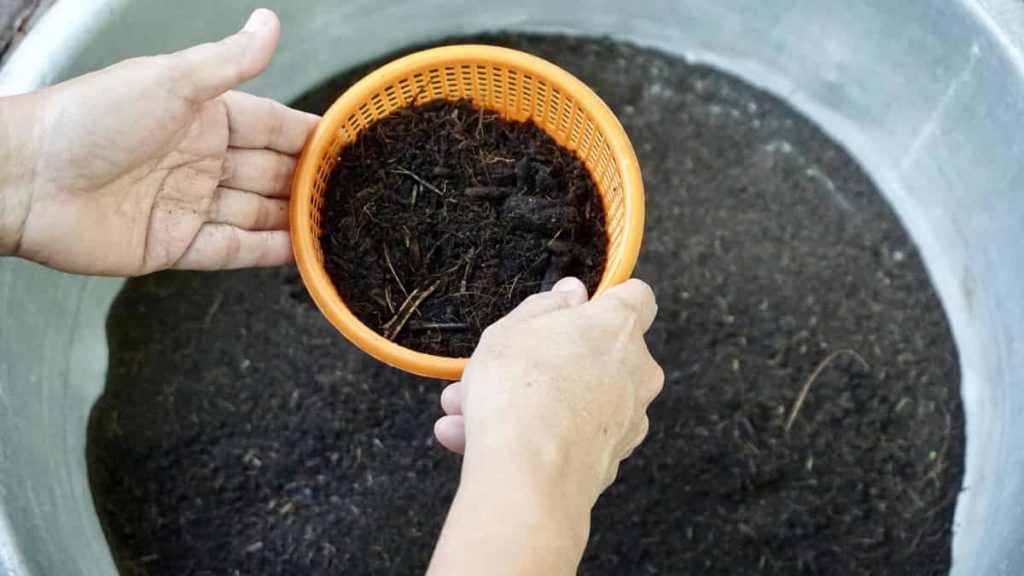
Artificial soil can grow crops in tight quarters or areas where decent soil isn’t readily accessible. Raised beds filled with 12 garden soil and 12 artificial soil mix, coarse sand, perlite, or vermiculite are options if the soil doesn’t drain effectively. Fertilizer can be required throughout the growing season. The term “side-dressing” refers to applying fertilizer bands, generally only nitrogen.
Fertilize at a rate of 12 pounds per 100 feet of row with 21-0-0 or an equivalent fertilizer, and do so three inches deep and roughly four inches away from the plants’ sides. Alternatively, water in nitrogen fertilizer is sprinkled 4 inches from the plant’s base on the soil surface. The plant’s roots can be damaged if too much fertilizer is applied too near.
Start planting your backyard garden
Planting can be done via seeds or transplants.
From seeds
Make the garden more aesthetically pleasing and facilitate its growth, bug management, and harvesting by dividing it into straight rows. To mark the start and finish of a garden row, drive two stakes into the ground and twine between them. You may create shallow furrows appropriate for tiny seeds by dragging the hoe’s handle along the line indicated by the string. Utilize the hoe blade’s corner to create more profound furrows. Maintain the appropriate distance between rows.
Maintain the correct distance between seeds in each row. The number of seeds that should be sown per foot or hill is usually indicated on seed packets or in other reference sources. Spread the seeds out in an even manner. When working with very few seeds, mixing them with crushed dry soil or sand might be helpful, and then disseminating the mixture. Spread the seeds over a single sheet of toilet paper laid on top of the soil to help space.
Observing the seed spacing with the contrast provided by the white toilet paper will be easier. While you are doing it, cover the seed with paper as well. Place seeds at the appropriate depth. The normal planting depth for a seed is four times its diameter. A maximum of one-fourth to one-half inch of soil should be used to cover tiny seeds such as carrots and lettuce.
The planting depth for big seeds such as maize, beans, and peas should be between 1 and 2 inches. It is possible to sow seeds a little bit deeper in sandy soil. The seeds should be covered with soil, and the soil should be pressed down lightly over them using either your hand or the back of a hoe. This protects the seeds from being washed away by precipitation or water from sprinklers.
From transplants
When initially brought outdoors, transplants need to have their hardiness increased. Before planting them, you should wait a few days and gradually expose them to the light, chilly evenings, and wind. It is best to do the transplantation on an overcast day or evening. Take special caution while working with plants. Before transplanting, give the plants and soil about an hour’s worth of thorough watering in the containers.
When removing plants from their pots, do it with extreme caution and avoid upsetting the roots as much as possible. Keep the “soil ball” around the roots. When the roots are not in the soil, you must always keep them wet. Before planting, loosen the roots by gently teasing them apart if they are “pot bound.” Dig a sufficiently big hole so the transplanted plant will be put deeper in the ground than it was while growing in its original container.
In case you missed it: Backyard Vegetable Farming, How To Start, Ideas
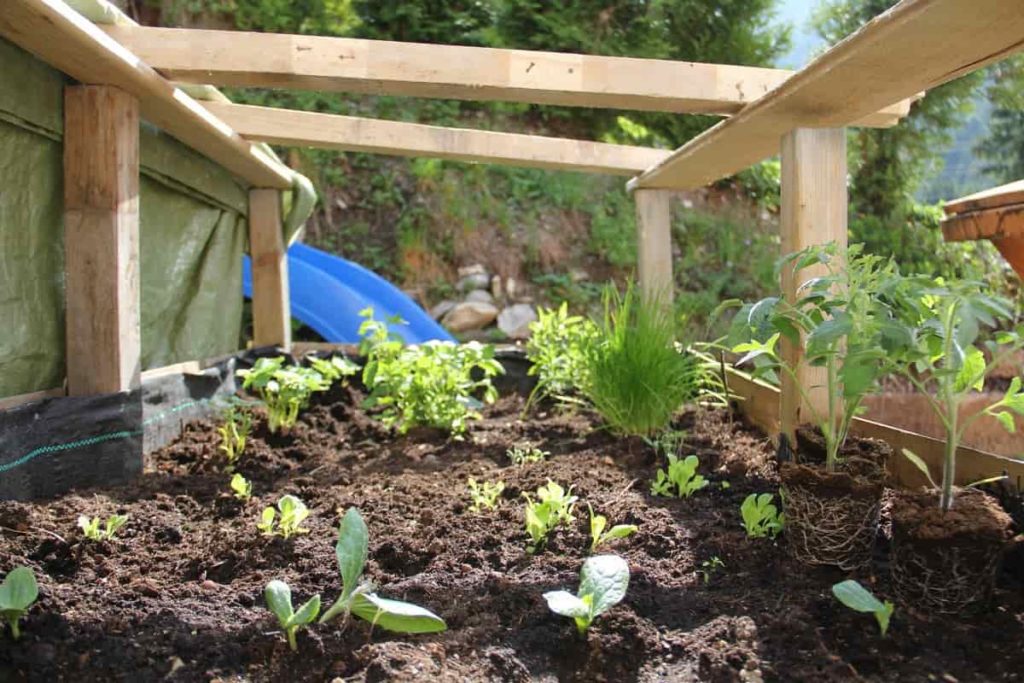
Use a starter solution when you want your plants to get off to a speedier start. A soluble fertilizer heavy in phosphorous, such as a combination of 10-52-17 or 10-50-10, is known as a starter fertilizer. Mix the water and fertilizer according to the package directions, then apply it to the plants. Once the plants have been positioned in the soil, pour about one cup of the solution around the perimeter of each plant’s root system.
Add sufficient water to the peat or fiber pots before softening them in the soil. To avoid water from wicking up the sides of the pot, cut off any surplus material so that it is below the level of the garden soil. Take off any bands made of plastic or wood around the roots. The roots should be covered with soil, and the soil surrounding the plant should be compacted. If it is essential, shield plants from the sun, wind, and cold for a few days.
Water your backyard garden thoroughly
Watering all garden crops is necessary where rainfall is scarce and unpredictable. During the growth season, water the plant’s root zone enough to keep the soil moist but not soggy. Variations in soil moisture that are too large have an unfavorable effect on plant development and quality. Water must be applied regularly to keep the soil from drying up. Observing the plant and soil might help determine how much water is needed.
Make sure the plant doesn’t get stressed, wilted, or slow-growing. On the other side, excessive watering may lead to inadequate root development, particularly on heavy soils. It’s time to rinse if the soil crumbles when squeezed. For sprouting, a moist environment is required all around the seed. Keeping the soil wet and preventing crusting at the surface will need frequent watering. Evaporation can be reduced by three inches of organic mulch. To avoid damaging the seedlings, do not put mulch on them.
The watering duration should be extended as the plant develops to facilitate deeper penetration of the root zone. A spade, stick, trowel, or iron rod may determine the moisture level. A shallow root system means most plants only need water from the top 12 to 24 inches of soil. A variety of factors influence the frequency of watering. A huge plant requires more water than a small one.
In case you missed it: Backyard Turkey Farming In India, Breeds, and Feed
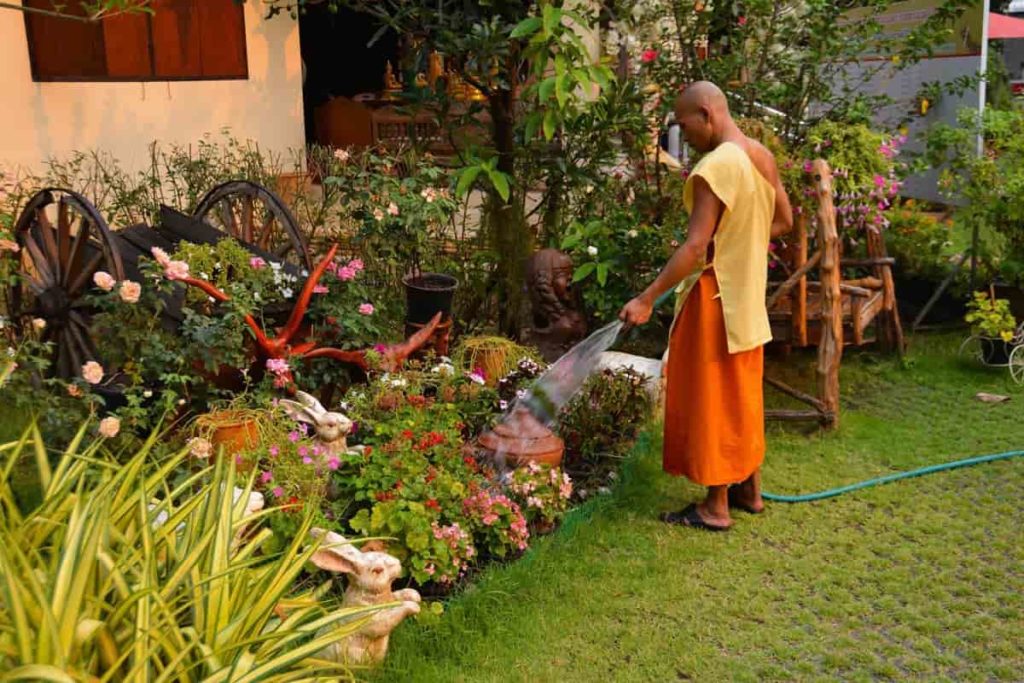
Plants need more frequent watering during hot weather than in the cooler months. When employing flood or sprinkler watering, a good soaking of the soil every five to seven days during warm weather should produce adequate results with established plants. A good soil soaking should occur in a typical circumstance during this time of year. Using a drip watering system necessitates more regular watering.
The most prevalent irrigation techniques are furrows, sprinklers, soaker hoses, and drip watering. Water is delivered to the rows of plants via the furrow technique. The root zone should be thoroughly saturated with water before the water is removed from the furrow. If the water in your garden sprinklers is salty, they should not be utilized. Soaker hoses and drip emitter systems use a hose next to the row of crops to provide water.
Furrow irrigation is traditionally carried out on a raised bed with two rows, while the other techniques typically use a flatbed with no furrows. If you water the leaves, do it early so the plants can dry. This can result in reduced diseases. The spread of diseases is aided by not watering at night.
Weeds can be reduced with the use of drip watering. Watering is more critical for plants grown in containers since the roots are packed, and the root medium is hotter than if grown in the ground. Do not over-water the soil. Drainage and ventilation can be achieved by drilling holes in the container’s sides or bottom.
Fertilize your backyard garden
Fertilizer knowledge and application techniques are as critical to healthy plant development for all gardeners as are an understanding of a plant’s hardiness zones. What follows is a short review of why, what, how, and when to use these multivitamins to produce healthy plants. All mixed fertilizers include three primary chemical components: As a key ingredient in photosynthesis, nitrogen encourages healthy leaf development by increasing chlorophyll production.
Roots, stems, blooms, and fruits all benefit from phosphorus. Potassium is an essential nutrient for plants since it aids digestion and food production. Granular fertilizers have the disadvantage of providing a plant with nourishment more slowly, but they have the benefit of lasting longer. Broadcast application is an excellent way to distribute granular fertilizer to lawns or new beds before planting since it covers a big area well.
Hand-rotary or drop spreaders can be used for the broadcast approach. Hand-applied granular fertilizers are used in the top-dress treatment method to feed individual shrubs and perennials. Apply the fertilizer to the plant’s drip line and the soil surrounding the plant’s base. You can use a strip of fertilizer parallel to the rows of veggies.
Water-soluble fertilizers work more quickly than those not, but they need to be applied more regularly. The base application method can be used to apply water-soluble fertilizers. This strategy is primarily used to feed your plants as you water them. Follow the mixing instructions for water-soluble fertilizers, then moisten the soil near the plant’s base. Plants in pots and vegetables benefit greatly from this food source.
Foliar application is a strategy that is similar to the base application. However, water is applied to leaves instead of soil. This is a helpful tool when plants need to absorb trace elements, such as iron. Nitrogen, phosphorous, and potassium (N-P-K) are the three main elements that all plants need, and the quantities of each are specified as figures on the box. This signifies that each chemical element—N, P, and K—contributes 20% of the total formula weight in a general-purpose fertilizer with the labeling “20-20-20.”
Variations in the percentages of each ingredient are available to meet the demands of various fertilizer applications. To increase flower output, you should use a fertilizer with a high concentration of flower-forming phosphorus, such as 15-30-15. A high-nitrogen mix, such as 25-6-4, can help your grass become green. Plants such as roses and bulbs might benefit from specialized nutrients.
Ensure that the N-P-K ratio on the label is checked since a generic fertilizer may have the same nutritional percentages but cost less than the specific fertilizer you are looking for. Organic and inorganic fertilizers are widely accessible nowadays. Organic gardeners have a few alternatives, but the bulk is commercially made inorganic fertilizers. Many people still depend on tried-and-true methods like animal manure and compost, which are natural and helpful in developing soil but deficient in nutrients.
Bonemeal with a high phosphorus content is the best organic for flower and fruit growth, while blood meal is an excellent nitrogen source. Gardeners can choose between granular and water-soluble fertilizers. Each kind has various advantages and disadvantages. Unlike liquid fertilizers, granular fertilizers have a longer shelf life. It takes longer for granular fertilizers to leach from the soil than water-soluble ones because water must first break them down.
Water-soluble fertilizers work quicker but are more transitory, necessitating more frequent applications than granular fertilizers. You can use any sort of fertilizer, but which one you select depends on how often you want to feed your plants and how much time you have to spare. Gardeners too busy (or lazy) to apply fertilizer more than once every six to nine months appreciate the convenience of time-release granular fertilizers.
However, one should follow certain basic principles while applying granular and water-soluble fertilizers. Do not apply fertilizer in windy or wet weather. This can result in fertilizer ineffectiveness. Keep the fertilizer away from the foliage of your plants when applying a granular fertilizer. To avoid plant burn, never use granular fertilizer on dry soil and always follow up with plenty of water.
The timing of fertilization is just as crucial as the kind of fertilizer you use. There’s no purpose in fertilizing if you don’t apply the fertilizer at the right time for the plant. If you use a balanced granular fertilizer in the early spring, most perennials, annuals, veggies, and grass will repay you generously.
However, you should avoid fertilizing before the spring rains since the nutrients will leak out of the soil and waste your money. A high-phosphorus, water-soluble fertilizer is ideal for feeding annuals three to four times throughout the growing season, while lawns benefit from a second granular treatment in the autumn.
Manage pests and diseases in your garden
Being well-prepared for the challenges the garden may provide is the best way to deal with such challenges. Learn about the frequent pests and diseases in the region, as well as the measures that can be used to manage them. Choose disease-resistant cultivars wherever it’s practicable to do so.
If the measures just described are carried out, the soil issues that have been occurring can be addressed, but crop damage caused by the salt can occur if correct management has not been done. If you want to maintain the interest of your garden, you shouldn’t plant the same kinds of plants every year in your backyard garden. This gardening practice is referred to as crop rotation.
Excessive temperatures and insufficient watering can sometimes lead to issues. Additionally, when temperatures rise, there will be an increase in the number of insect issues that arise; make sure you are prepared for them. Read as many books and articles as possible, and talk to as many experts as possible. The most excellent way to learn how to solve situations like this is via experience. If you keep a gardening journal and record the cures you use, you will be prepared for future occurrences of those problems.
In case you missed it: Backyard Livestock Farming – Profitable Guide
Conclusion
If you give some thought to these suggestions, you should have a flourishing garden in no time. Give the soil the correct care since it serves as the foundation from which everything else will grow. Always watch for unwanted weeds and insects, and be sure to choose your plants with care. Although it is a challenging assignment, you can do it.
- Economical Aquaculture: A Guide to Low-Budget Fish Farming
- 15 Common Planting Errors That Can Doom Your Fruit Trees
- How to Make Houseplants Bushy: Effective Tips and Ideas
- Innovative Strategies for Boosting Coconut Pollination and Yield
- Pollination Strategies for Maximum Pumpkin Yield
- The Complete Guide to Chicken Fattening: Strategies for Maximum Growth
- Natural Solutions for Tulip Problems: 100% Effective Remedies for Leaf and Bulb-Related Issues
- Revolutionizing Citrus Preservation: Towards a Healthier, Greener Future
- Natural Solutions for Peony Leaf and Flower Problems: 100% Effective Remedies
- Maximizing Profits with Avocado Contract Farming in India: A Comprehensive Guide
- Natural Solutions for Hydrangea Problems: 100% Effective Remedies for Leaf and Flowers
- The Ultimate Guide to Choosing the Perfect Foliage Friend: Bringing Life Indoors
- From Sunlight to Sustainability: 15 Ways to Use Solar Technology in Agriculture
- The Ultimate Guide to Dong Tao Chicken: Exploring from History to Raising
- The Eco-Friendly Makeover: How to Convert Your Unused Swimming Pool into a Fish Pond
- Mastering the Art of Delaware Chicken Farming: Essentials for Healthy Backyard Flocks
- 20 Best Homemade Fertilizers for Money Plant: DIY Recipes and Application Methods
- How to Craft a Comprehensive Free-Range Chicken Farming Business Plan
- Brighten Your Flock: Raising Easter Egger Chickens for Beauty and Bounty
- How to Optimize Your Poultry Egg Farm Business Plan with These Strategies
- Subsidy for Spirulina Cultivation: How Indian Government Schemes Encouraging Spirulina Farmers
- Ultimate Guide to Raising Dominique Chickens: Breeding, Feeding, Egg-Production, and Care
- Mastering the Art of Raising Jersey Giant Chickens: Care, Feeding, and More
- Ultimate Guide to Raising Legbar Chickens: Breeding, Farming Practices, Diet, Egg-Production
- How to Raise Welsummer Chickens: A Comprehensive Guide for Beginners
- How to Protect Indoor Plants in Winter: A Comprehensive Guide
- Ultimate Guide to Grow Bag Gardening: Tips, Tricks, and Planting Ideas for Urban Gardeners
- Guide to Lotus Cultivation: How to Propagate, Plant, Grow, Care, Cost, and Profit
- Agriculture Drone Subsidy Scheme: Government Kisan Subsidy, License, and How to Apply Online
- Ultimate Guide to Raising Araucana Chickens: Breed Profile, Farming Economics, Diet, and Care
- Bringing Hydroponics to Classroom: Importance, Benefits of Learning for School Students
- Ultimate Guide to Raising Polish Chickens: Breed Profile, Farming Economics, Diet, and Care
- Ultimate Guide to Raising Australorp Chickens: Profile, Farming Economics, Egg Production, Diet, and Care
- Silkie Chicken Farming: Raising Practices, Varieties, Egg Production, Diet, and Care
- Sussex Chicken Farming: Raising Practices, Varieties, Egg Production, Diet and Care
- Homemade Feed Formulations for Livestock: Discover Cost-effective Starter to Finisher Feed Recipes