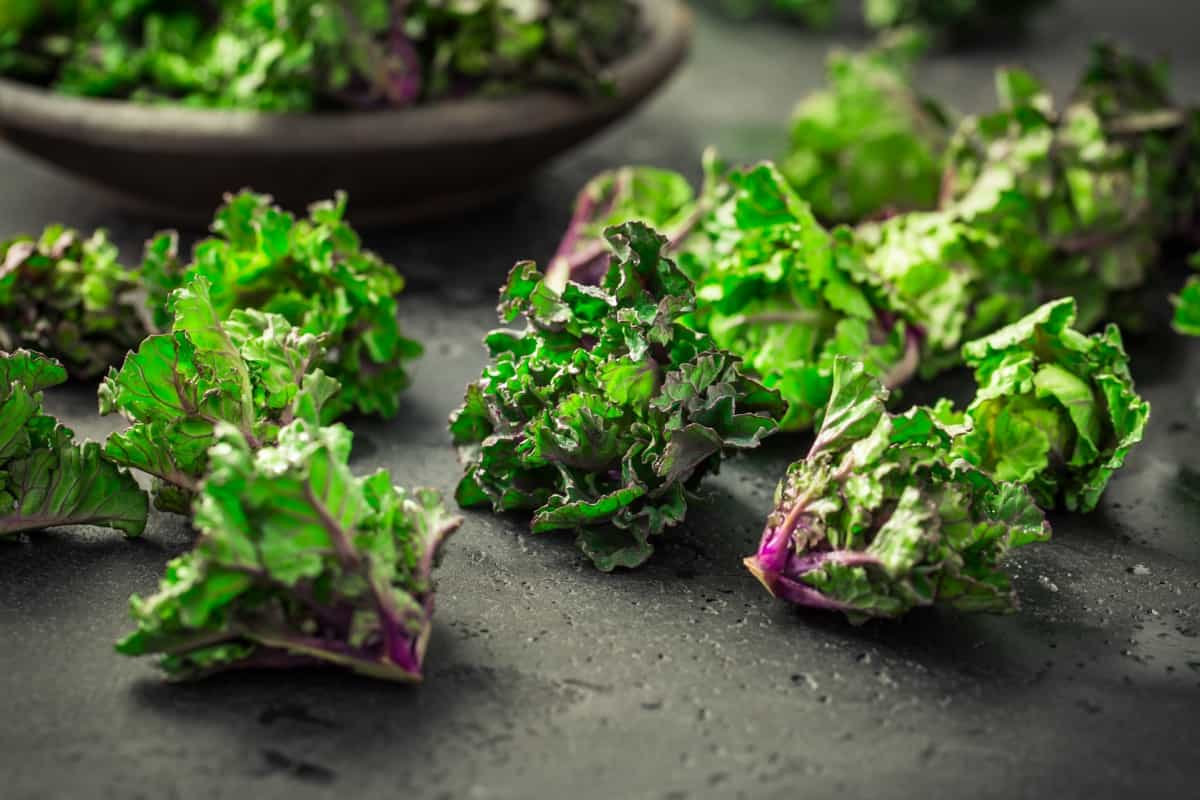
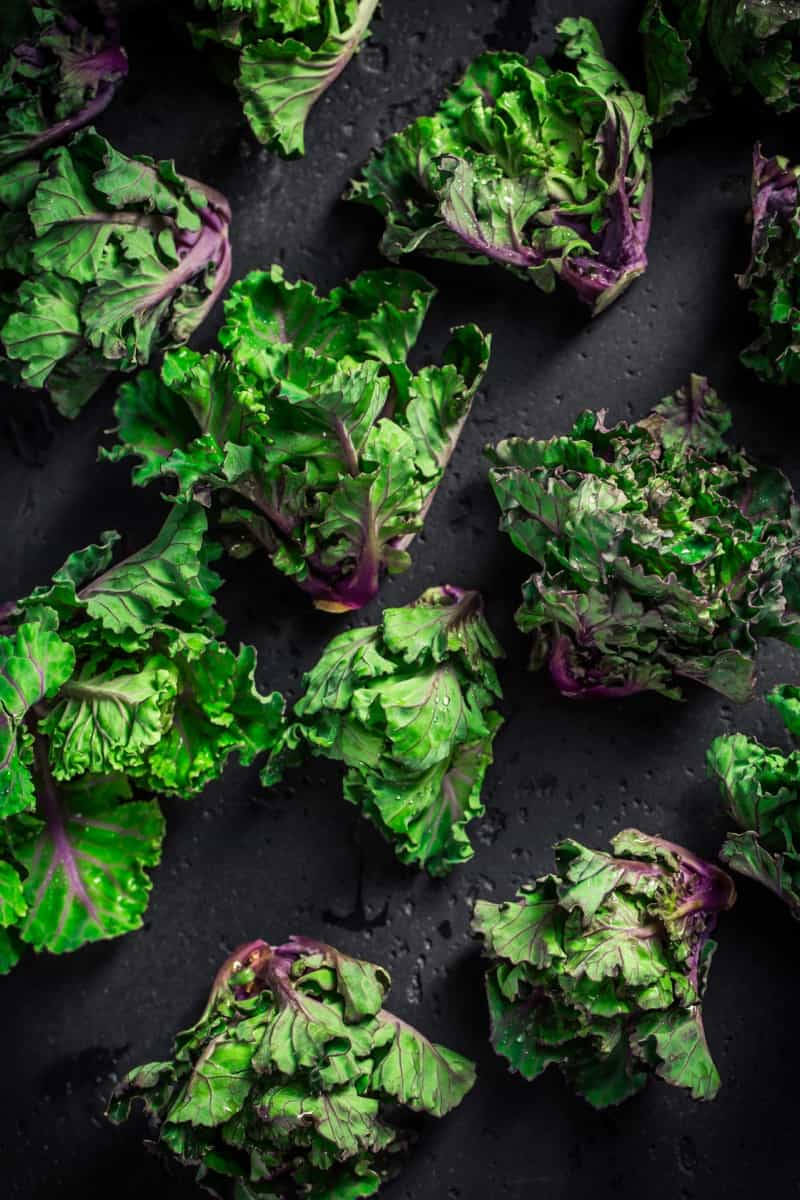
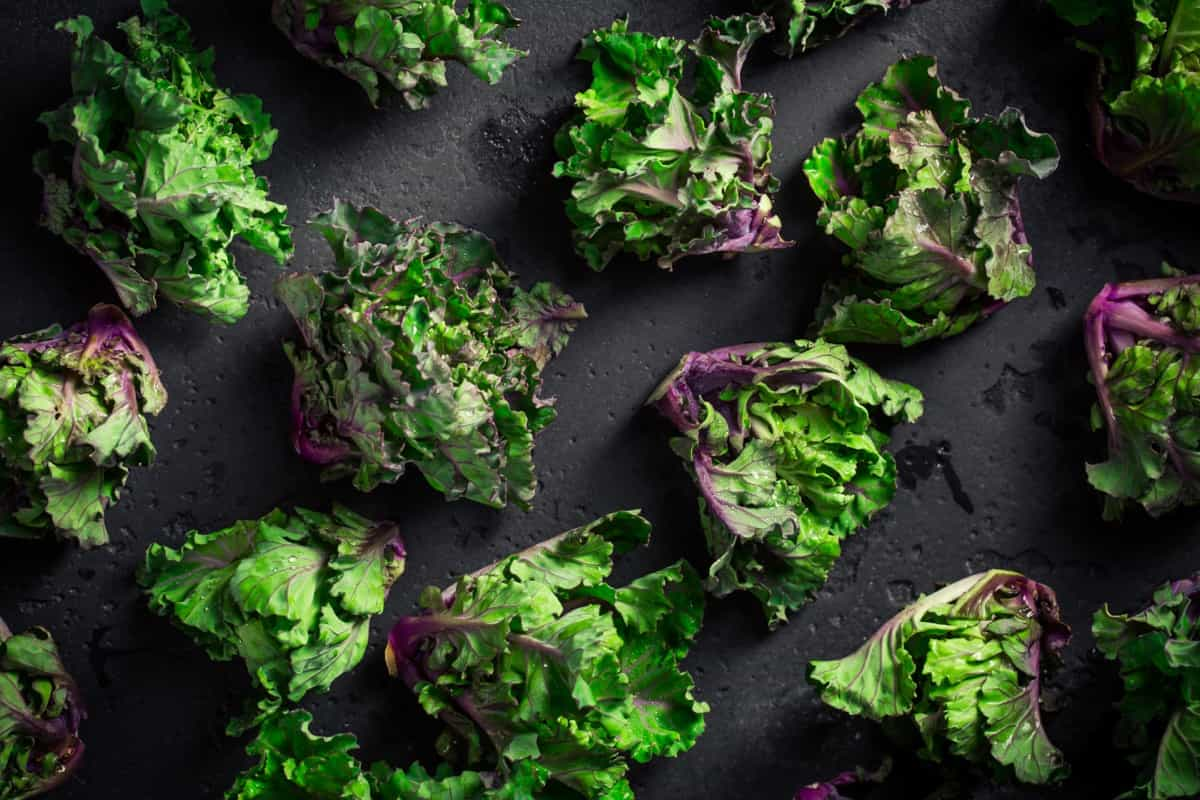
This exciting new vegetable is a cross between Brussels sprouts and kale, making it loaded with vitamins and antioxidants. The plant resembles small cabbage heads with curly, tightly packed leaves. The stems can range from purple to green, making them an attractive addition to any garden or farm.
How to Start Kalettes Farming
What are Kalettes?
Kalettes, also known as Lollipop Kale, is a relatively new vegetable gaining popularity among farmers and chefs. They were created in the 1990s by cross-breeding between Brussels sprouts and kale. This resulted in a unique vegetable with a sweet and nutty taste. Kalette farming also requires minimal maintenance as they are resistant to pests and diseases. Moreover, Kalettes need less space than traditional Brussels sprouts, making them suitable for urban farmers who don’t have much room.
Kalette is an exciting cross-breed between two popular vegetables that offer a unique taste experience for anyone willing to try it out. Its hardiness, ease of cultivation and minimal maintenance make it an ideal crop for beginners and experienced growers. Kalettes have become popular for their unique taste, beautiful appearance and nutritional value. Kalette is a relatively new vegetable in the market.
Due to its uniqueness, there is a high demand for it. Farming Kalettes allows you to tap into this emerging market and profit from your harvests. Kalettes are easier to grow than cabbage family members like Brussels sprouts or kale. They require less maintenance and attention while still producing bountiful yields.
Soil Requirement for Kalettes Farming
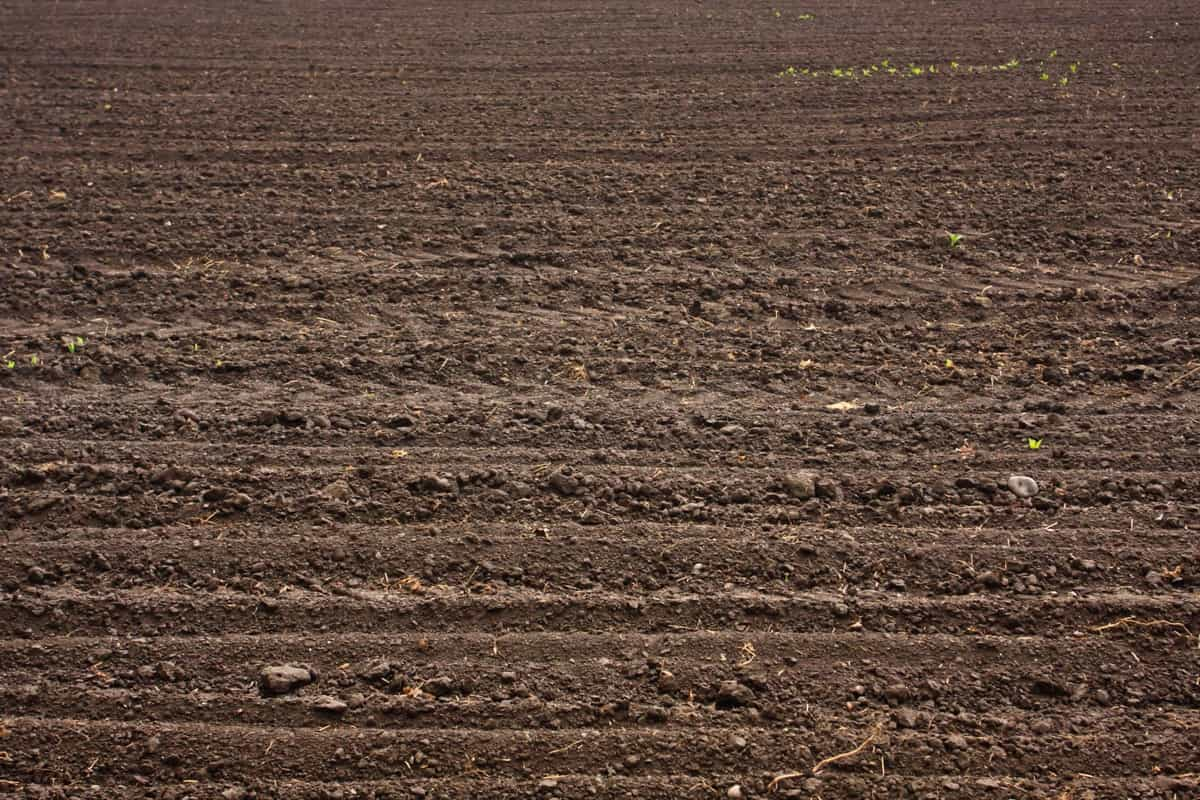
Kalettes farming is an excellent venture for any farmer looking to diversify their crops. With the right plant growing conditions and care, you can reap great rewards from this unique vegetable that offers a tasty combination of kale and Brussels sprouts. Remember that soil quality plays a crucial role in the growth of your Kalettes, so ensure that you aim for a pH between 6.5-7.5 when preparing your planting location.
In case you missed it: Importance of Soil Moisture Sensors in Agriculture: Advantages and Working Principle
Varieties of Kalettes
- Autumn Star
- Mistletoe, and
- Snow Drop
How to Start Farming Kalettes?
- Firstly, ensure that your soil has a pH range of 6.5-7.5, which is optimal for growing Kalettes.
- Next, plant the seeds indoors and grow them for 4 to 6 weeks in a greenhouse or on a sunny windowsill before transplanting them out.
- When it’s time to transplant the seedlings outside, ensure the temperature is consistently above freezing. Plant them two feet apart and frequently water them during their early growth stages. As they grow taller, tie them up with string or plant stakes to keep them upright and prevent toppling over due to strong winds.
- Water the Kalette plant regularly to keep the soil moist but not waterlogged. When seedlings emerge, thin them out so that each plant has enough space around it to grow properly. Be mindful of pests and diseases such as Downy mildew and cabbage worms, which can cause damage and reduce crop yield. Use natural pest control methods like beneficial insects or organic sprays instead of harsh chemicals.
- Kalettes require regular watering and fertilizing every few weeks with nitrogen-rich fertilizer throughout their growing season. Once they reach maturity after approximately three months from seed sowing date (depending on variety), harvest by clipping off each stem where it meets the main stalk – leaving small leaves behind for regrowth potential next year.
How Long Does It Take to Grow Kalettes?
There are mainly three varieties of Kalettes – “Autumn Star,” “Mistletoe,” and “Snow Drop.” Each type takes a different amount of time to mature. For instance, Autumn Star requires 110 days from seed to maturity, Mistletoe takes 124 days, and Snow Drop takes 138 days.
Kalettes Germination Process
The germination process for Kalettes typically takes between four to seven days. During this time, it is essential to keep the soil moist but not waterlogged. Overwatering can lead to seed rot and poor germination rates. To ensure successful germination, select high-quality seeds from a reputable source.
In case you missed it: How to Start Greenhouse Farming in Spain: Crops, 1 Acre Greenhouse Cost, Subsidy, and Loans
How to Care for Kalettes
- Choose the right location: Plant your Kalettes in an area with full sun for at least 6 hours daily.
- Prepare the soil: Make sure the soil is rich in organic matter and drains well.
- Watering: Ensure that the soil remains moist but not waterlogged. Overwatering the Kalette plant can lead to root rot, while underwatering can stunt growth.
- Mulching: Use mulch around plants to retain moisture in the soil and prevent weed growth. It also provides insulation against extreme temperatures. This will mainly help retain moisture and keep weeds down.
- Fertilizing: Provide regular feeding with a balanced fertilizer every two weeks during the growing season. Use a balanced fertilizer to the plant once a month during the growing season. Avoid using too much nitrogen to the plant, as this can cause leaf growth at the expense of flower development.
- Provide support if needed: If your plants get too tall and leggy, they may need support like stakes or trellises.
- Pruning: Remove yellow or damaged leaves as soon as they appear, as this helps promote new growth and prevents disease spread. Pruning helps improve air circulation around the base of each plant, thus reducing humidity levels and making it difficult for fungal spores to settle on leaves.
- Pest control: Check regularly for pests such as aphids or caterpillars, which can cause significant damage quickly if left unchecked.
Kalette Farming Tips
- Kalette farming may seem daunting to beginners. Kalettes require plenty of sunlight to grow. Therefore, make sure your farm location is in a sunny area or use artificial light if necessary.
- Ensure proper soil preparation before planting your Kalettes seeds. Kalettes need consistent watering throughout their growing stages; therefore, install an irrigation system or water them regularly by hand.
- Mulching can help retain moisture in hot weather and prevent weed growth which can choke young plants. Keep an eye on pests like flea beetles that love to munch on young brassicas like Kalettes.
- It’s important not to overwater because too much water may cause fungal diseases such as damping-off disease, which can kill off baby plants quickly.
- Pests and diseases can ruin your crop yield; hence it’s crucial to take preventive measures early on by using organic insecticides or companion planting techniques such as marigolds around your farm perimeter.
- Be careful not to plant your Kalettes too close together. Crowded plants can lead to poor air circulation and increase disease risk.
- It’s important to note that Kalette plants thrive best in full sun exposure but can also tolerate partial shade in hotter climates. To ensure optimal growth throughout their lifespan, provide enough water regularly without overwatering them.
- Harvest your Kalettes when they reach maturity levels, depending on the variety planted. Remove lower leaves and handle them gently while packing them for sale or consumption.
- When it comes to planting Kalettes, spacing is key. The individual seedlings need to be given enough room to grow and thrive. Experts recommend leaving around 18-24 inches of space between each plant.
- This space allows the Kalette plants to develop a strong root system and ample access to sunlight and nutrients. Crowding the plants can result in stunted growth or increased disease risk.
- It’s important to remember that while Kalettes are a hybrid vegetable, they still require similar growing conditions as their parent vegetables – Brussels sprouts and kale. This means proper spacing is essential for successful growth.
- If you’re unsure about how much space you need between your seedlings, consider the soil type you have, the amount of sun exposure your garden gets, and any other environmental factors that may affect plant growth.
In case you missed it: How to Start Mexican Sour Gherkin/Cucamelon Farming: A Step-by-Step Growing Guide

Fertilizer Requirement for Kalettes Farming
- Fertilizer plays a crucial role in the growth and development of Kalettes. To ensure healthy and strong plants, it is important to provide them with the right nutrients they need throughout their growing season.
- Mixing well-rotted manure into the soil before planting is recommended. This will help provide some initial nutrients for your plants.
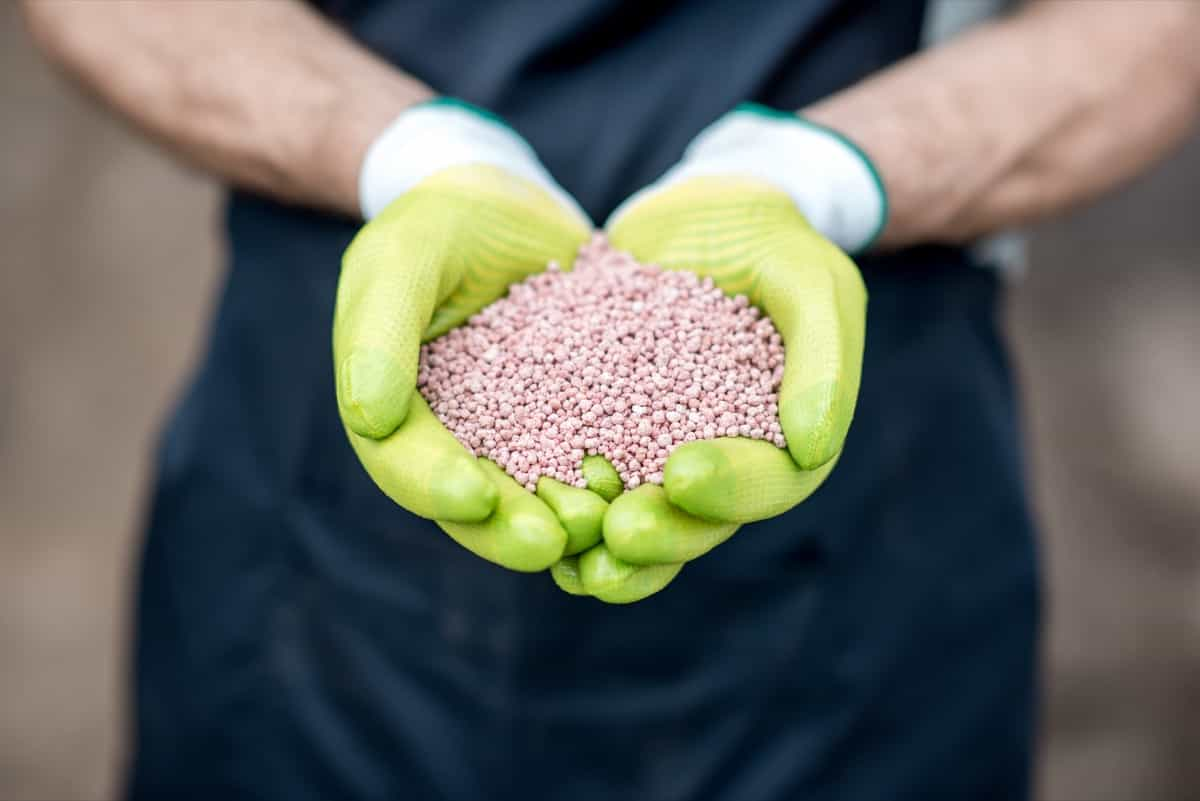
- As your Kalettes grow, you may want to consider feeding them with a balanced fertilizer every four weeks. Look for fertilizers high in nitrogen, as this is essential for leafy growth. It’s important not to over-fertilize your Kalette plants, leading to burnt leaves and stunted growth.
- Organic fertilizers are also great options for natural alternatives. These fertilizers release nutrients slowly over time, promoting healthy plant growth without risking damage from over-fertilization.
- Providing your Kalette plants with proper nutrition through regular feeding is key to ensuring a bountiful harvest at the end of their growing season.
In case you missed it: How to Start Watermelon Radish Farming: A Step-by-Step Growing Guide
Kalettes Farming Problems
- Pests and diseases are common problems that can affect the growth and quality of Kalettes. One of the most prevalent pests is cabbage worms, green caterpillars that feed on the plant leaves. Natural predators like ladybugs or insecticides can control these pests.
- Pests and diseases can threaten your Kalettes crop, so watching for any signs of trouble is essential.
- Downy mildew disease is the most common problem faced by Kalette farmers. This disease causes yellowish spots on the leaves, eventually leading to leaf drop if left untreated. Downy mildew is a disease caused by fungi that thrive in damp conditions. It causes yellowish spots on the leaves, eventually turning brown and dying off. Avoid overwatering your plants, maintain good air circulation around them, regularly prune to remove infected parts, and apply fungicide if necessary.
- Other pests that can attack Kalettes include cabbage worms and different types of caterpillars. These creatures will feed on the leaves, causing ragged holes in them. If you notice these signs of damage, taking action quickly before too much harm is done is important.
- Prevention is important when it comes to pest and disease control for Kalettes. One way to prevent these issues from arising in the first place is by practising good sanitation habits around your plants. Keeping your garden clean and debris-free can help deter pests like cabbage worms from making a home there.
- Another preventive measure is planting companion crops alongside your Kalettes that repel harmful insects naturally. Herbs like mint or basil are great options for this purpose.
- One common pest that attacks Kalettes is the aphid. Aphids are small insects that suck on the sap of your Kalette plants, which can lead to stunted growth and poor yields. Small insects suck sap from plants, leading to stunted growth and yellowing leaves. Try spraying your plants with water, dish soap, or neem oil to control them.
- Clubroot is another disease commonly found in brassica crops like Kalettes. It affects plant roots leading to stunted growth and wilting leaves. The best way to prevent it is by rotating your crops yearly to not grow brassicas in the same plot two years running.
- To reduce the plant pests and diseases affecting your crops, rotate where you grow cabbage-family vegetables each year. Also, maintaining healthy soil through regular fertilization will help keep your plants strong enough to resist attacks from pests and diseases.
In case you missed it: How to Start Dragon Carrot Farming: A Step-by-Step Growing Guide
When and How to Harvest Kalettes?
- You can expect a bountiful harvest of these delicious and nutritious vegetables with careful planning, proper care, and attention to detail. To pick them easily without damaging stems, use pruning shears or scissors while leaving behind some leaves so that other buds can continue developing into mature plants.
- Once your Kalettes are ready for harvesting – typically when they reach 1 ½ -2 inches wide – use a sharp knife or scissors to cut them off the stem near ground level. Don’t forget that regular harvesting encourages new growth.
- To harvest your Kalettes, cut off the entire stalk, including all its buds, with a sharp knife or scissors. Make sure not to damage any nearby plants while doing so. You can store harvested Kalettes in a plastic bag inside your fridge for up to one week. Kalettes are a fantastic addition to any vegetable garden due to their unique taste and high nutritional value.
Conclusion
Kalette is a relatively new vegetable that has gained popularity in recent years. It’s a hybrid of Brussels sprouts and kale, with the scientific name Brassica oleracea. This unique combination gives Kalette its distinct flavor and texture. One of the advantages of growing Kalettes is their hardiness, making them easy to cultivate even for novice farmers. They grow well in most climates except extreme hot or cold conditions – this means they can be grown all year round if you have the right environment.
- Economical Aquaculture: A Guide to Low-Budget Fish Farming
- 15 Common Planting Errors That Can Doom Your Fruit Trees
- How to Make Houseplants Bushy: Effective Tips and Ideas
- Innovative Strategies for Boosting Coconut Pollination and Yield
- Pollination Strategies for Maximum Pumpkin Yield
- The Complete Guide to Chicken Fattening: Strategies for Maximum Growth
- Natural Solutions for Tulip Problems: 100% Effective Remedies for Leaf and Bulb-Related Issues
- Revolutionizing Citrus Preservation: Towards a Healthier, Greener Future
- Natural Solutions for Peony Leaf and Flower Problems: 100% Effective Remedies
- Maximizing Profits with Avocado Contract Farming in India: A Comprehensive Guide
- Natural Solutions for Hydrangea Problems: 100% Effective Remedies for Leaf and Flowers
- The Ultimate Guide to Choosing the Perfect Foliage Friend: Bringing Life Indoors
- From Sunlight to Sustainability: 15 Ways to Use Solar Technology in Agriculture
- The Ultimate Guide to Dong Tao Chicken: Exploring from History to Raising
- The Eco-Friendly Makeover: How to Convert Your Unused Swimming Pool into a Fish Pond
- Mastering the Art of Delaware Chicken Farming: Essentials for Healthy Backyard Flocks
- 20 Best Homemade Fertilizers for Money Plant: DIY Recipes and Application Methods
- How to Craft a Comprehensive Free-Range Chicken Farming Business Plan
- Brighten Your Flock: Raising Easter Egger Chickens for Beauty and Bounty
- How to Optimize Your Poultry Egg Farm Business Plan with These Strategies
- Subsidy for Spirulina Cultivation: How Indian Government Schemes Encouraging Spirulina Farmers
- Ultimate Guide to Raising Dominique Chickens: Breeding, Feeding, Egg-Production, and Care
- Mastering the Art of Raising Jersey Giant Chickens: Care, Feeding, and More
- Ultimate Guide to Raising Legbar Chickens: Breeding, Farming Practices, Diet, Egg-Production
- How to Raise Welsummer Chickens: A Comprehensive Guide for Beginners
- How to Protect Indoor Plants in Winter: A Comprehensive Guide
- Ultimate Guide to Grow Bag Gardening: Tips, Tricks, and Planting Ideas for Urban Gardeners
- Guide to Lotus Cultivation: How to Propagate, Plant, Grow, Care, Cost, and Profit
- Agriculture Drone Subsidy Scheme: Government Kisan Subsidy, License, and How to Apply Online
- Ultimate Guide to Raising Araucana Chickens: Breed Profile, Farming Economics, Diet, and Care
- Bringing Hydroponics to Classroom: Importance, Benefits of Learning for School Students
- Ultimate Guide to Raising Polish Chickens: Breed Profile, Farming Economics, Diet, and Care
- Ultimate Guide to Raising Australorp Chickens: Profile, Farming Economics, Egg Production, Diet, and Care
- Silkie Chicken Farming: Raising Practices, Varieties, Egg Production, Diet, and Care
- Sussex Chicken Farming: Raising Practices, Varieties, Egg Production, Diet and Care
- Homemade Feed Formulations for Livestock: Discover Cost-effective Starter to Finisher Feed Recipes