Seedbed Preparation Guide:

Introduction of Seedbed Preparation:- If we live in an area with low winter temperatures, it could be very useful to make a seedbed. Let’s see what is a seedbed and what involves in seedbed preparation!. A seedbed is a protected environment where plants and vegetables are sowed so that they can be, after some month, transplanted in our vegetable garden. Sowing could be made also directly in the soil, but it is usually not recommended because low temperatures and unfavorable weather conditions can prevent seeds germination. Instead, using a seedbed we can “control” climate and temperatures, thus increasing the amount of vegetables we could have at our disposal.
Seedbed Preparation-Advantages of using a seedbed could be:-
- Better yield of sowed seeds and so more vegetables obtained.
- Gain of time, because we must not wait a certain outside temperature to sow but instead we could do it some month earlier in the seedbed, having plants already grown to transplant when outside temperature will be appropriate.
- Gain on buying plants.
- Sureness to use only chosen seeds, naturally obtained from the previous crop.
Before your seedbed preparation, choose the place where it will be set very carefully. The best place for a seedbed should be hot enough and above all well exposed to sun rays, otherwise your vegetables will grow weak and with difficulty, or they won’t even sprout at all. Obviously southern exposure is the best one and should be preferred, but if it is not available search another sheltered and lit spot.
Seedbed Preparation- Soil:-
Seedbed soil should be barren, thus devoid of parasites and spores that could damage seeds and little plants. If you can’t afford soil purchase you may put some amount of soil (you already have at your disposal) in an aluminium container and then put into an oven for 5 minutes, at 130-150° (266 – 302 F ) . This operation eliminates threats from the soil. The best soil should also be soft, crumbly and highly draining. Seeds need moistness but absolutely there must not be water stagnation; for this reason you may put some sand into the soil, so to facilitate water outflow, as well as roots penetration.

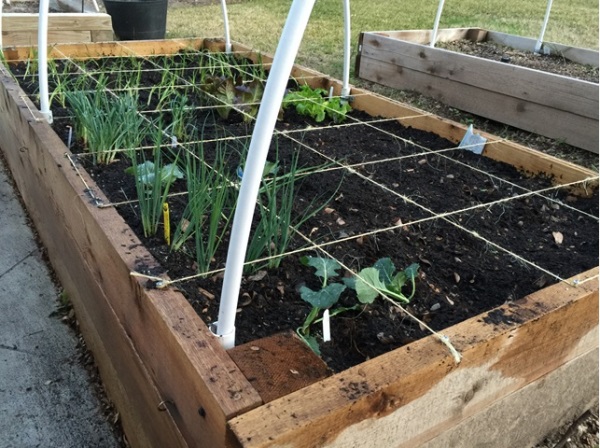
After choosing the right position for your seedbed you have to make a cold frame (Image 1) with transparent sides, in order to allow light to penetrate, and with movable cup, in order to facilitate watering. Obviously the size of cold frames and their number depend on the amount of seeds you have to plant. Instead if you don’t want to make the cold frame on your own you can buy it on online and offline stores. There are many pre-packaged solutions which fit well for every need.

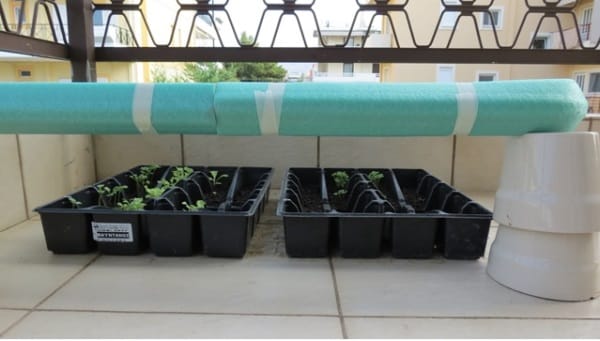
In the cold frame you can put an uniform ‘bed’ of soil ( Image 2 ) or many little pots which will contain the seeds ( Image 3 ) .
In the first option the soil should be levelled evenly to then sow the seeds making some sign to bind the different species. In this case you can sow respecting the necessary distance from the beginning, or you can sow broadcasting, removing the weak plants when they will be grown, making attention to not break the roots.
In the second option in the cold frame you can put the pots where seeds will be sowed. It is a more convenient solution, especially if you use peat discs because inserting one or two seeds in each disc it will be very easy to separate and catch the vegetables to transplant.
Seedbed Preparation:- In colder areas it is also necessary to heat the seedbed. An easy and widely used technique is to arrange at the ground of the seedbed a layer of green manure, tall about 20 cm ( 7.9 in ) . This way, thanks to chemical reactions of decomposition, the manure produces heat which is going to warm the internal part of your cold frame, so improving seeds germination.
After making the seedbed, sow the vegetables you like and water gently using a little spray, carefully avoiding to leave water stagnation. When vegetables will be big enough transplant them into your vegetable garden.