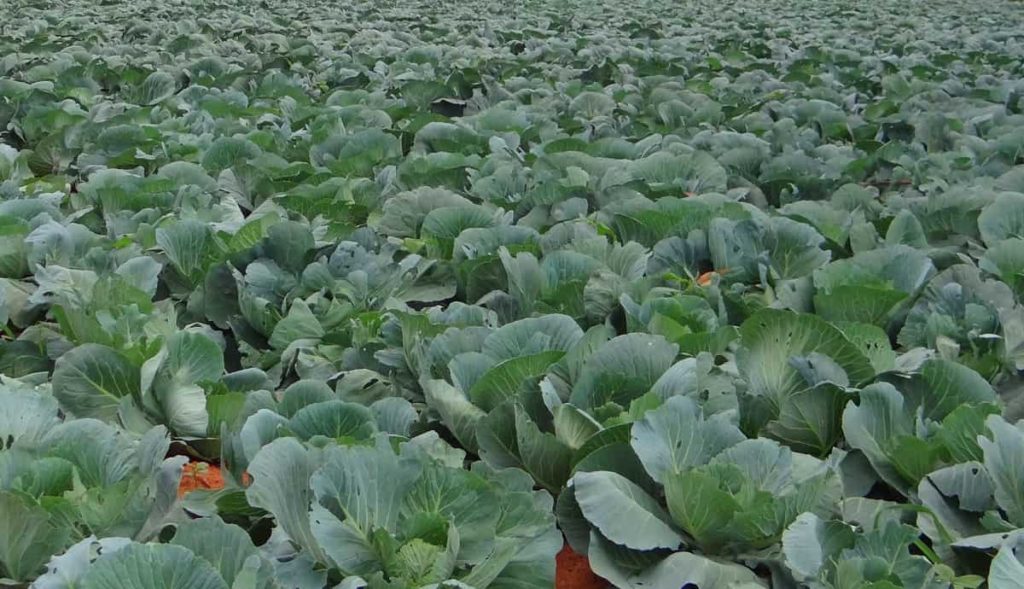
Cabbage is an annual leafy vegetable in different colors like green, red, white, and purple. Cabbage production varies greatly depending on the variety, maturity group, and planting season. Cabbage is widely cultivated throughout the country as an annual crop. It is one of the most popular and widely grown vegetables in the region and is the second-largest producer after potatoes. Let’s check out the top 15 steps to boost Cabbage yield below.
Top 15 steps to boost Cabbage yield
Step 1: Soil and climate for maximum yield and production
A medium-textured soil is required, which is quite moist and can avoid waterlogging. It is susceptible to drought, especially in the early stages, as the roots are not yet developed. It also needs soil rich in organic matter and many nutrients; it is recommended to add fertilizer. Cabbage is grown mainly on sandy to heavy soils rich in organic matter. Early crops prefer light soils, while late crops thrive on heavier soils due to moisture retention. On heavier soils, the plants grow slowly, and the storage quality is improved.
In growing conditions, soil and fertilizer management are two major factors affecting plant growth and productivity. Soil pH affects plant growth, nutrient availability, and the activity of microorganisms in the soil. Therefore, soil pH must be kept within reasonable limits for optimal production of high-quality Cabbage and leafy vegetables. Soil test results indicate the soil’s pH level and suggest the amount of time needed to raise the pH to the desired level.
Step 2: Site selection and preparation for better crop growth
Choose a place where Cole crops (Cabbage, Kale, Broccoli, Kohlrabi, Brussels Sprouts, or Cauliflower) have not been grown to prevent soil-borne diseases. Cabbage prefers rich soil, so if you haven’t done so in the past year, add one or two inches of compost or other well-decomposed organic matter to the top few inches of soil. Never use fresh manure because of the potential for human pathogen transmission.
Step 3: Select high yielding Cabbage varieties
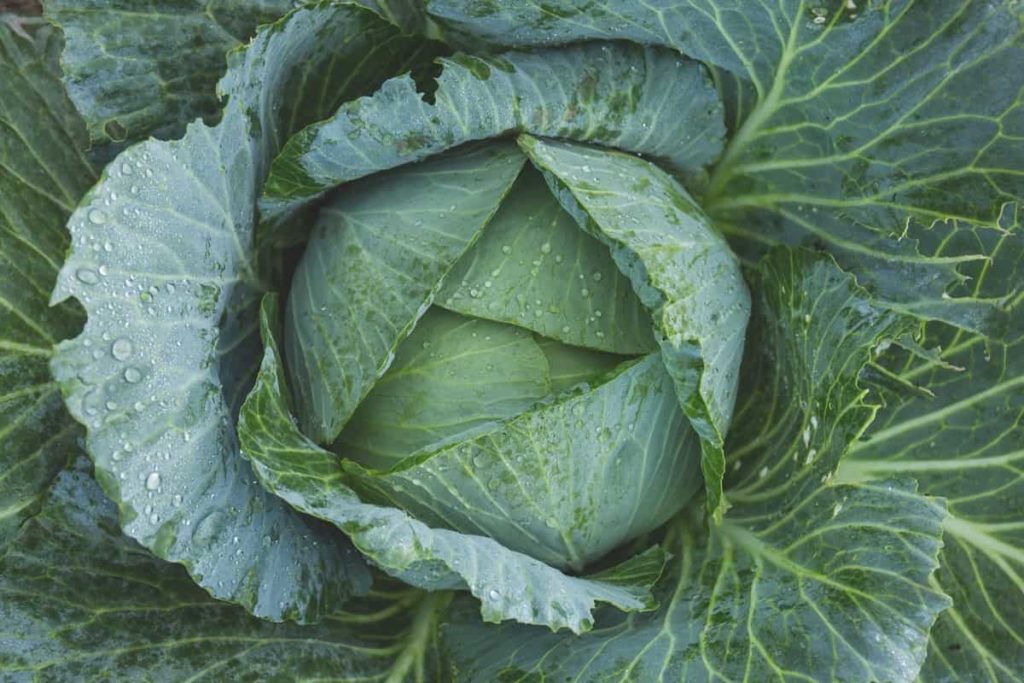
The main varieties of Cabbage are divided into three main groups, green and Red Cabbage, and Savoy cabbage. Green Cabbage has smooth-textured leaves that range from light green to dark green. Red Cabbage has smooth-shaped leaves that are either crimson or purple with white veins. Savoy cabbage has more leafy leaves, which are yellowish-green in color. Some high yielding varieties are;
- Pride of India – This is a high-yielding variety of Cabbage with medium-sized fruits.
- Baraka F1 – High-yielding blue-green round head weighing 4-6 kg.
In case you missed it: Growing Red Cabbage – Tips, Techniques, and Secrets
Step 4: Planting season for good head formation
The timing of sowing depends on the variety and the agro-climatic conditions in a particular area. For example, early Cabbage is sown between July-November in the plains and April-August in the hills, as it takes a long time to form their heads.
Step 5: Place to grow Cabbage increase leaf growth
Before planting, cover planting beds with 2 to 3 inches (5-7 cm) of aged manure or commercial organic planting mix and bend it to 12 inches (30 cm). Cabbage grows best where soil pH is between 6.5 and 6.8. If clubroot disease is a problem, adjust the soil pH to 7.0 or higher by adding lime. Apply plenty of good old age fertilizer to the planting beds before planting. In areas where the soil is sandy, fill the soil with nitrogen; adding a nitrogen-rich blood meal or a moderate amount of cottonseed meal to the soil before planting will increase leaf growth.
Step 6: Planting tips for getting more crop yield
Grow Cabbage in full sun in cold weather. Plant cabbage in well-drained soil. Apply aged manure to the planting bed before planting. Cabbage is most easily grown with transplants that can fight pests and diseases.
Step 7: Tips for fertilizing cabbages
Cabbage requires many nutrients to produce large heads and leaves of Cabbage. Always follow the manufacturer’s instructions when mixing and applying cabbage fertilizer. Before planting, gently apply granular or pellet fertilizer to the soil. Apply liquid fertilizer or side dressing to the cabbage plants by burying granular or pellet fertilizer in and around shallow trenches. Heavy rains can dissolve solid forms of compost lying on the surface. It can spray large amounts of fertilizer directly on the cabbages, burning the leaves and damaging the plants.
In case you missed it: Organic Cabbage Farming, Steps, Cultivation Practices
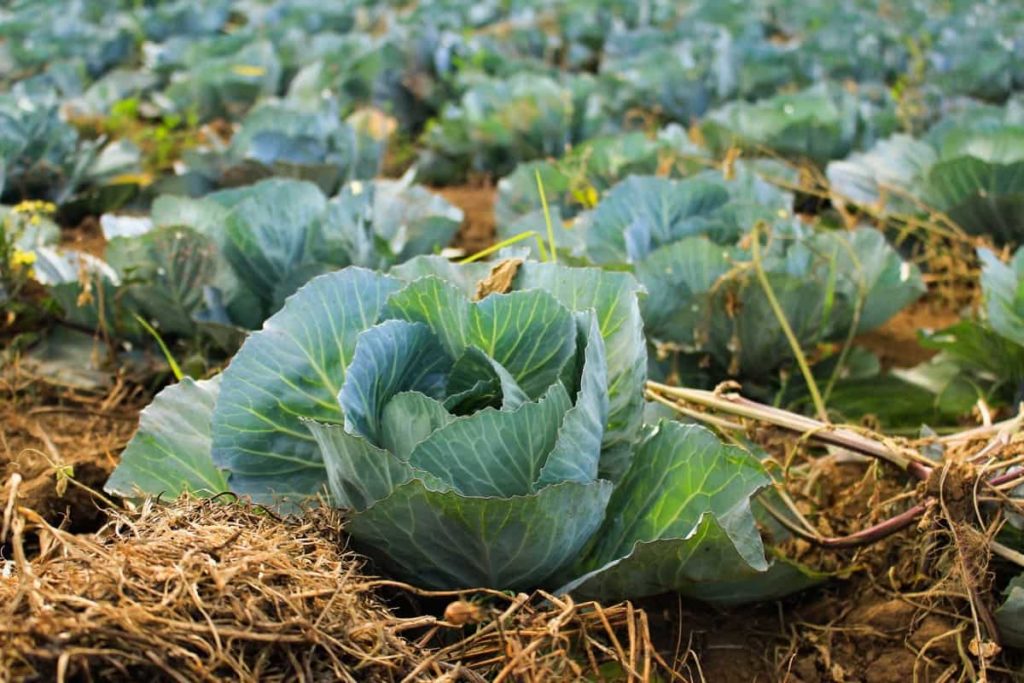
Avoid excessive use of fertilizer after cabbage heads. It can cause rapid growth that results in split or cracked heads. Instead, water the cabbage plants before the soil is completely dry. Not only do cabbage plants permanently prefer moist soil, but water is essential for absorbing nutrients from the soil. Heavy feeders also recommend highly effective fertilizers like potassium, nitrogen, phosphorus, compost, and urea instead of ammonium sulfate for acidic soils. It is essential to analyze the soil before using any fertilizer. The safest way is to know the correct nutritional profile of the soil.
Step 8: NPK fertilizer for getting more plant growth
Cabbage requires nutritious soil for growth and maximum yield and production. Some cabbage growers apply well-rotted manure and plow the land two weeks before planting. They also say that they can fertilize young plants about two weeks or three weeks after the transplant. Before using any fertilizer, it is essential to allow the cabbage plants to grow in height. FYM or compost by 15 to 20 tons per hectare is applied to the soil during soil preparation. In addition to FYM, N: P: K by 120: 60: 60 kg/hectare is used.
Apply half the nitrogen and the total phosphorus and potash at transplantation. As a top dressing, the remaining nitrogen is applied in two divided doses, i.e., 30 and 45 days after transplantation. Cabbage plants are heavy feeders and need adequate nitrogen for leaf growth. In addition, calcium deficiency can limit the ability of the cabbage plant to absorb groundwater. Finally, due to low rainfall in the soil, cabbage leaves are hard and taste bitter. These problems can be solved by examining the soil and modifying it.
Add annual fertilizer to the garden and feed the Cabbage with a balanced fertilizer or compost tea throughout the growing season. As the cabbage plants begin to set, reduce the excess amount of nitrogen to prevent cracking. Commercial organic liquid fertilizers and urea solutions effects cabbage growth and production.
Step 9: Reasons for Cabbage does not form heads
Cabbage heads do not form, or only loose, puffy heads, mainly due to improper growth conditions, which stress the plant or stop its growth.
High temperatures – Cabbage needs cool temperatures to make a head, so Cabbage must be planted at the right time of year so that the daytime temperature is 27°C. If it gets too hot, the plants can stop the leaves from growing and instead send flower stalks to the seeds, called ‘bolting.’
Inconsistent watering – To grow Cabbage, they need adequate moisture. If they are not watered regularly, or if it does not rain periodically, their structure will deteriorate, become excessively bitter, and they may not form ahead. Good quality cabbage heads should be firm, crisp, juicy, and sweet; they can sometimes be peppered but not bitter.
Nitrogen deficiency – All plants need nitrogen as a nutrient for green leaf growth. Brassicas are heavy feeders, so they need more soil fertility to provide enough nitrogen for their development. Adding fertilizers that are slowly released into the soil at the beginning of autumns, such as manure, blood, and bone, or a well-balanced fertilizer, will increase soil fertility to ensure healthy growth. Additional fertilizer can be applied every 6-8 weeks, but it should be stopped immediately when the head starts to form.
Over-fertilizing – Applying too much fertilizer can lead to excess nitrogen, forcing the plant to produce leaf growth, possibly at the cost of head formation. Avoid fertilizing Cabbage during head formation, as it can cause excessive leaf growth and rupture of the head.
In case you missed it: Cabbage Farming in Polyhouse for Profit – A Full Guide
Step 10: Causes of Cabbage wilting and large holes in the leaves
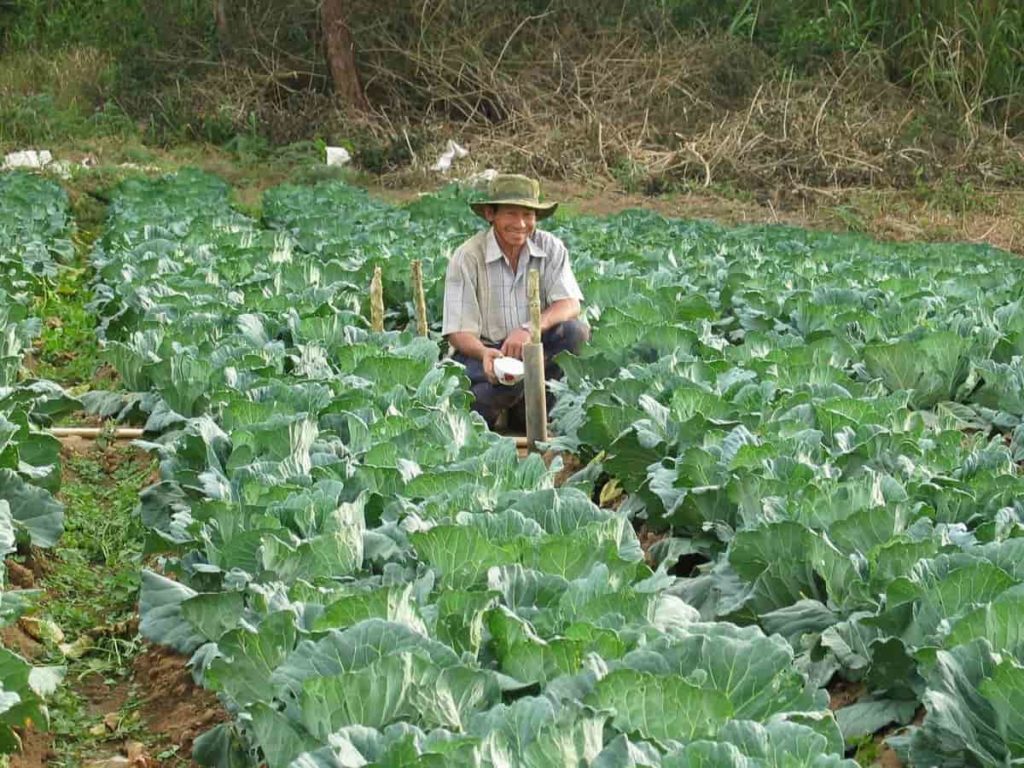
Cabbage looper is the main reason for getting large holes in the leaves. The cabbage looper is a light green caterpillar with yellow stripes on the back. It returns on foot. Keep the farm clean of debris, where adult brown nocturnal insects can lay their eggs. Cover plants with polyester to repel insects. Pick up the loopers by hand. Use Bacillus thuringiensis.
If it does not get enough water, it eventually wilting. Improper and inconsistent watering can also cause Cabbage to wither. Cabbage plants need the most water from when planted to when planted. Water the plants regularly and regularly to keep the soil moist.
Step 11: Plant spacing is essential for crop growth
Like other plants, plant spacing plays an essential role in cabbage cultivation. Proper spacing can make you more profitable. Plants are planted in 4-5 levels. Planting depth of 1/4-1/2 inches and 1-5 feet is required for root depth. Height and width measurements should be 12-15 inches and 24-40 inches. The seed rate for early variety is 500 grams per hectare, and for late variety is recommended 400 grams per hectare.
There is a spacing of 45 cm from row to row and 30 cm from plant to plant for early maturation. In contrast, for late flowering, row spacing is 60 cm, and plant spacing is 45 cm. After 25 days of sowing, the spacing must be 18 inches in each row, and the measurements for the beds are 15 inches. The space between the double rows should be 24-30 inches.
Step 12: Nitrogen is the key to getting a high yield of Cabbage
The most common reason for the cabbage crop not reaching its total productivity is the lack of nitrogen. It applies equally to quantity, how to preserve it, and maintain its proper level. Nitrogen (N) comes in different forms. All the required nitrogen can be used for planting, and some farmers do it successfully. But if heavy rains release nitrogen from the soil, it can be badly lost. When the root system spreads widely, individual roots can reach more nitrogen.
Step 13: Irrigation to grow healthy and thriving Cabbage
Irrigation frequency is between 3 to 12 days, depending on climate, crop growth, and soil type. If the available water supply is limited, early irrigation should not be practiced unless it can continue till the end of the crop growing period. Water conservation should be done preferably at the beginning of the growing season. Furrow, sprinkler, and trickle irrigation are used. However, the area of underground irrigation, which generally gives better results, is increasing.
In case you missed it: Cabbage Cultivation Income; Cost; Profit; Project Report
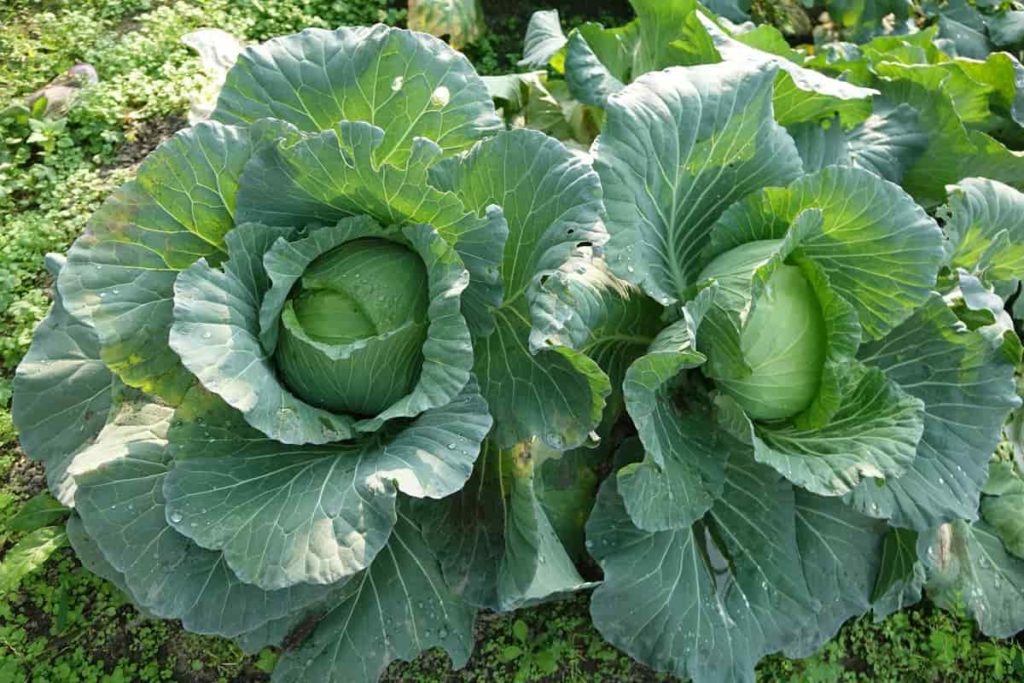
With groundwater irrigation, the depth of the water table is kept between 0.3 and 0.7 meters in fine, sandy loam and between 0.7 and 1.1 meters in loam soil. The first irrigation is given after transplanting the plants, and the subsequent irrigation is given at intervals of 10-15 days, depending on the weather and soil conditions. Care must be taken to avoid water pressure from when the head is formed until it matures.
Cabbage needs to be well watered for the best quality, as drought can cause its taste to become bitter or even prevent the plant from forming heads. Ensure the soil is well moistened (at least six inches deep) after each watering. Cabbage needs regular, constant irrigation to grow correctly, build strong heads, and produce high-quality Cabbage leaves. To keep the soil constantly moist, farmers can apply a thin layer of mulch to the soil.
Step 14: Pests and diseases control for crop growth
Pests that infect the Cabbage are cabbage worms, cabbage loopers, aphids, cabbage root maggots, fly beetles, cutworms, nematodes, and American bollworms. The diseases that spoil the cabbage production are Blackleg, Club-root, Dumping Off, Downy Mildew, Leaf spot, Powdery Mildew, White Blister, White Mould, White leaf spot, Wire Stem, etc. But the primary diseases in Cabbage are caused by Sclerotinia and Botrytis.
These components cause devastation to the stems, heads, seedlings, flowers, and even an entire plan. But uttermost of the pests and diseases cause damage to the leaf and roots. Chemical components for controlling these diseases are carbaryl, neem oil extract, permethrin, and insecticide soap. But some diseases and pests are not cured. You can consult your nearest government agricultural institution in this regard.
The best way to control cabbage pests and diseases is always prevention rather than intervention. However, cabbage growers should keep the following steps in mind.
- Certified seed selection must be used.
- Varieties and hybrids resistant to local diseases must be used.
- Cabbage can be protected from some pest attacks by using nets to cover our crops.
- Avoid adding too much fertilizer.
- Handpicking caterpillars and larvae by hand and carefully removing them from crops can be a solution in some cases.
In case you missed it: Growing Cabbage In Pots, Containers, Backyards
Step 15: Harvesting tips for getting more growth
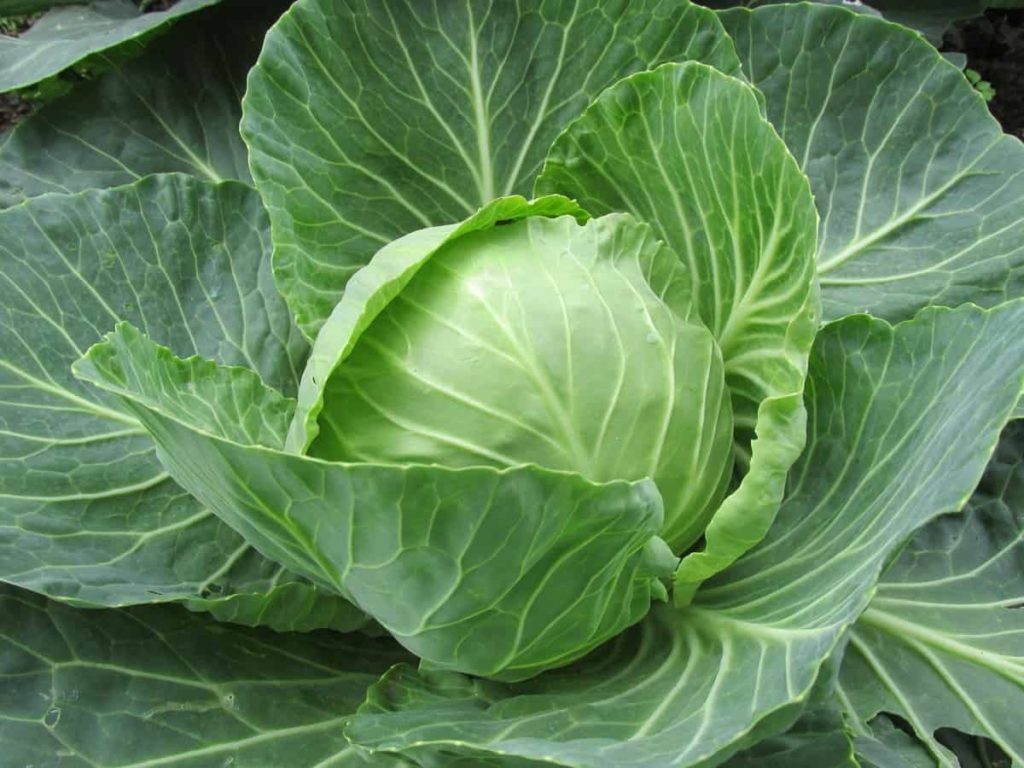
The cabbage crop is ready for harvest when the heads are softball and firm in shape. A strong head is ready for harvest. Leafy Cabbage like Napa cabbage and Asian Cabbage can be cut when the leaves are about 12 inches long. When the heads are strong, and the base of the head is 4 to 10 inches (10-25 cm), cut the Cabbage. Harvest in spring before the weather gets too hot. Cabbage will be sweet if cultivated in cold weather.
Cabbage for autumn or winter pruning can sit under an ice blanket without any damage. Only remove damaged outer leaves after pruning. Timing: Cabbage heads can be cut after reaching the desired size, and the heads feel strong for pressure (depending on the variety to some extent). Remember that they can be a bit sweeter in cold temperatures, so sometimes, a harvest delay in the fall leads to a better yield.
- Economical Aquaculture: A Guide to Low-Budget Fish Farming
- 15 Common Planting Errors That Can Doom Your Fruit Trees
- How to Make Houseplants Bushy: Effective Tips and Ideas
- Innovative Strategies for Boosting Coconut Pollination and Yield
- Pollination Strategies for Maximum Pumpkin Yield
- The Complete Guide to Chicken Fattening: Strategies for Maximum Growth
- Natural Solutions for Tulip Problems: 100% Effective Remedies for Leaf and Bulb-Related Issues
- Revolutionizing Citrus Preservation: Towards a Healthier, Greener Future
- Natural Solutions for Peony Leaf and Flower Problems: 100% Effective Remedies
- Maximizing Profits with Avocado Contract Farming in India: A Comprehensive Guide
- Natural Solutions for Hydrangea Problems: 100% Effective Remedies for Leaf and Flowers
- The Ultimate Guide to Choosing the Perfect Foliage Friend: Bringing Life Indoors
- From Sunlight to Sustainability: 15 Ways to Use Solar Technology in Agriculture
- The Ultimate Guide to Dong Tao Chicken: Exploring from History to Raising
- The Eco-Friendly Makeover: How to Convert Your Unused Swimming Pool into a Fish Pond
- Mastering the Art of Delaware Chicken Farming: Essentials for Healthy Backyard Flocks
- 20 Best Homemade Fertilizers for Money Plant: DIY Recipes and Application Methods
- How to Craft a Comprehensive Free-Range Chicken Farming Business Plan
- Brighten Your Flock: Raising Easter Egger Chickens for Beauty and Bounty
- How to Optimize Your Poultry Egg Farm Business Plan with These Strategies
- Subsidy for Spirulina Cultivation: How Indian Government Schemes Encouraging Spirulina Farmers
- Ultimate Guide to Raising Dominique Chickens: Breeding, Feeding, Egg-Production, and Care
- Mastering the Art of Raising Jersey Giant Chickens: Care, Feeding, and More
- Ultimate Guide to Raising Legbar Chickens: Breeding, Farming Practices, Diet, Egg-Production
- How to Raise Welsummer Chickens: A Comprehensive Guide for Beginners
- How to Protect Indoor Plants in Winter: A Comprehensive Guide
- Ultimate Guide to Grow Bag Gardening: Tips, Tricks, and Planting Ideas for Urban Gardeners
- Guide to Lotus Cultivation: How to Propagate, Plant, Grow, Care, Cost, and Profit
- Agriculture Drone Subsidy Scheme: Government Kisan Subsidy, License, and How to Apply Online
- Ultimate Guide to Raising Araucana Chickens: Breed Profile, Farming Economics, Diet, and Care
- Bringing Hydroponics to Classroom: Importance, Benefits of Learning for School Students
- Ultimate Guide to Raising Polish Chickens: Breed Profile, Farming Economics, Diet, and Care
- Ultimate Guide to Raising Australorp Chickens: Profile, Farming Economics, Egg Production, Diet, and Care
- Silkie Chicken Farming: Raising Practices, Varieties, Egg Production, Diet, and Care
- Sussex Chicken Farming: Raising Practices, Varieties, Egg Production, Diet and Care
- Homemade Feed Formulations for Livestock: Discover Cost-effective Starter to Finisher Feed Recipes
as a newly cabbage farmer it really helps me .i appreciate
What type of fertilizer do you put in cabbage