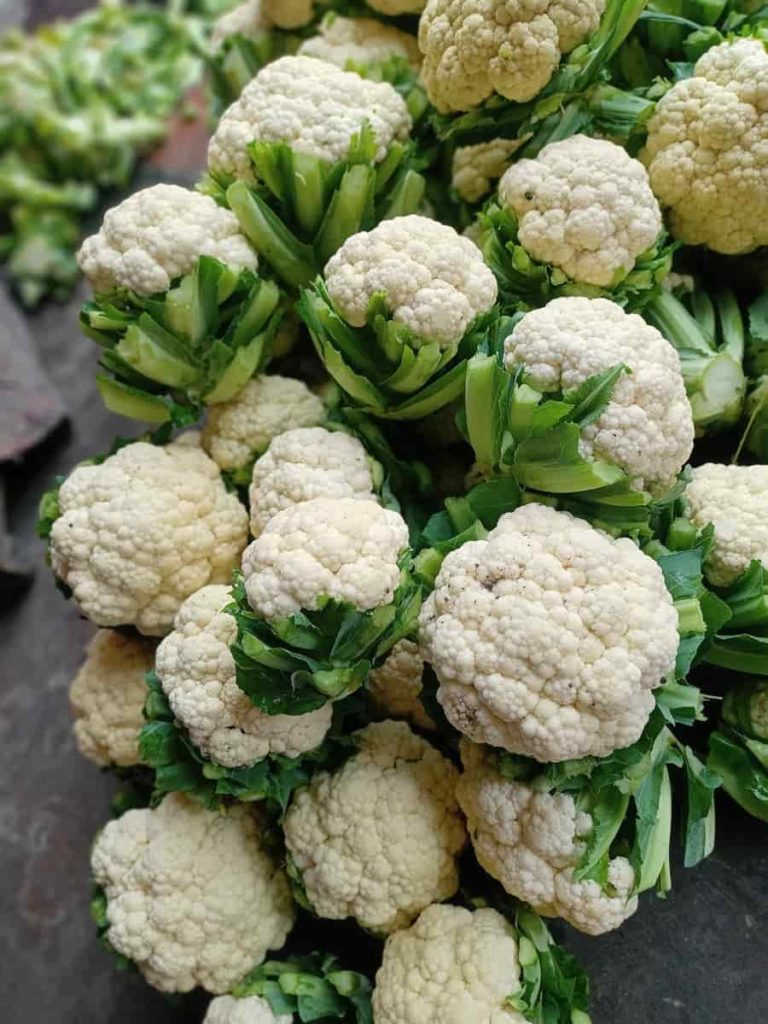
Cauliflower is a cold-season vegetable, and its botanical name is Brassica oleracea. Cauliflower belongs to the Cole family, including Broccoli, Brussels Sprouts, Cauliflower, Collards, Kale, and Kohlrabi. It is an amazing vegetable that contributes to its high nutrition and extra flavor to the human diet. Let’s check out the top 16 steps to boost Cauliflower yield.
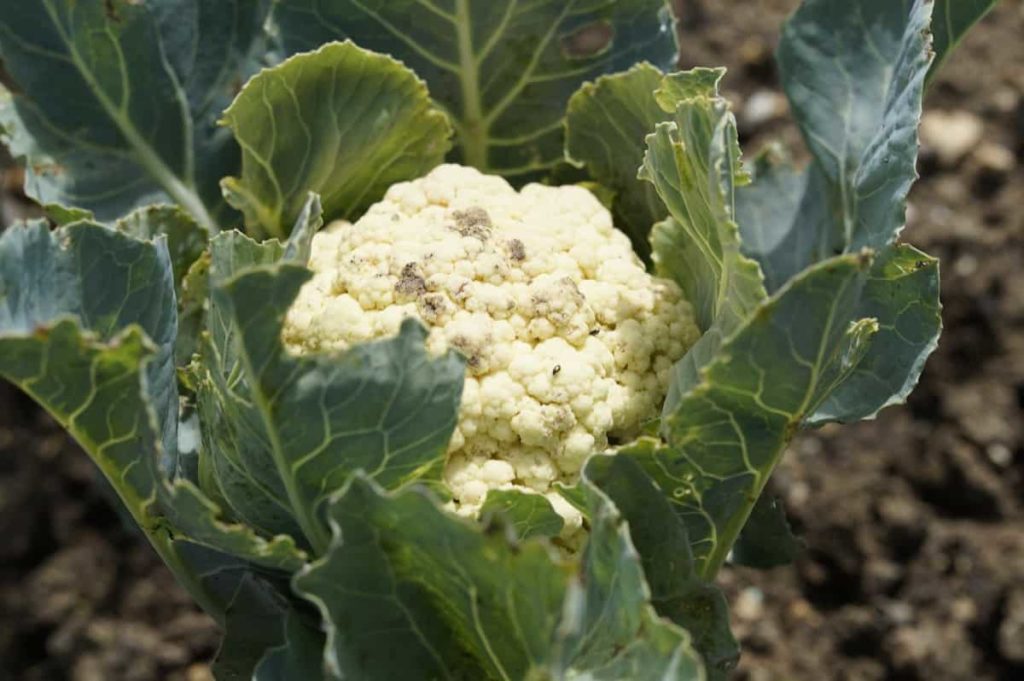
Top 16 steps to boost Cauliflower yield
Step 1: Soil and light requirement for Cauliflower crop growth
Cauliflower also needs fertile, well-drained, moist soil rich in organic matter. Soil pH levels must be between 6.5 and 6.8 for maximum growth to discourage root disease. The soil should be well-drained, but Cauliflower needs constant moisture to prevent buttoning (growing very small flower heads instead of a large head). Cauliflower can be grown in various soils, but sandy and loamy soils are the most suitable. It prefers well-drained high ground for proper growth. Cauliflower can grow in a variety of soils.
It grows best in slightly acidic soils (pH of approximately 6.5). Plants have a moderate tolerance between high soil and water salinity levels. Although Cauliflower plants like the sun, you should know that customers prefer whiteheads instead of slightly yellow ones in most cases. Thus, many farmers attach some outer leaves to the curds to prevent them from turning yellow.
Step 2: Choose seed variety carefully
Sometimes, crops are ruined because you may have bought seeds unsuitable for the USDA Hardiness Zone. With Cauliflower, they thrive at constant temperatures, which should be between 15-21°C. Carefully read all seed packets, choosing mature varieties to suit the growing climate. Consider whether you plan to plant during spring and autumn, looking for crops with better temperature tolerance and shorter maturation periods. Some recommended varieties to try are;
- Snow Crown
- Snow King
- Snowball 123
- Imperial 10-6
- Self-Blanche
Varieties of Cauliflower
- Early season crops are Early kunwar, Early Synthetic, Pusa Katki, Pant Gobhi-2, Pant Gobhi-3,
- Main season crops are Pusa Synthetic, Pant Shubhra, Punjab Giant-26, Punjab Giant-35
- Late-season crops are Pusa Snowball-1, Pusa Snowball-2, Snowball-16, Dania Kalimpong
In case you missed it: Cauliflower Pests, Diseases, And Control Methods
Step 3: Select the best place for proper growth
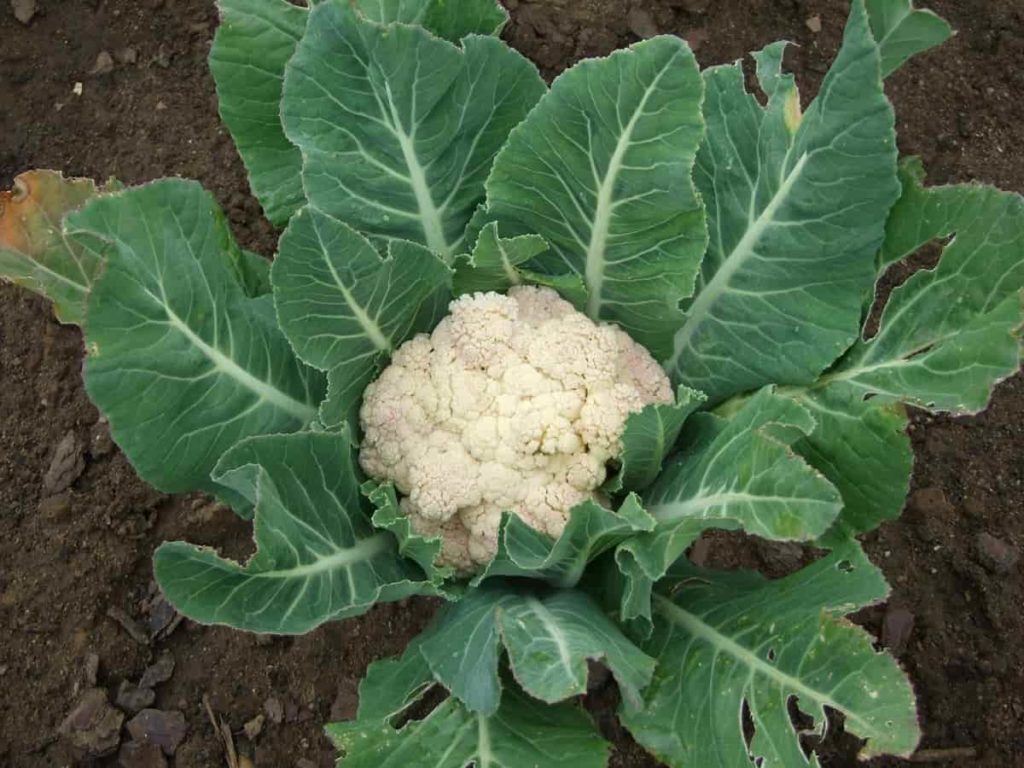
Planting cauliflower in an open sunny area will ensure that it gets all the energy it needs from the sun to transform into a beautiful large flower. Part shaded areas will work; However, the results are usually poor with small heads and leggy growth development. It can be grown in almost any geographical location at the right time of the year with proper growth.
Step 4: Planting process to increase the head formation
Keep transplanted Cauliflower plants at least 18 to 24 inches apart, leaving at least 30 inches between rows. It is good to plant the transplants deeply, arranging them as deeply as your first leaves so that they do not become overweight. If you are looking for a fall crop, plant the crop at least 6 to 8 weeks (for the transplant) or 8 to 12 weeks (for seed) before the first frost of autumn while ensuring that temperatures during the day are consistently below 23°C.
If the soil is very dry, add enough mulch to keep the soil moist – as they do not tolerate extremes of temperature and fluctuations, these plants hate dry conditions and will use bolts or seeds in such conditions. For winter pruning, plant cauliflower in the fall – it will only work in areas where winters are mild and free of frost.
In early spring, you may need to protect your plants from the cold – you can cover them with many things, including old milk jugs. It is essential to cover them, as extreme cold and fluctuations in the weather can hinder the growth of your Cauliflower or cause the formation of buttons.
Step 5: Secrets to growing huge heads of Cauliflower
You can start growing Cauliflower with seeds or buy seedlings in your local garden center. When starting Cauliflower from seed, we tend to buy organic seeds, but some people prefer seeds for fast-growing hybrids. Cauliflower speed means that it still takes 52-55 days to get ahead of Cauliflower, so if you start with seeds, use the instructions below to start them indoors.
Step 6: Water requirement for head formation
Cauliflower needs constant moisture and plenty of it. Without enough water, the heads become bitter. Therefore, please provide at least 1 inch of water each week, and make sure it is soaking in 6 to 8 inches of soil. The first light irrigation should be given immediately after grafting. After that, further irrigation depends on weather and soil type. However, regular maintenance of soil moisture is essential during the growth and development of curd.
When it comes to irrigating Cauliflower, the most critical period is during the first stage till the seed germinates and the second during the formation of flower heads. Most producers irrigate their plants, re-watering them every other day. Irrigation sessions may need to be extended to one a day during the summer. Water requirements change depending on the climate and soil conditions.
For example, heavy clay soils generally require less irrigation than sandy soils. In addition, different types of Cauliflower may have different water requirements. The most widely used irrigation system in commercial Cauliflower cultivation is drip irrigation.
In case you missed it: Organic Cauliflower Cultivation, Growing Procedure
Step 7: Increase the size of the Cauliflower
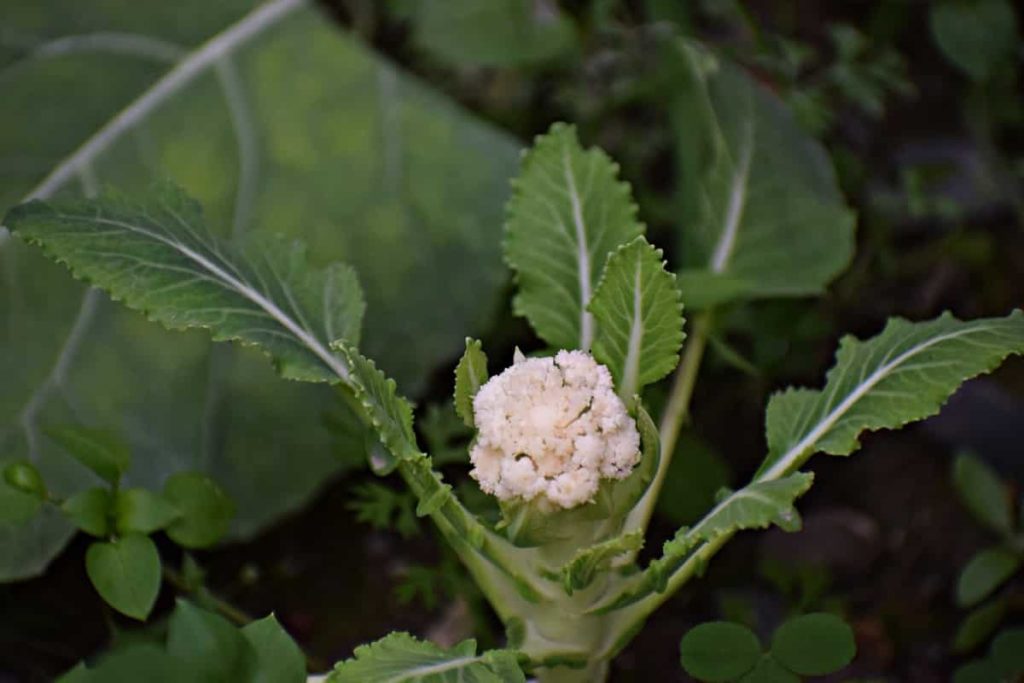
If growth is examined, they produce small, deformed heads at any time during growth. To avoid problems, water the plants well the day before transplanting and make a deep pit enough to hold the plant with the least leaves on the ground. Cauliflower plants need constant moisture.
Healthy curd develops consistently and vigorously. Anything that hinders or slows down the growth of a plant is likely to cause little or no head growth. Common disruptions may include low humidity (drought), damage to plants, or extreme weather conditions. Weed your Cauliflower plants only when needed and cultivated lightly not to damage the plants or roots.
Step 8: Proper spacing for encouraging healthy growth
When you transplant Cauliflower seedlings, make sure they are spaced about 24 inches apart and 30-36 inches apart. It promotes healthy airflow and root formation in all plants, encouraging healthy growth. Without proper spacing, the roots accumulate on top of each other and compete with neighboring plants. In addition, it results in Cauliflower not getting proper nutrition and hydration to grow properly.
Step 9: Tips for removing Cauliflower to bolt
Cauliflower can bolt if it is very cold or hot. Cauliflower can also produce seeds prematurely if there is a change in the length of the day, which is indirectly related to changes in temperature.
Step 10: Fertilizing to boost plants growth
After the Cauliflower plant has been in the ground for three to four weeks, it is time to fertilize. The best dose is compost tea or liquid organic fertilizer. Liquid fertilizers are quickly absorbed by soil and roots, and plants. Feeding around four weeks and eight weeks of growth should be enough to give the plant strength. Don’t use too much fertilizer. Too many nutrients will promote plant growth, not the larger crop. As with watering, fertilize early in the morning.
Applying fertilizer in the afternoon sun can burn the leaves of the plants while applying fertilizer in the evening can keep the wet plants overnight and lead to mildew. Generally, the Cauliflower crop should be given 200 kg nitrogen, 75 kg phosphorus, and 75 kg potassium per hectare for maximum yield. When planting, add 100 kg nitrogen, 75 kg phosphorus, and 75 kg potash. The remaining half of the nitrogen should be given 30 to 45 days after transplanting.
Step 11: Reasons for Cauliflower not forming heads
- Wrong Seed
- Seedling Stress
- Lack of Sun
- Soil Deficiencies
- Inadequate Drainage
- Insufficient Moisture
- Overcrowding
- Pests and Disease
Cauliflower plants need organically rich soil, which is ideal for their growth and development. Get soil tests done to determine how many nutrients are in your soil, improve it as needed, and add compost, humus, or well-aged manure. Ensure it contains a balanced amount of nutrients, as soil imbalances can lead to stress due to nutrient deficiencies in plants, so Cauliflower cannot grow.
In case you missed it: Cauliflower Farming in Polyhouse (Gobi) for Profit
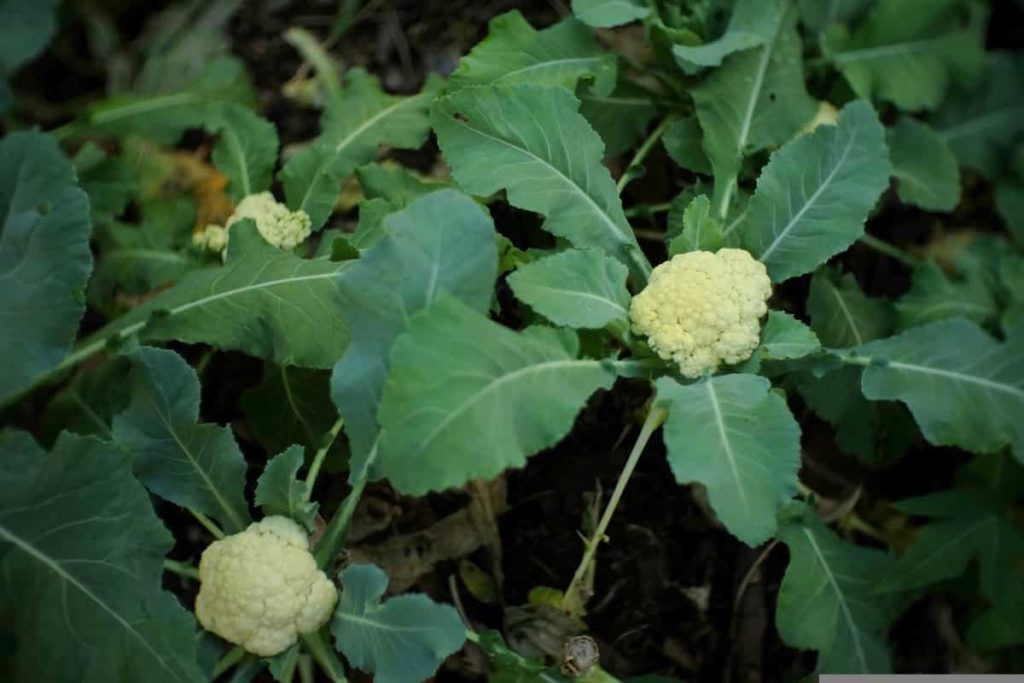
Fertilize your vegetable crops as needed, and add the right amount of nitrogen and other essential nutrients such as phosphorus and potassium. With that in mind, you should also water your plants regularly, especially since Cauliflower is slightly more thirsty than other vegetable crops. Water these plants about 1-2 inches a week and avoid drying them out, as this can cause stress, leading to headaches and bolting or buttoning.
The main factor that can prevent Cauliflower from producing head is insufficient sunlight. It likes sunlight and needs about 6 hours of direct sunlight daily. Other factors include inadequate humidity and poor drainage. When you do not rotate the crops, the soil is depleted, and the Cauliflower plants cannot provide good nutrition in the future. This results in poor head formation.
Step 12: Weed management to improve crop growth
An important growing technique in Cauliflower cultivation is the management of the weed. Cauliflower is often affected by weeds in the early stages of its development. Weeds compete with young plants regarding space, sunlight, water, and access to nutrients. Therefore, all Cauliflower growers should have the right herb control strategy.
It can vary significantly between countries, legal frameworks, sources of production, and the industry in which the product is targeted. Weed control every week is almost essential in some cases (organic production). However, when the Cauliflower grows enough, weeding is not a big problem.
Step 13: Reasons for cauliflower head separating
Any inconsistencies in the Cauliflower environment, such as extreme cold, heat, or drought, can lead to spoilage of vegetable heads or curd. A wet spell during the final stages of maturation can cause this, as cracking of the scalp is often the result of excessive moisture, which accelerates growth. Excessive waiting for the harvest can also cause division, as the heads continue to pass through their peaks and begin to separate.
Also, give cauliflower plants plenty of water and space between plants for total growth. Continuous and thorough irrigation is essential to prevent loose ends of the Cauliflower. Excessive nitrogen can cause loose ends not only in Cauliflower but also in broccoli. Curd is still edible but not so attractive. Use your best judgment when harvesting. If heavy rainfall is predicted, it may be better to have slightly smaller heads than large, distributed heads.
In case you missed it: Cauliflower Cultivation Income (Gobi); Cost; Project Report
Step 14: Cauliflower plant care for getting more yield
In addition to avoiding stress, keep an eye out for Cauliflower loopers, imported Cauliflower worms, Cauliflower root maggots, aphids, and flea beetles. Possible pests include blackleg, black rot, clubroot, and yellow. Contact Regional Cooperative Extension Office for more information on current pest identification and control recommendations. The best way to reduce this is to keep your plants healthy and your garden clean.
Cauliflower is more susceptible to various pests, including snails, Cauliflower aphids, nematodes, cutworms, slugs, fly beetles, and Cauliflower root maggots, and Cauliflower worms. Insects can attack your Cauliflower if you leave them without too much crowd or weeding. To overcome this problem, you need to avoid filling your Cauliflower with water. You also need to mow the lawn to prevent overcrowding and nutrient competition.
To make room, weed the garden regularly and allow fresh air to enter so that insects like insects and nematodes do not find a hiding place. If Cauliflower is handled without proper gardening care, it can lead to various fungal and bacterial diseases. For example, Cauliflower disease can infect your plants and cause them to fall off and produce stems soaked in water. It is a disease known as damping off, and a fungus causes it.
Another disease that can affect the Cauliflower plant is dieback. Dieback disease is a fungal disease that causes bluish-dark spots on the stems and leaves of Cauliflower. Other significant diseases are Clover, Downy mildew, Cauliflower yellow, and Cauliflower root cyst. Cauliflower diseases can be controlled by cultivating resistant varieties, practicing crop rotation, and solarizing soil before planting.
Step 15: Control the growing problems of Cauliflower
- Plant-resistant cauliflower varieties: These are the varieties of Cauliflower that are resistant to a wide variety of diseases and pests. Always check the seeds before buying them to know more about them.
- Practice crop rotation: Plant different Cauliflower varieties year after year so that pests and diseases do not damage your garden.
- Moisten your garden or container on time: Do not add too much water, but it is recommended to keep the garden soil or container moist regularly.
- Cauliflower planted in well-drained soil or container: Sow the seeds in well-drained soil with pH close to neutral.
- Do not feed the Cauliflower with too much nitrogen: Use a slowly released granular fertilizer that does not contain enough nitrogen. Alternatively, you can use compost that has a high carbon content.
In case you missed it: Growing Cauliflower In Containers, Pots, Backyards
Step 16: Harvesting time for getting more yield
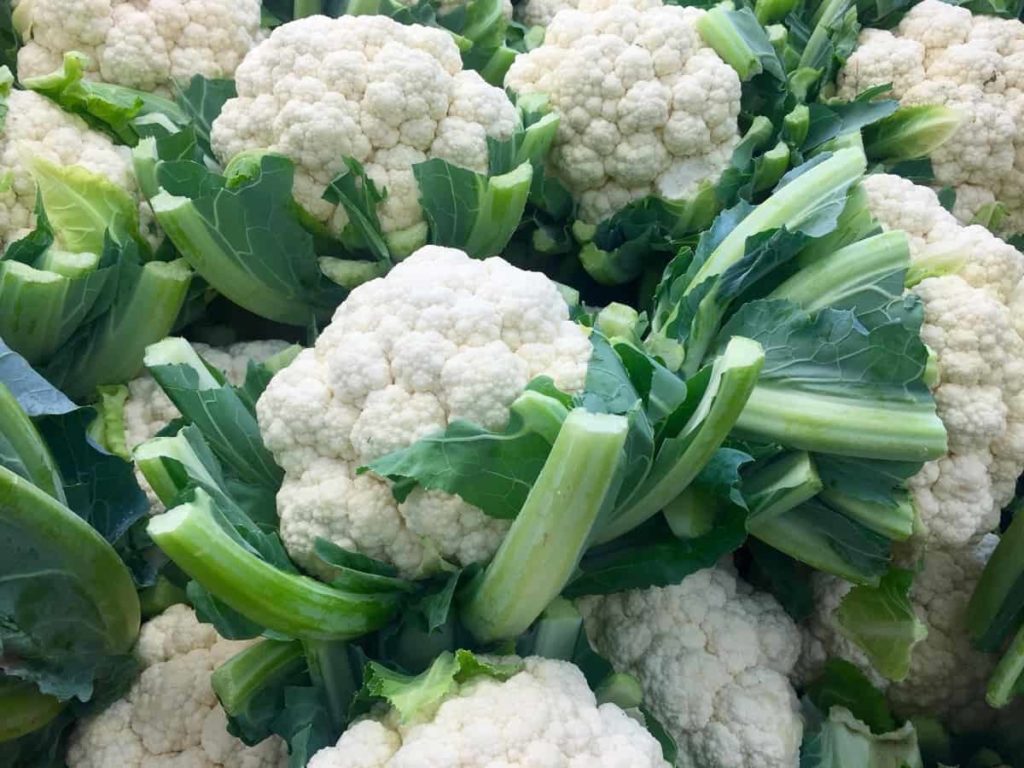
Heads grow amazingly fast, so once they start, don’t mistake leaving the plants unattended, thinking that it will take a long time for the heads to grow because before it is known, the heads will be full and then begin to spread for the flowering stage. Cauliflower harvesting requires a few steps. First, when the plant heads are about 3 inches in diameter, take some yarn and tie all the leaves together.
It will help the head to get more exposure. When the head reaches a 6-8 inches diameter, it can be cut at the base. Depending on the cultivated variety, cauliflower takes 50 to 70 days to ripen. Once the leaves are bleached, and if the growing conditions are good, the curds are ready and ripe within 7-10 days. Delaying in harvesting can significantly reduce quality, as there is a risk of loosening and yellowing the heads.
- Economical Aquaculture: A Guide to Low-Budget Fish Farming
- 15 Common Planting Errors That Can Doom Your Fruit Trees
- How to Make Houseplants Bushy: Effective Tips and Ideas
- Innovative Strategies for Boosting Coconut Pollination and Yield
- Pollination Strategies for Maximum Pumpkin Yield
- The Complete Guide to Chicken Fattening: Strategies for Maximum Growth
- Natural Solutions for Tulip Problems: 100% Effective Remedies for Leaf and Bulb-Related Issues
- Revolutionizing Citrus Preservation: Towards a Healthier, Greener Future
- Natural Solutions for Peony Leaf and Flower Problems: 100% Effective Remedies
- Maximizing Profits with Avocado Contract Farming in India: A Comprehensive Guide
- Natural Solutions for Hydrangea Problems: 100% Effective Remedies for Leaf and Flowers
- The Ultimate Guide to Choosing the Perfect Foliage Friend: Bringing Life Indoors
- From Sunlight to Sustainability: 15 Ways to Use Solar Technology in Agriculture
- The Ultimate Guide to Dong Tao Chicken: Exploring from History to Raising
- The Eco-Friendly Makeover: How to Convert Your Unused Swimming Pool into a Fish Pond
- Mastering the Art of Delaware Chicken Farming: Essentials for Healthy Backyard Flocks
- 20 Best Homemade Fertilizers for Money Plant: DIY Recipes and Application Methods
- How to Craft a Comprehensive Free-Range Chicken Farming Business Plan
- Brighten Your Flock: Raising Easter Egger Chickens for Beauty and Bounty
- How to Optimize Your Poultry Egg Farm Business Plan with These Strategies
- Subsidy for Spirulina Cultivation: How Indian Government Schemes Encouraging Spirulina Farmers
- Ultimate Guide to Raising Dominique Chickens: Breeding, Feeding, Egg-Production, and Care
- Mastering the Art of Raising Jersey Giant Chickens: Care, Feeding, and More
- Ultimate Guide to Raising Legbar Chickens: Breeding, Farming Practices, Diet, Egg-Production
- How to Raise Welsummer Chickens: A Comprehensive Guide for Beginners
- How to Protect Indoor Plants in Winter: A Comprehensive Guide
- Ultimate Guide to Grow Bag Gardening: Tips, Tricks, and Planting Ideas for Urban Gardeners
- Guide to Lotus Cultivation: How to Propagate, Plant, Grow, Care, Cost, and Profit
- Agriculture Drone Subsidy Scheme: Government Kisan Subsidy, License, and How to Apply Online
- Ultimate Guide to Raising Araucana Chickens: Breed Profile, Farming Economics, Diet, and Care
- Bringing Hydroponics to Classroom: Importance, Benefits of Learning for School Students
- Ultimate Guide to Raising Polish Chickens: Breed Profile, Farming Economics, Diet, and Care
- Ultimate Guide to Raising Australorp Chickens: Profile, Farming Economics, Egg Production, Diet, and Care
- Silkie Chicken Farming: Raising Practices, Varieties, Egg Production, Diet, and Care
- Sussex Chicken Farming: Raising Practices, Varieties, Egg Production, Diet and Care
- Homemade Feed Formulations for Livestock: Discover Cost-effective Starter to Finisher Feed Recipes
