Bottle Gourd is also known as “Calabash” or “Lauki” and belongs to the “Cucurbitaceae” family. It is an annual climbing vine with tremendous growth. The plant has white flowers with fleshy and Bottle-shaped fruits. Bottle Gourd is usually a winter crop, possibly tropical or subtropical, Lagenaria Vulgaris, rich in carotene, calcium, and vitamin C.
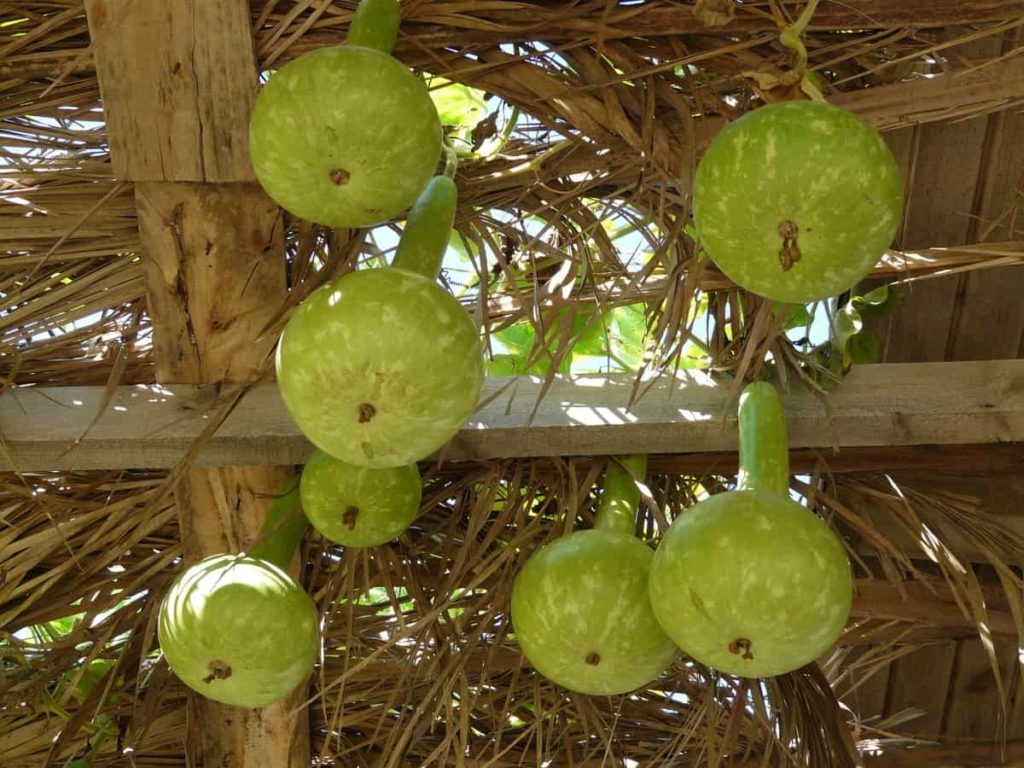
It is the healthiest and most versatile vegetable, full of water (about 92%) and minerals, and keeps the body hydrated. It has several health benefits, is easy to grow, and tolerates high temperatures; it is an excellent vegetable for Indian summers. Below are the steps regarding how to increase Bottle Gourd yield;
Top 20 steps to boost Bottle Gourd yield
Step 1: Select high yield Bottle Gourd varieties
High yield Bottle Gourd varieties are ‘Pusa Santushti,’ Pusa aveen, Pusa Hybrid-3, Vinayak, CO 1, Pusa Summer Prolific long, Pusa, Summer Prolific Round, Pusa Manjari, Pusa Megdoot, Khetlau, and Hazari. Some
Some other varieties are;
Kashi Kundal (VRBOG-16) – It is an attractive pear-shaped green fruit, medium-sized, suitable for sowing from July to September. The number of fruits is 12-14, with an average fruit of 1.3 to 1.5 kg. Downy mildew resistant.
Kashi Kirti (VRBOG- 63-02) – Fruits are green, small, and cylindrical (Gutka type). Downy mildew resistant. It is early maturing and high yielding over the check variety. Suitable for remote marketing and transportation due to better post-harvest life.
Pusa Summer Prolific Long – High yielding variety released from Indian Agricultural Research Station, Pusa, New Delhi. The fruits are 1.5-2 feet long and are eaten immaturely.
Step 2: Soil requirement for getting high crop yield
Organic sandy loam with good drainage and pH ranges from 6.5 to 7.5, which is suitable for Gourd cultivation. This crop needs moderate warm temperatures. For Bottle Gourd cultivation, well-prepared soil mixed with organic fertilizer. It will provide high-quality vegetables.
Step 3: Propagation method for more vegetable production
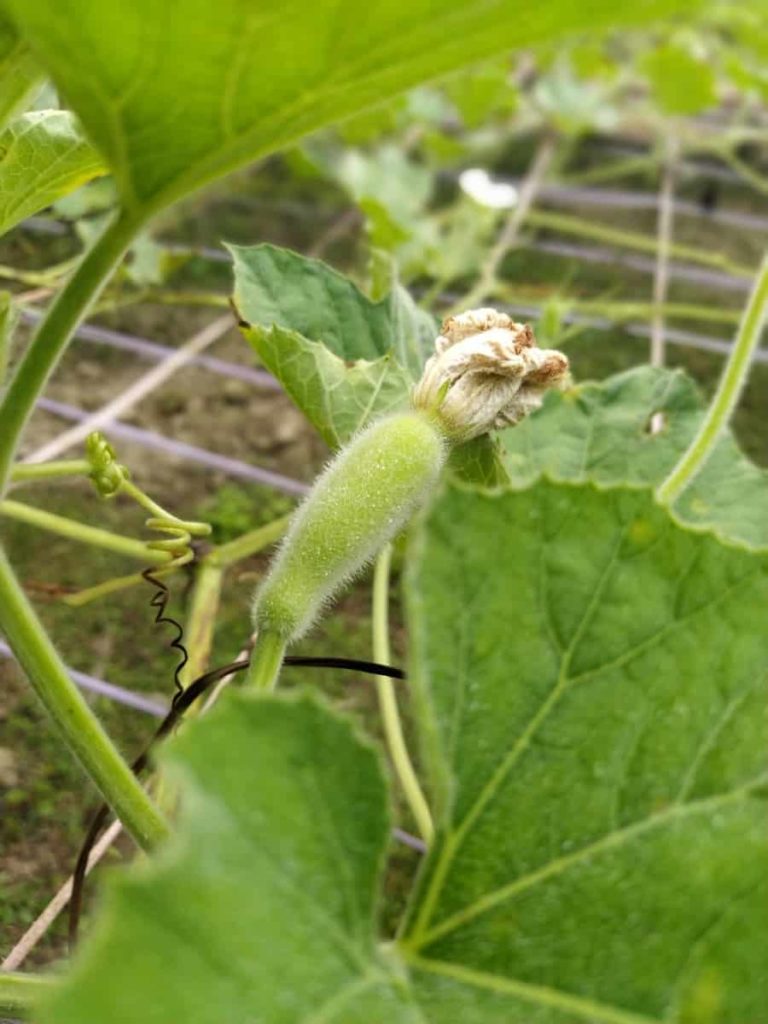
About 45 days after sowing the seed, the plants grow and reach the stage where the flowers begin to grow. Both female and male flowers are produced. The female flowers in Bottle Gourd will have small fruits attached to them, and the male flowers will not have one. Pollination is essential for good growth.
In case you missed it: Growing Organic Bottle Gourd – A Planting Guide
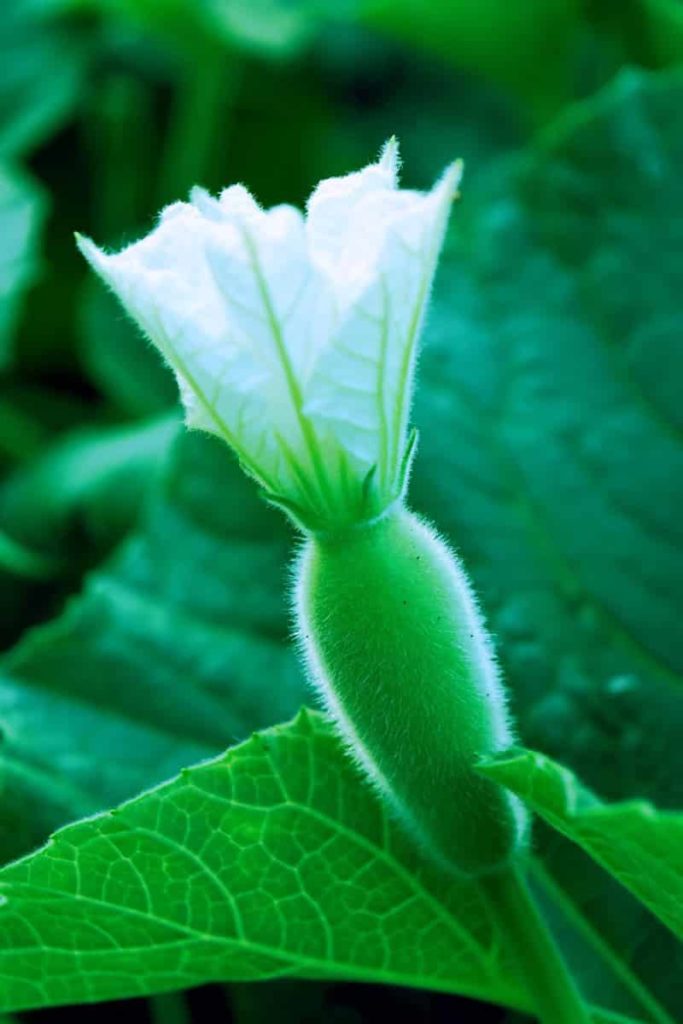
If the activity of bees is high, then pollination will be more and more fruits will be produced. In the absence of bee activity, rubbing male and female flowers together and polishing them by hand helps to produce some fruit. It will give results if the bees are kept close to the plant. Sprinkling water with sugar or jaggery can attract bees, which will help in pollination.
Step 4: Planting and site selection for Bottle Gourd farming
Bottle Gourd is not fussy about soil – a less fertile plot is an asset because it limits the vine strength – but it appreciates moisture-retaining soil in hot, dry weather because of a large part of the leaves. In the hot sun, dehydration occurs rapidly. Ideally, fill a trench with half-rotten leaf mold or coarse municipal compost where you plan to grow Bottle Gourd in early spring, just as you would prepare a trench for runner beans. You can use old potting compost from last season’s container plants or hanging baskets.
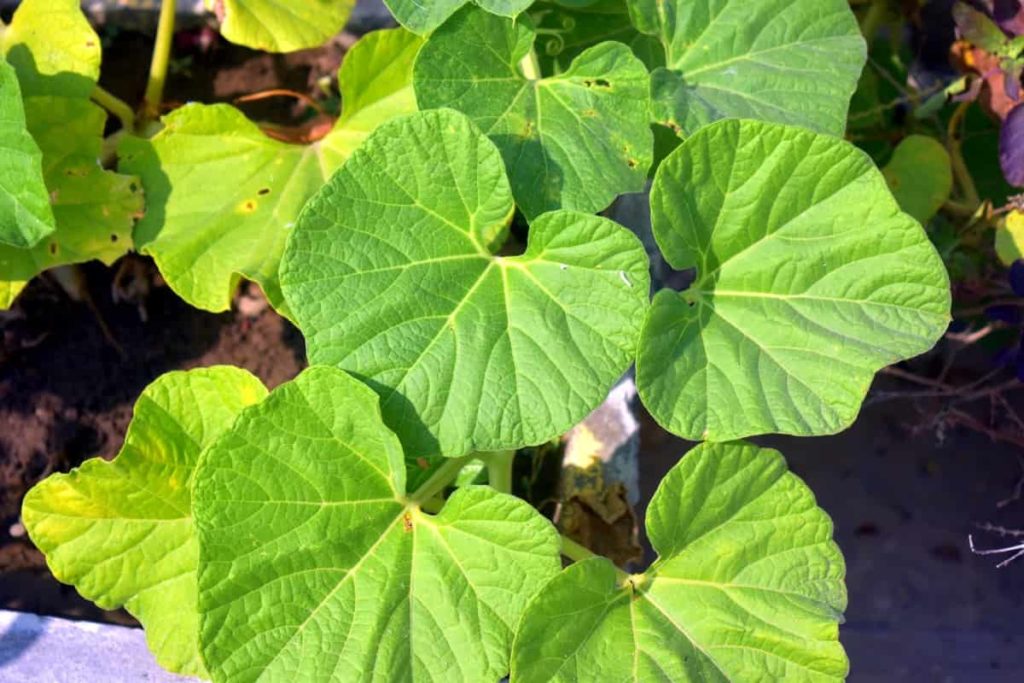
The best place to grow Bottle Gourd is in full sun, protected from strong winds. Like Bottle Gourds, they need to be started indoors and transplanted when all the risk of frostbite has passed. Harden the plants as soon as they have two or three true leaves, as they will quickly pop out of the window, and plant when the outside temperature is hot enough. Don’t worry if there are some cold nights right after the transplant. Just cover the young plants overnight with gardening wool or newspaper. Plants that take root are amazingly resistant to cold.
Step 5: Water requirement for more plant growth
Check the soil once or twice a day for moisture loss. If it feels dry and it’s time to water. A healthy Bottle Gourd plant needs water evenly so the soil does not dry out. Proper watering during the growing season encourages the flowering and fruiting of the plant. If not watered properly, plant production will be weak.
Step 6: Drip irrigation for high yield crop production
Install drip system with drainage main and sub-main pipes and place inline lateral tubes at 1.5m intervals. Place the drapers at 60 and 50 cm intervals with 4LPH and 3.5LPH capacities, respectively. As a summer crop, Gourds need more irrigation at short intervals. Drip irrigation systems can help conserve water, increase water use efficiency, and reduce the need for irrigation with higher productivity.
As a wide-distance crop, drip irrigation is economical as the crop yield through this system is about 48% higher than the yield obtained through ferro irrigation. This irrigation method is important in improving the economy in areas with limited water resources.
In case you missed it: Bottle Gourd Cultivation Income (Kaddu); Project Report
Step 7: Seed rate and seed treatment for high productivity
About a 2 kg seed rate is sufficient for one acre of land. The seeds are treated with Bavistin@0.2% by 3gm / kg to protect seeds from soil-borne fungus.
Step 8: Germination process to get more Bottle Gourd yield
Bottle Gourd seeds are slow in germination; depending on soil temperature, it may take 7 to 25 days to germinate. You can soak the Bottle Gourd seeds in water overnight to speed up germination. Use only seeds that go under the soaking bowl. When the seeds start to grow, and the plants grow to 2-3 leaves, transplant them in the last place.
Dispose of weak plants. (In colder parts of the United States, plant the seeds in small pots and keep them indoors in the warmest part of the house. When the risk of frostbite is gone, take the baby plants outside, maybe in mid-May.)
Step 9: Tips for growing Bottle Gourd from seed
- It is easy to grow by sowing seeds all year round. The summer and monsoon seasons are best to plant Bottle Gourd seeds. Buy Bottle Gourd seeds online.
- Bottle Gourd seeds are sown in small pits or on high beds germinating in 7-8 days. It grows very fast and quickly becomes a climber’s habit.
- It is essential to install strong trellis support that must be built for the climber to grow. Many gardeners allow the plant to move on the ground or climb poles or roofs.
- Fill the growing points of the young plant with branches. Side shoots will mainly produce separate male and female flowers in the second month. After pollination, the females have small Gourds under the flowers.
- If too many male flowers exist, some can be removed.
Step 10: Install trellis for plant support
If you want to train vines to climb, put a trellis near the mound. Trellis helps control your vines and helps dry out your Bottle Gourds at the end of the growing season. Use wood or PVC trellis with your Bottle Gourds because it needs to support the weight of the fruit when it reaches full size. Make sure one of the posts is with a mound so you can easily tie the vines to it. You don’t have to use trails if you don’t want to.
To protect the Gourd, spread 2–3-inch (5.1–7.6 cm) layers of mulch around the base of the mound as they will be on the ground. The ground is not covered with vines. Bottle Gourds can be trailed on the pandals or the ground. The pandals are the most common trailing system. For this, a 1.5-meter-high venue is erected using bamboo poles, wooden poles, GI pipes, or other strong materials when the plants start rolling.
Steel wires/strings, preferably used to connect rust-coated materials such as plastics, and with which coir or plastic ropes are tied cross-linked so that the horizontal coir/plastic. The ropes run upwards to form a net. The vines are supported by a bamboo pole, which helps the vine to climb freely and reach the top. Alternatively, Bottle Gourds can be trailed on the ground without spreading the twigs on the ground and erecting a pandal.
Step 11: Reasons for Bottle Gourd vine fail to produce flowers
Sometimes the Bottle Gourd vine does not give much or the female flowers and fruits. To grow flowers, you can cut the growing ends of the branches when they are about 3 feet (1 meter) long. New growth will produce more flowers. Nitrogen fertilizers produce leaves with very few flowers. Add phosphorus and potassium fertilizer to the vine to produce more flowers.
In case you missed it: Bottle Gourd Farming, Planting, Care, Harvesting (Lauki)
Step 12: Weed control for more Bottle Gourd plant growth
To control weeds, 2-3 hoeings are required in the early stages of plant growth. Weeding operations are performed at the time of fertilizer application. Earth up is also an effective way to do it in the rainy season. Apply weeding and raking of the soil at the time of fertilizer application. Earthing up is done in the rainy season. Hand or hoe weeding can be cut as required. Mulching is commonly used for raised beds of Bottle Gourd crops. Use organic mulch depending on availability. Mulch can be applied before or after transplanting and after sowing.
Step 13: Training and pruning for improving yield
To improve pruning yields, remove the lateral branches until the runner reaches the top of the trails. Leave 4-6 liters and cut off the tip of the main runner for initial pruning. Removing the background branches in the first ten nodes positively affects the total yield. Without pruning the plant, most female flowers are between the 10th and 40th nodes or at the height of 0.5-2.0 m. As Bottle Gourd grows well, proper training and pruning are beneficial.
Training plants for elbows helps to tap sunlight more efficiently and yields up to 80 tons per hectare. The axial buds of the growing vines should be removed until the grapes reach their height. When the vine reaches the bower, the apical bud is removed 10-15 cm below the elbow so that 2 or 3 branches spread on the bower. After 4-5 fruits are formed, the vines are re-pruned, allowing 2-3 axial buds to grow only on the main vines. Removing all yellow and pale-colored old leaves near the bottom is also advisable.
Step 14: Pests, weeds, and diseases control for more plant growth
Bottle Gourd is relatively problem-free, although slugs are fond of young plants. Mature leaves have a distinctive scent and lightness that repels insects. Like all cactus, they are responsible for powdery mildew in hot, humid weather with dry roots and hot, humid air. If fungus develops, regular watering of the roots and removal of the most affected leaves often helps, as is seaweed food, to improve the plant’s immune system.
In cold, wet weather, the furry leaves trap moisture and can cause gray rot or rot: again, remove the most affected leaves, thin the twigs or maximize air around the plants. Train them far and wide to provide circulation. Bottle Gourd’s overgrown growth destroys all the weeds in their path and other more desirable plants, so stop them by cutting or tying the tendrils each week.
In case you missed it: Ridge Gourd Farming, Planting, Care, Harvesting (Luffa)
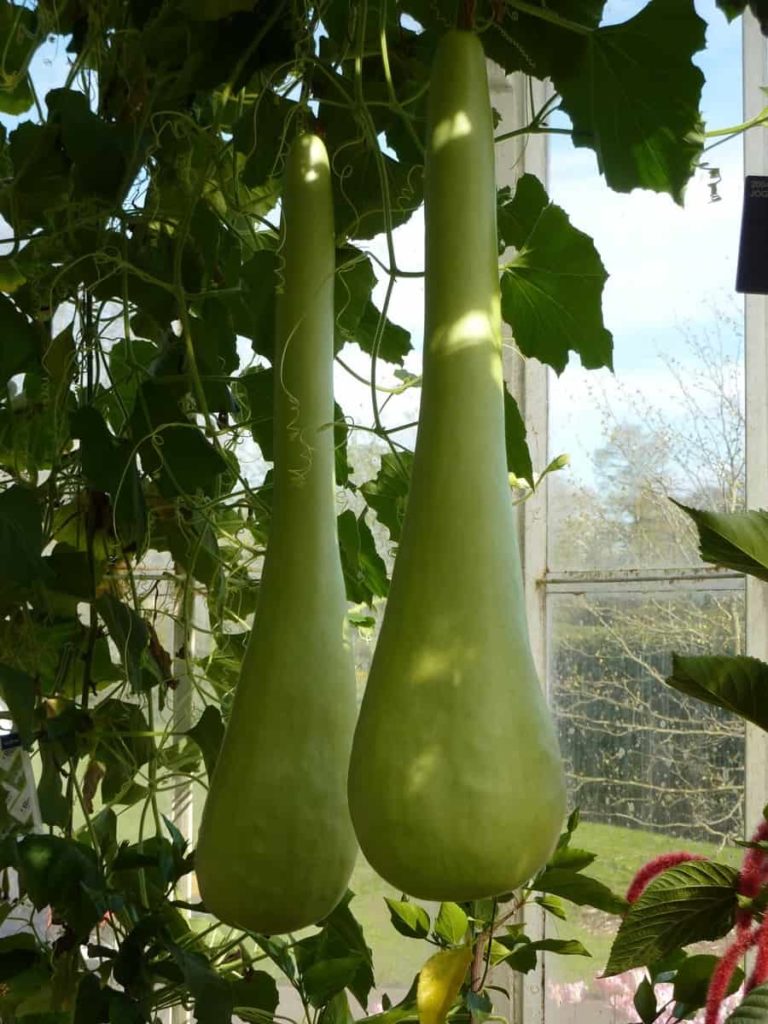
Step 15: Requirements to grow Bottle Gourd in pots/containers
Bottle Gourds can be easily grown in large bags or 14-inch containers. Before sowing the seeds, fill the container with a mixture of good-quality pots. The organic vegetable mix is the biggest growth supplement for Bottle Gourd. Make sure you grow only one plant in each container. Pour a good quality mixture into the pot before sowing. It is one of the best nourishing sources for Bottled Gourds. Grow one plant per container.
Step 16: Bottle Gourd plant care
Bitter Gourd should be grown in open and sunny places. Prepare the plant with a thick layer of cocoa peat on the top dress and well-decomposed manure in equal parts. Repeat 2-3 times during the growing season. The Bottle Gourd plant needs plenty of water to grow. It needs plenty of moisture all the time. The constant stopping and pinching of the climber ensure a very faithful and fast plant.
Step 17: Fertilizers and manure for good plant growth
For good plant growth, it is important to provide adequate nutrients. Each contains organic micronutrients. Use it as directed. Bottle Gourd requires more phosphorus and potassium fertilizer than nitrogen. Bottle Gourds need nitrogen to grow well, but more nitrogen will encourage more leaves instead of fruit. NPK fertilizer can be applied in the ratio of 6:10:10 or 4: 8: 5.
Before planting, add about 20 grams to the soil for each plant. Feed with liquid manure or comfrey tea fertilizer every two weeks. The amount of fertilizer and manure required to grow a healthy Bottle Gourd crop depends on the type of soil, the cultivation season, and the growing area’s climatic conditions. It isn’t easy to be specific about the fertilizer recommendation as the Gourd cultivation system varies from region to region.
In the growing farming system and in areas where pit sowing is the most common practice, field fertilizer is applied in trenches and pits, respectively. Each pit contains 2 to 3 kg of agricultural fertilizer mixed well. A small amount of farmyard manure is also applied at this stage. It can also be supplemented with phosphatic and potassic fertilizers. Another dose of nitrogen fertilizer is applied to each plant, followed by weeding and hoeing.
In cases where plants are grown in polythene bags for early production, the beds are prepared at a distance of 2.0 to 2.5 meters. Then a small amount of soil is removed from the prepared pits at a distance of 60-75 cm on either side of the raised bed. Mix one kg of well-digested crop fertilizer, approximately 15-20 g of Calcium Ammonium Nitrate (CAN), 25-30 grams of Single Super Phosphate, and 15-20 grams of Muriate Potash in each pit and mix thoroughly.
Another dose of nitrogen (7-8 grams of urea per plant) is given to the plant in the early stages of crop development. However, the fertilizer amount varies with the soil type and the vine’s growth. This process saves a considerable amount of fertilizer, making it one of the most economical for farmers.
Step 18: Pests and diseases control to increase productivity
In hot, humid weather, powdery mildew can be a problem in Bottle Gourd. If mold appears, remove infected leaves. Ensure the Bottle Gourd plant has good air circulation and proper drainage to avoid mildew and rot.
In case you missed it: Snake Gourd Cultivation Income, Cost, Project Report
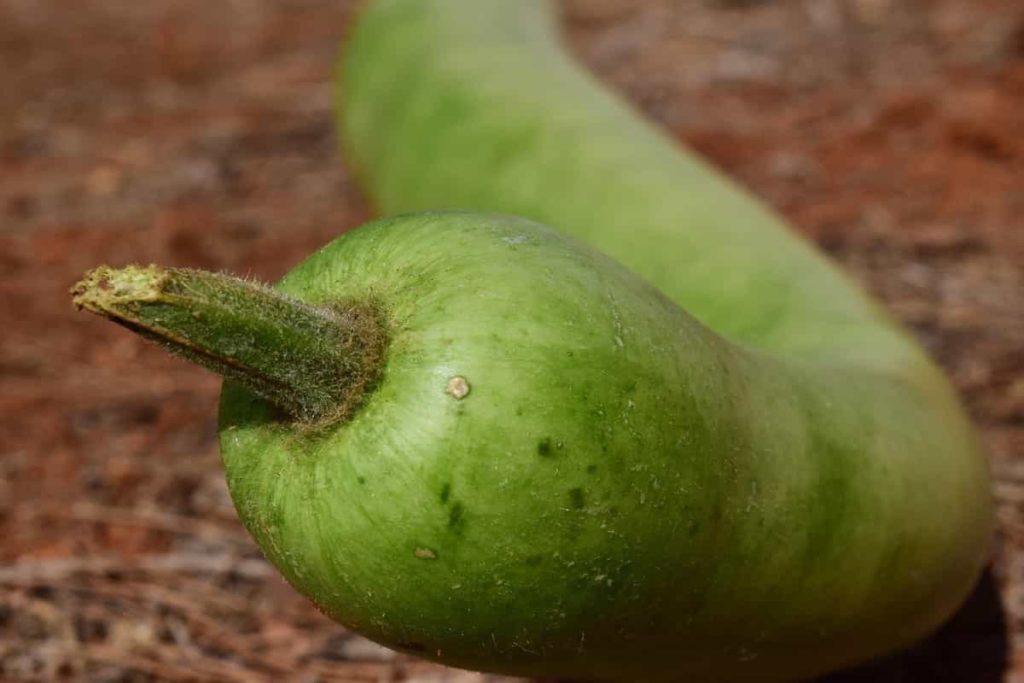
- Mites: Spray Dicofol 18.5% SC by 2.5 ml in water.
- Aphid: Spray with plenty of Imidacloprid @ 0.5ml / liter along with a sufficient number of stickers such as Teepol, Triton X100, etc., for better adhesion and coverage.
- Beetles, fruit flies, and caterpillars – Beetles, fruit flies, and caterpillars can be controlled with a spray of Malathion 50 EC 1 ml/liter or Dimethoate 30 EC 1 ml/liter or Methyl Demeton 25 EC 1 ml/liter. Do not use copper and sulfur dust as they are phytotoxic.
- Powdery mildew – Powdery mildew can be controlled with a Dinocap 1ml / liter spray, Carbendazim 0.5 grams/liter, or Tridemorph l ml /liter.
- Downy mildew – Downy mildew can be controlled with a spray of Mancozeb or Chlorothalonil 2 g per liter. Twice at 10-day intervals.
Step 19: Harvesting Bottle Gourd tips for more crop yield
It should start flowering within 25-30 days of planting. The Gourd produces white flowers, about 4 inches in diameter. Bottle Gourds appear within 40-50 days of planting. When young and soft, 15-18 cm tall, pick Bottle Gourd from anywhere and keep picking to produce new fruit. They will be refrigerated in a salad tray for about a week to ten days but will be eaten fresh. It is very important to harvest Bottle Gourds at the right time.
When the Gourd begins to change color or turn yellow, it is time to harvest it. You should be able to pierce your nails in it easily. Prune a Bottle Gourd with at least an inch of stem attached. If the fruit is too hard and you can’t pierce your nails in it, it is overripe and not suitable for cooking but good for decoration. Ripe Bottle Gourds are good for making seeds, which can be used to grow Bottle Gourds next year.
Step 20: Bottle Gourd yield per acre
The average yield is between 150-200 quintals/acre. The most important factors influencing crop yield are soil fertility, seed selection, water availability, climate, and diseases or pests.
- Economical Aquaculture: A Guide to Low-Budget Fish Farming
- 15 Common Planting Errors That Can Doom Your Fruit Trees
- How to Make Houseplants Bushy: Effective Tips and Ideas
- Innovative Strategies for Boosting Coconut Pollination and Yield
- Pollination Strategies for Maximum Pumpkin Yield
- The Complete Guide to Chicken Fattening: Strategies for Maximum Growth
- Natural Solutions for Tulip Problems: 100% Effective Remedies for Leaf and Bulb-Related Issues
- Revolutionizing Citrus Preservation: Towards a Healthier, Greener Future
- Natural Solutions for Peony Leaf and Flower Problems: 100% Effective Remedies
- Maximizing Profits with Avocado Contract Farming in India: A Comprehensive Guide
- Natural Solutions for Hydrangea Problems: 100% Effective Remedies for Leaf and Flowers
- The Ultimate Guide to Choosing the Perfect Foliage Friend: Bringing Life Indoors
- From Sunlight to Sustainability: 15 Ways to Use Solar Technology in Agriculture
- The Ultimate Guide to Dong Tao Chicken: Exploring from History to Raising
- The Eco-Friendly Makeover: How to Convert Your Unused Swimming Pool into a Fish Pond
- Mastering the Art of Delaware Chicken Farming: Essentials for Healthy Backyard Flocks
- 20 Best Homemade Fertilizers for Money Plant: DIY Recipes and Application Methods
- How to Craft a Comprehensive Free-Range Chicken Farming Business Plan
- Brighten Your Flock: Raising Easter Egger Chickens for Beauty and Bounty
- How to Optimize Your Poultry Egg Farm Business Plan with These Strategies
- Subsidy for Spirulina Cultivation: How Indian Government Schemes Encouraging Spirulina Farmers
- Ultimate Guide to Raising Dominique Chickens: Breeding, Feeding, Egg-Production, and Care
- Mastering the Art of Raising Jersey Giant Chickens: Care, Feeding, and More
- Ultimate Guide to Raising Legbar Chickens: Breeding, Farming Practices, Diet, Egg-Production
- How to Raise Welsummer Chickens: A Comprehensive Guide for Beginners
- How to Protect Indoor Plants in Winter: A Comprehensive Guide
- Ultimate Guide to Grow Bag Gardening: Tips, Tricks, and Planting Ideas for Urban Gardeners
- Guide to Lotus Cultivation: How to Propagate, Plant, Grow, Care, Cost, and Profit
- Agriculture Drone Subsidy Scheme: Government Kisan Subsidy, License, and How to Apply Online
- Ultimate Guide to Raising Araucana Chickens: Breed Profile, Farming Economics, Diet, and Care
- Bringing Hydroponics to Classroom: Importance, Benefits of Learning for School Students
- Ultimate Guide to Raising Polish Chickens: Breed Profile, Farming Economics, Diet, and Care
- Ultimate Guide to Raising Australorp Chickens: Profile, Farming Economics, Egg Production, Diet, and Care
- Silkie Chicken Farming: Raising Practices, Varieties, Egg Production, Diet, and Care
- Sussex Chicken Farming: Raising Practices, Varieties, Egg Production, Diet and Care
- Homemade Feed Formulations for Livestock: Discover Cost-effective Starter to Finisher Feed Recipes