A step by step guide for growing onions from the seed
Today, we learn the topic of growing onions from seed in containers, pots, and indoors. we also cover how to take care of onion plants, planting procedure, and harvesting process.
Onions are the ones which are very simple to grow from bulbs. You can also grow them from seeds and this would be more exciting and the results will also be good. When you are purchasing the seeds of onion, you can plan using them within two years. As long as you store the onion seeds, there are fewer chances for them to sprout. As soon as the sprouting of onions takes place, you can start making use of them as green onions or scallions or you can also keep waiting until they reach the stage of maturity and then harvest them as bulbs. Growing onions from water or growing hydroponic onions is also possible.
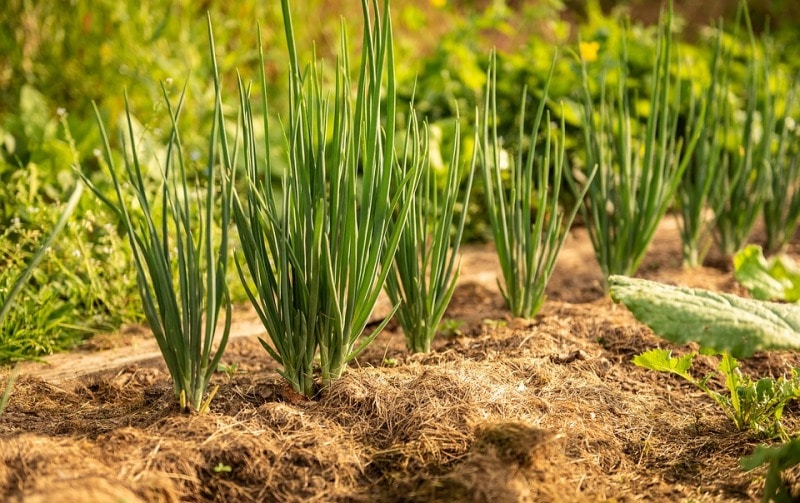
How to grow onions from seed:
- Select a correct seed type which would be suitable for your locality. Generally, onions are characterized into three types. Short day, day-neutral onions and long-day onions. These categories are dependent on the hardiness of the plant and the locality you are residing in. If you are selecting the wrong variety of onion in for your locality, you may not get a successful growth of onions.
- If you are located in an area which has warmer climatic conditions, then you have to go with short-day onions like red creole, Vidalia and red burgundy.
- If you are living in a locality which is colder, you will have to prefer growing long-day onions like white sweet Spanish, copra, Alisa Craig.
- You can consider growing day-neutral onions anywhere irrespective of the climatic conditions.
- There are many online tools available which would help you to know about the locality you are living it.
- It is better to start planning the seeds of onions in the indoor locations prior to 2 to 3 months of the last frost date. This will provide the seedlings with a very good start. It will also let them get germinated into seedlings which are healthy prior to the transplantation of these to outdoor locations.
- Take a container which is shallow and fill it with seed starting mix. This mixture should be dampened. The container should have a depth of about 4 inches along with few drainage holes. This container can be of any size or shape and it completely depends on your wish.
- The seeds have to be planted as per the label present on the packet of your seeds. If you are not having the seed packet with you, then you can start by sprinkling the seeds over the soil which is damp. The seeds have to be misted with water in a light manner and then you will have to cover them with a thick layer of seed mix. The thickness of the layer should be a ⅛ inch. The soil has to be patted in a gentle manner by making use of your hand when you have completed the misting of seeds.
- Make sure that you are maintaining your seeds warm and damp until they start sprouting. The seeds have to be covered with a dome for humidity or you can also consider covering the seeds with plastic or starting mix. These have to be kept in a place which is warm i.e., which is having a temperature between 21 to 25°C. If the climatic conditions are too cool in your locality, the containers have to be placed on a heat mat. You can expect the emergence of seedlings for approximately 1 week or 10 days.
- The warmth and humidity have to be limited to once you see the sprouting of the seedlings. The plastic cover or the humidity dome which you have used to cover the seeds have to be removed and the seeds have to be moved to a place which is cooler. The soil has to be kept moist and make sure that you are fertilizing it. The best fertilizers would be compost tea or fish emulsion which is diluted.
You may also like Organic Vegetable Farming in India.
Transplantation of onion seedlings:
- The seedlings have to be hardened for about a month prior to the transplantation to the outdoor locations. You will have to begin hardening them just a month prior to the expected last frost date. At this time, you can gradually start the introduction of seedlings to the outdoors. This can be started by keeping them outdoors in a spot which is sheltered for many hours and then bringing them back to the indoors for the remaining part of the day. Raise the exposure of the seedlings to the outdoor locations slowly until the time you are prepared to leave them in the outdoors for the entire night.
- The process of hardening will help the seedlings to get habituated to the colder climatic conditions, reduced sun and less amount of watering.
- Transplantation of seedlings to the outdoor locations immediately will give a shock to the seedlings and would eventually kill them.
- You will have to wait until the seedlings reached a height of 4 inches. This will make sure that the plants which are young are sufficiently strong for tolerating the outdoor locations.
- Start the preparation of some soil which drains well and rich in the content of phosphorus. Choose a spot in your garden which will be able to receive at least 6 hours of sunlight. Spread a fertilizer which has the n-p-k ratio of 5-10-5 at a thickness of 1 ½ inch over the soil. The fertilizer has to be mixed into the soil until a depth of about 10 inches. Always ensure that the soil is kept soft and it has no clots in it.
- You can also try adding some amount of organic matter to the soil, if you wish, like rotted manure or compost which is mostly used for gardening.
- If 5-10-5 fertilizer is not available, you will have to search for something which has the rich content of phosphorus.
- The seedlings have to be planted at a distance of a minimum of 3 inches. You can look at the instructions present on the seeds package. This will help you to know the distance at which the seeds have to be spaced. If you do not have packaging available with you, then you can go ahead and plant the seedlings at a distance of 4 inches.
- Make use of a fork for loosening a hole in the dirt, then keep the seedlings in the hole. After that, the dirt has to be pushed back.
- Now, it is time to water the seedlings. Once the transplantation of seedlings is done, provide them with a sufficient amount of water for dampening the soil.
Onion plant care and maintenance of onions:
- The onions have to be watered often and make sure that you are not letting them get dried. You can also take into consideration adding some amount of nitrogen to water for keeping your onions in a healthy manner. You will only require to do this until the middle of summer anyway.
- The soil has to be pulled away from the bulbs for exposing the tops as they reach the stage of maturity. Bulbs and leaves of the parts of onion which will stick out of the soil. If you do not see the development of bulbs out of the ground, you may be required to brush the soil away from them so that the roots and the bulb’s bottom part will be in the soil. This will help in the faster drying of the bulbs.
- The leaves have to be trimmed to 2 inches. If you are trying to create a braided look of the onions in the form of a rope similar to garlic, you can make the leaves grow longer.
How and When to harvest onions:
You may also like Tomato Farming in Winter.
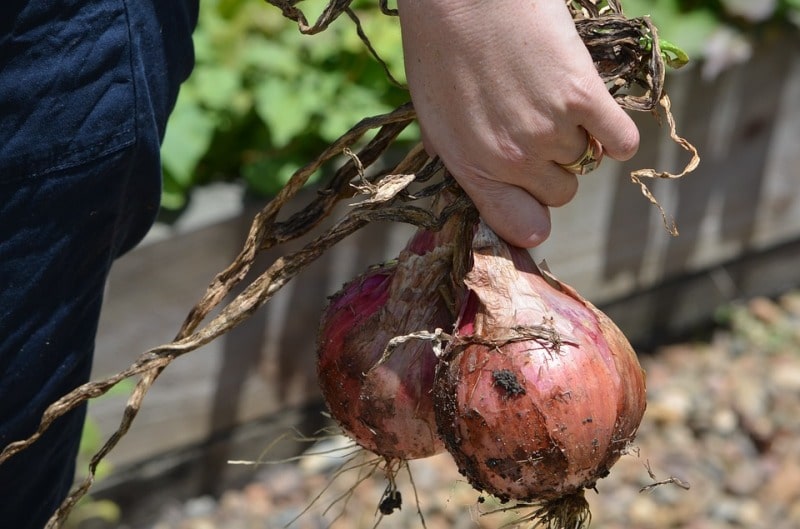
- The bulbs have to be pulled out of the ground. Once you see the outer section of the skin of the onion bulb getting dried, it means that it is prepared for harvest. The bulbs have to be placed in a container, it can be a bag, wheelbarrow or any kind of box for storing the onions which you have harvested. Always ensure that the container has good ventilation. Along with that, the container has to be dark, dry and also warm.
- The onions have to be taken away from sunlight which is direct to the place where the air circulation is good and it has a warm and dry environment. The bulbs have to be spread out by putting them on a screen to give them a sufficient amount of air circulation. Allow them to get cured by placing them in a garage or shed. You can also consider curing them in a porch which will not get a large amount of sunlight.
- If you are curing the onions by placing them in direct sunlight, the skins of the onions will get softened leading to the introduction of bacteria. If you are curing the onions in a place which is humid and damp, they start rotting.
How to store freshly harvested onions:
- The onions which are cured have to be stored in some place which is cool and dry and also has ample circulation of air. If you are not considering to braid the onions together and getting them hung, you will be required to store them in a proper way by placing them in a box or bag. You can also consider storing them in any way you want, as long as they are placed in a cool and dry location. Ample circulation of air is mandatory. Below are a few popular methods for the storage of onions:
- The onions have to be stored in onion bad and the bang has to be hung up.
- The onions can also be stored in a box which is shallow. Make use of a newspaper for separating the bulbs.
- You can also take into consideration storing the onions in nylon stockings. You will have to tie a knot in between each individual bulb. The stocking has to be hung up. Whenever you want to get an onion, you will have to simply cut it below the knot or you can also cut above the knot.
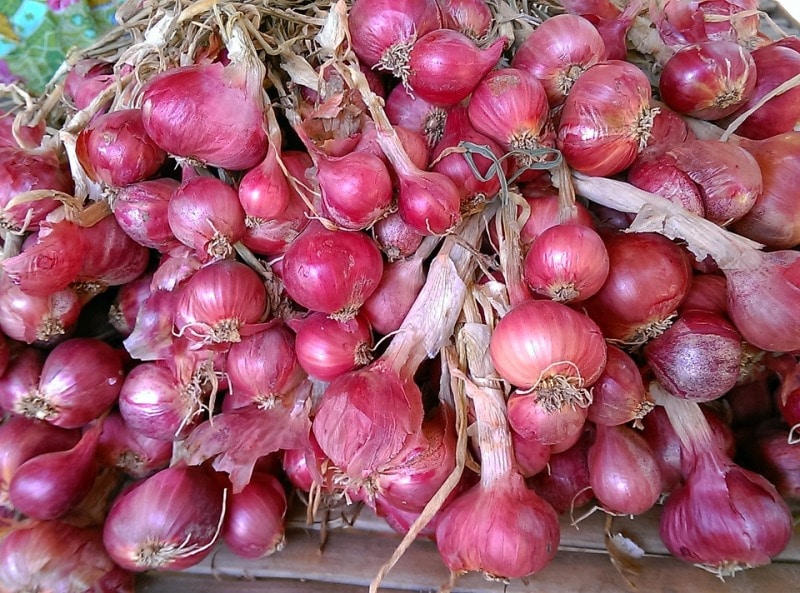
How to grow onions in containers:
Most of the people really love to grow onions, but due to less availability of space in the garden, they will not be able to grow them. Such people can consider growing onions in containers. Growth of onions in containers will let you grow the onions in the indoor locations or in any space which is small.
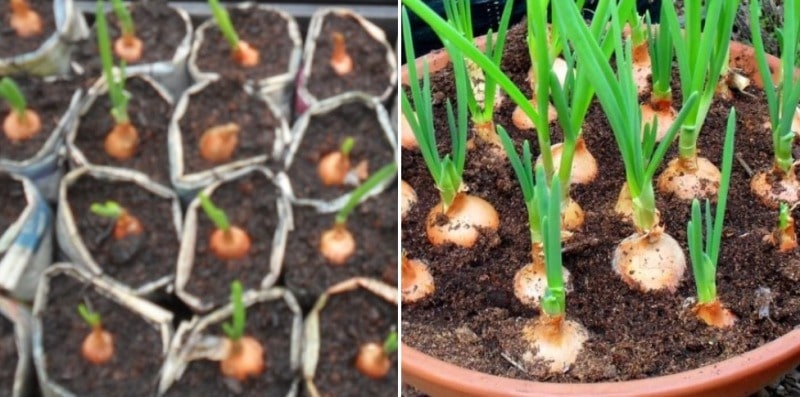
The method of growing onions in pots or containers is almost similar to growing onions in the ground. You will require soil which is good drainage which is adequate, an adequate amount of light and a good fertilizer. The only difference between the growth of onions in containers and ground is the type of container you are choosing to grow them.
You may be interested in Betel Leaf Farming, Planting, Care, Harvesting.
As you will require many onions to be planted for getting a decent crop, you can attempt to grow onions in pots which are having a width of 6 inches. If you have decided to grow onions in pots, make sure that you are selecting a pot which has a largemouth. It should be at a depth of a minimum of 10 inches but should have a width of several feet so that you will be able to plant a sufficient amount of onions to make it worthy. Most of the people will be successful in growing the onions in a tub. As the plastic tubs are cheaper than a pot, it would be economical to grow onions in a tub. You will have to ensure that you are putting holes in the bottom of the tub for providing drainage.
You can also consider growing onions in 5-gallon buckets, but remember that you will be able to grow only 4 onions in a bucket as the onions will require a minimum of 3 inches of open soil around them for their proper growth.
Irrespective of your decision to grow onions in pots or tubs, it is very important that you are keeping the container in a place which gets at least six hours of sunlight. If you are growing the onions indoors and you are not having an adequate amount of sunlight, you can provide supplement lighting like fluorescent bulbs and put them close to your onions.
Watering is very essential to grow onions in containers as the onions growing in your container will have very less access to store rainfall in a natural way from the surrounding soil similar to the onions which grow in the ground. Onions which are growing in the containers will require a minimum of 3 inches of water per week. You may require to give more amount of watering when the climatic conditions are hotter. Make sure that you are monitoring the onions on a daily basis, and if you find that the soil’s top is dry when you touch with the fingers, you will have to provide them with water. Growing the onions in the indoor locations is simple and also fun.
How to grow onions indoors:
- Onions can also be grown in indoor locations all across the year. For growing onions in the indoor locations, they will need a container which has a depth which would be sufficient for the bulbs to grow. They need a container which is sufficiently deep for the formation of the bulb, along with exposing them to light and soil with very good drainage.
- The container which you select has to be placed in an area with an adequate amount of sunlight as it works well at the time of the growing season, but there is a requirement for artificial lighting at the time of autumn and winter. Select a variety of onion which will produce small heads as the vegetables in the containers will have less space for growth.
- Fill a container which is of half a gallon with the potting soil which has lightweight. The container will require a minimum one hole at the bottom so that there is an additional amount of water for escape.
- Make sure that you are adding a ¼ tablespoon of 10-10-10 fertilizer with the potting soil medium.
- The onion sets have to be planted at a depth of one inch. They have to be planted closely so that they touch each other if you are planning to harvest them as green onions. Let a space of 2 inches in between each set if you are harvesting the onions when they reach the stage of maturity.
- The soil has to be moistened in a light manner and the container has to be placed in a window which is facing south.
- The soil has to be monitored in a closed manner and watering has to be done in a close manner when the top half-inch is dry. Make sure that you are avoiding the soil to get dried out in a complete manner.
- Feed the soil every alternate week with a fertilizer of 15-30-15 which is water-soluble. This has to be diluted to half of its strength until you see proper growth.
- The container has to be placed below the plant growing lights at the time of autumn and winter.
- The green onions have to be harvested when the stalks are at a length of six inches. The onion bulbs which are dry have to be harvested after the stalks fall over.
- Keep making the plantations all across the year. Make use of potting soil which is fresh for each of the plantations so that there would be no depletion of nutrients.
You may also like the Drumstick Farming Project Report.
Facts about onion plantation:
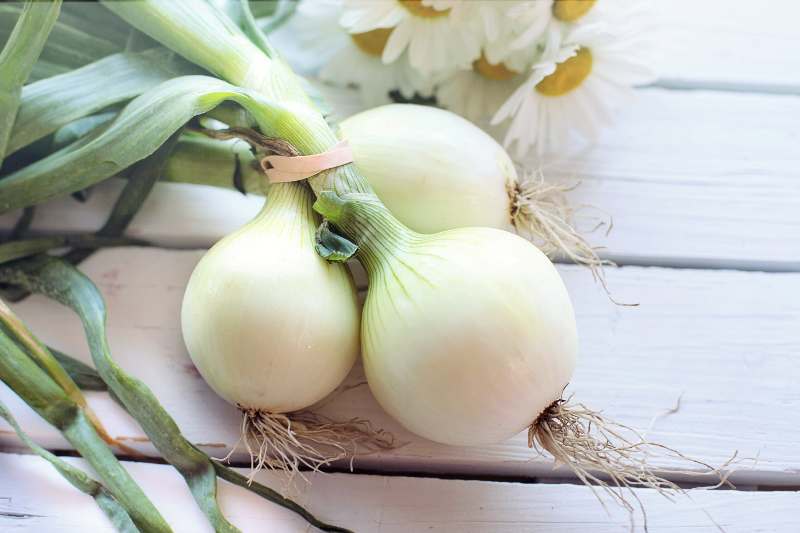
- The onions can be grown in an easy manner in the odd spaces beside any of the growing vegetables. Green onions will be ready for harvest after at least a month of the plantation. Onions with dry bulbs will take almost 5-6 months to reach the stage of maturity.
- Generally, onions will require full sun, a good amount of soil moisture, well-drained and fertile soil. They will be able to thrive in partial shade but the onions will be small in terms of size and the plant will be more prone to pests and diseases. Onions will not be able to grow when placed in complete shade.
- Formation of onion bulbs is regulated by the onion variety, day length, and the climatic conditions. The onion will bulb when the necessary climatic conditions are met. The soil has to be removed at the base of the plant as it will not improve bulbing, although you see bulbs.
- If the spacing is wide, it is easier for controlling weeds which will start competing with the nutrients. The area has to be kept free of weeds, else, the onions will not grow much big. Once the onion bulbs start to swell at the end of the spring, make sure that they are above the ground.
- Onions will need a very high amount of nitrogen. A fertilizer which is nitrogen-based has to be applied at a rate of 1 cup per 25 feet. The first application of fertilizer should be done about 1 month after plantation and then continue the application for every 15 to 20 days.
- Onions will not survive in the soil which is acidic. This will help in the addition of nutrients, improvement of the structure of the soil and holding moisture. Make sure that you are making use of fresh manure. A little amount of fertilizer is needed at the time of plantation. You can go ahead and add organic fertilizer like poultry manure pellets which are dried.
- To maintain the health of the onion plants for the formation of bulbs, they will require a lot of nutrients at its early stages of growth. If there is so much amount of nitrogen, then your onion plants will grow above the ground, but will not be able to produce bulbs. Onions will require watering on a regular basis for a growth which is healthy and for the formation of bulbs.
You may be interested in Growing Hydroponic Spring Onions.