Plum, Prunus domestica, is a deciduous tree in the Rosaceae family, grown for its edible fruit. The Plum tree has a habit of growing upright with a spreading canopy. Growers should be aware of the essential care of Plum trees and also consider what Plum tree diseases they may encounter during the growing season. Let’s check out the top 19 steps to boost Plum yield below.
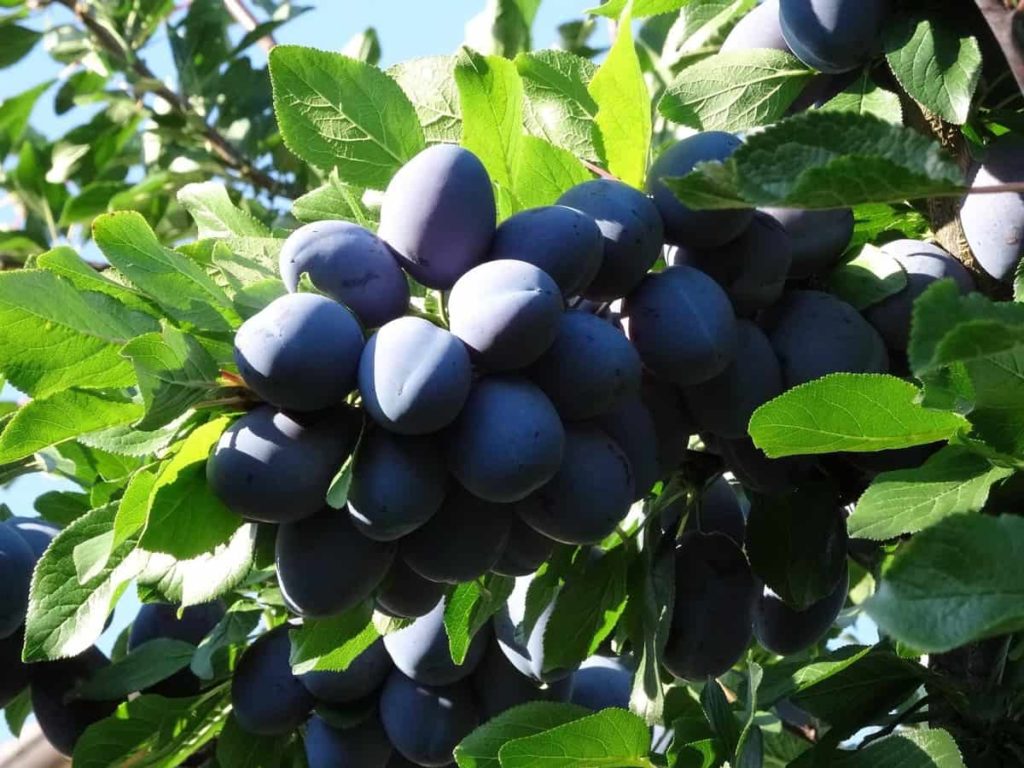
Top 19 steps to boost Plum yield
Step 1: Select the best variety of Plum
Billington, Black Doors, Burbank (Japanese), Damson, English Greengage, Omega, Santa Rosa, Shino, and Wilson Early are popular Plum varieties.
Step 2: Soil requirement for plant growth
Plum trees prefer soil with a pH level between 5.5 and 6.5. In addition, the soil must be sandy, loamy, and well-drained. Alkaline soils will be fine but may affect fruit production.
Step 3: Choose and prepare the spot for getting more fruits
Plum trees need full sunshine to produce sweet fruit, so choose a planting site that lasts at least six hours a day. For soils, they prefer smooth, well-drained soil rich in organic matter. Standard-sized trees require a minimum of 20 feet of space, while dwarf species require a minimum of 10 feet.
Step 4: When and where to plant your Plum trees will affect crop yield
Like most plants, Plum trees prefer the time of year that they should be planted. If you are working with rootstock, apply it in late winter or early spring. During this time, Plum trees are inactive for cold weather and more protected from the shock of transplanting. Make sure your Plum tree is planted far away from other plants or structures to spread its branches and roots. Plum can be somewhat sensitive to cold and open weather conditions.
Avoid low-lying Plum trees in your garden, as this is where the cold freezes. Late spring freezing can affect fruit production and cause crop failure. Likewise, ensure that the elements, especially the air, are moderately protected wherever you plant your tree. Turning south or west can help protect the tree from cold winds, affecting fruit growth.
Step 5: Propagation method for maintaining good yield
Plum trees are propagated vegetatively to maintain the desired genetic trait of the parents. Plum rootstocks are commonly used, but Plum can also be grafted on peach, Japanese apricot, and almond rootstock. Plant bare-root trees in a pre-drilled hole that is slightly wider than the root ball. Backfill the hole so that the Plum tree is planted to its original planting depth and that the bud is united above the soil line.
In case you missed it: Plum Seed Germination, Time Period, Temperature, Process
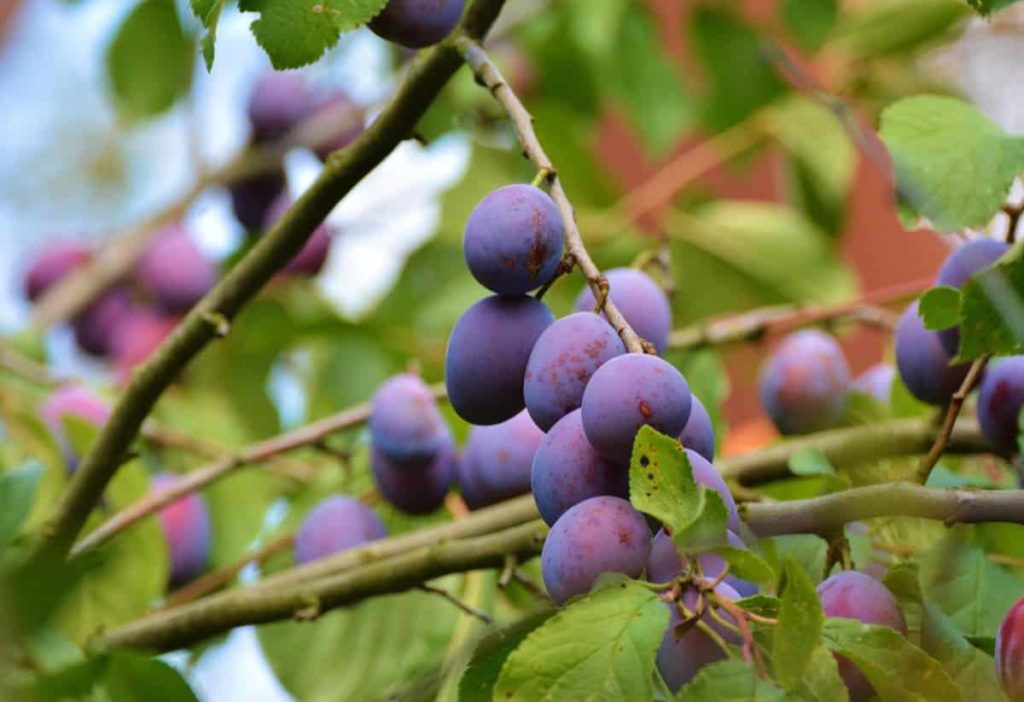
It is usually identified by a change in the color of the bark. If more than one tree is planted, they should be separated from 2.0-2.5 meters (6.6-8.2 feet). Most Plum varieties are self-bearing, but cross-pollination may be required for fruit sets. Bees pollinate Plum, and it can be beneficial to maintain beehives in gardens.
Step 6: Tips for controlling fruit drop
A Plum tree can have several reasons for dropping its fruit before ripening: disease, insects, high winds, and stress like too much water, too little water, nutrient deficiencies, poor drainage, weed competition, and excessive shade.
Diseases of the Plum tree can slow down or stop fruit crop production. Thus, control the Plum disease at the earliest opportunity after discovering the health of your fruit-bearing Plum trees. Even after reaching maturity, the Plum tree may fail to bear fruit for several reasons, including:
- Excessive fruit production last year – the tree used too much energy to produce fruit.
- Excessive wood production – Trees use all their energy to grow wood. It is due to over-harvesting or over-fertilization. On the contrary, it can bear more fruit in the years to come.
- Frost damage – Warm weather (false spring) can cause Plum trees to bloom quickly at the end of winter. Cold frosts in late spring can kill the flowers, causing a complete shortage of fruit this year.
- June drop – Called June Drop, this natural thinning occurs in April or May in the warmer southern states. At the moment, the fruits are about the size of a marble. If the tree bears much fruit, then the competition for nutrients causes the tree to bear some fruit. Thinning this natural fruit benefits the rest of the fruit, producing larger and better-quality Plum. Other hand thinning can be guaranteed if the rest of the crop is too heavy for the tree branches.
- Diseases – Damage to the tree can reduce the quality or quality of the fruit and cause the fruit to fall off. In addition to fruit fall, signs of damage to the tree include discoloration, swelling, tumors such as growth, gumming, yellowing of leaves, and leaf fall.
Step 7: Nutrients to increase stone fruit number
- Phosphorus and magnesium increase Plum fruit number, although the effect of nitrogen on the number of fruits per tree is not clear. Boron, iron, and zinc also help the tree produce more fruit.
- Phosphorus directly affects the number of fruits – while trees do not require large amounts of phosphorus, it can directly affect the number of flower buds and fruits on phosphorus-deficient soils.
- Magnesium – Magnesium sprays can improve fruit retention on trees, reducing fruit fall. The common practice is to use plant growth on leaf fall, fruit set, and then at intervals of 10-14 days so that any reduction in growth (for example, due to low temperature) or fruit fall from the tree.
- Boron encourages better flower and fruit set – Boron has a key benefit when buds bloom and flower when used to maximize fruit set. Trials confirm that the best results are obtained by applying boron in autumn, two to three weeks before the fall of leaves, which target plants and buds.
In case you missed it: Jamun Farming Information (Indian Black Plum)
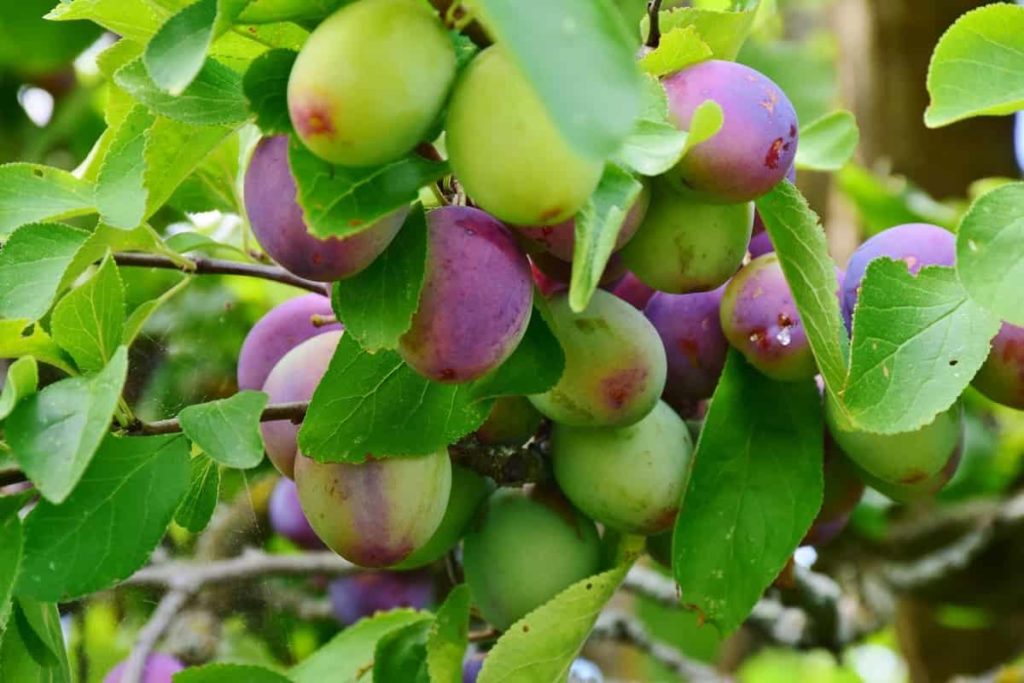
Step 8: Planting Plum trees to produce good fruits
Plum can be planted in autumn or spring but avoid freezing temperatures. Remember that the best time to plant all fruit trees is autumn, as this season has the highest success rate for root growth in the spring season. Plum trees prefer places where there is more sunlight to produce good Plums. In the first few weeks, water regularly until it freezes. It is best to water during the day, as on colder nights.
Step 9: Irrigation for better fruit
Plums are irregularly rooted as well as adequate moisture is required during growth. Therefore, during irrigation, enough water should be used to reach the root line of the Plum tree and beyond. For young trees, about 2 gallons of water is enough. However, adult Plum trees require about 8 gallons of water per day.
Step 10: Crop nutrition for more fruit yield
- Nitrogen and potassium shoots are key elements in increasing leaf growth and fruit set/size and filling.
- Phosphorus is essential for skin growth, roots and leaf growth, flowering, fruit set, and production.
- Calcium is needed to ensure healthy leaf growth, thus providing high yields.
- Magnesium, iron, and manganese ensure good photosynthetic activity, maintaining a strong fruit set and tree.
- Poor availability of any micronutrients will limit growth and production.
- Boron and zinc are especially important for maximizing flower numbers and fruit sets.
Step 11: Training for better flower and fruit set
Plum trees should be trained according to the modified leader system. If healthy plants are planted with some selected scaffolding, the training can be completed in two years. Otherwise, planting completes the training in 3 years. The top-growing shoots return to a height of 90 cm when planting. Selected scaffolds at 40 cm and above are also sent back in January for branching.
In case you missed it: Plum Farming Information Detailed Guide
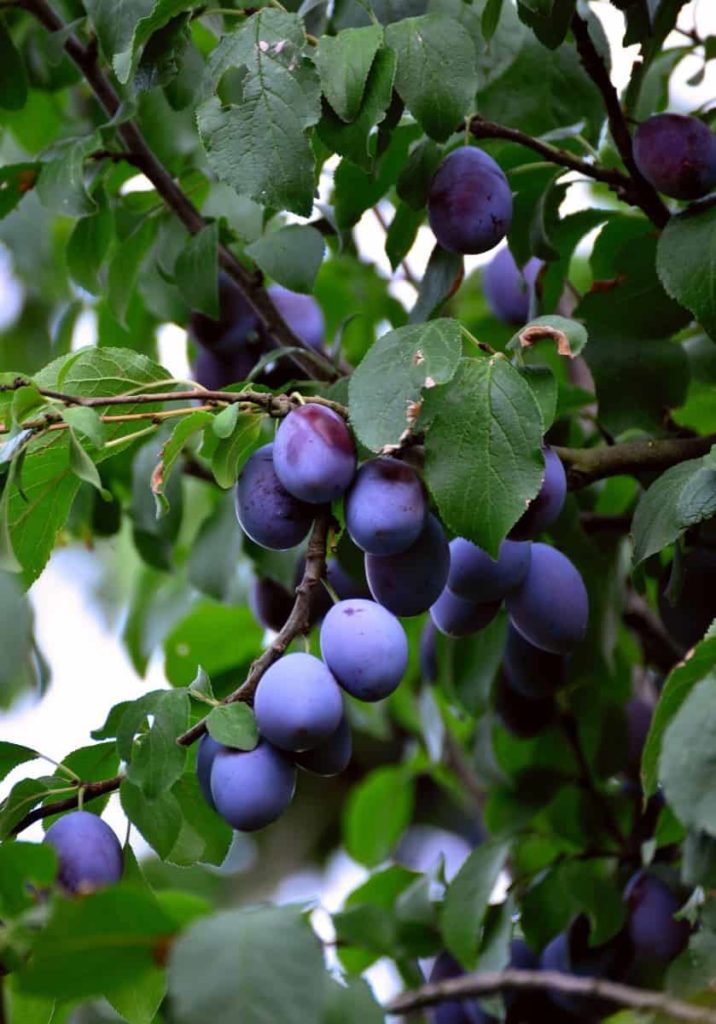
The plants grow in February and grow well in summer until October. During the growing period, one must continue choosing the side branches to provide a healthy scaffold system within two years. Overall, choose 4-5 scaffolds around the trunk. Secondary branches are also selected on the scaffolds during the first two years.
The fastest-growing leader in the third year should be removed from one of our growing support points during January. The small spots that form during these years begin to bloom on the shoots. Water sprouts sprouting on the main stem should be removed immediately.
Step 12: Pruning Plum trees for healthy plants
Pruning of Plum trees is essential for keeping them healthy and promoting good growth of fruit-bearing branches. Regularly prune healthy buds. Removing dead wood is essential to encourage proper growth. Help shape your Plum tree into a bowl to make it easier to reach the fruit.
Step 13: Intercropping to get more fruits
In the solid block of Plum, intercrops can be grown for the first five years. If the Plum is planted as a filler, there is very little space left for the crop to grow. Therefore, indoor crops can be grown for only 1-2 years. Beans such as Peas, Lentils, Peanuts, or vegetables should be grown with care. The water requirements of intercrops should be such that they are suitable for growing and fruiting Plum trees.
Step 14: Thinning the fruit to improve the size
In general, Plums set fruit much more than it is capable of maturing. Planting more fruit in Plums makes the fruit smaller, with a lower market value. Kala Amritsar needs to thin the fruit to improve its size. Plum should be diluted immediately after natural fruit fall in April. Hand thinning is usually done from top to bottom of the pill. Fruits are placed at a distance of 5-6 cm. For one fruit, there should be 15-20 leaves. There should not be two fruits in one place.
In case you missed it: Plum Varieties (Commercial) Information in India
Step 15: Tips for controlling fruit splitting
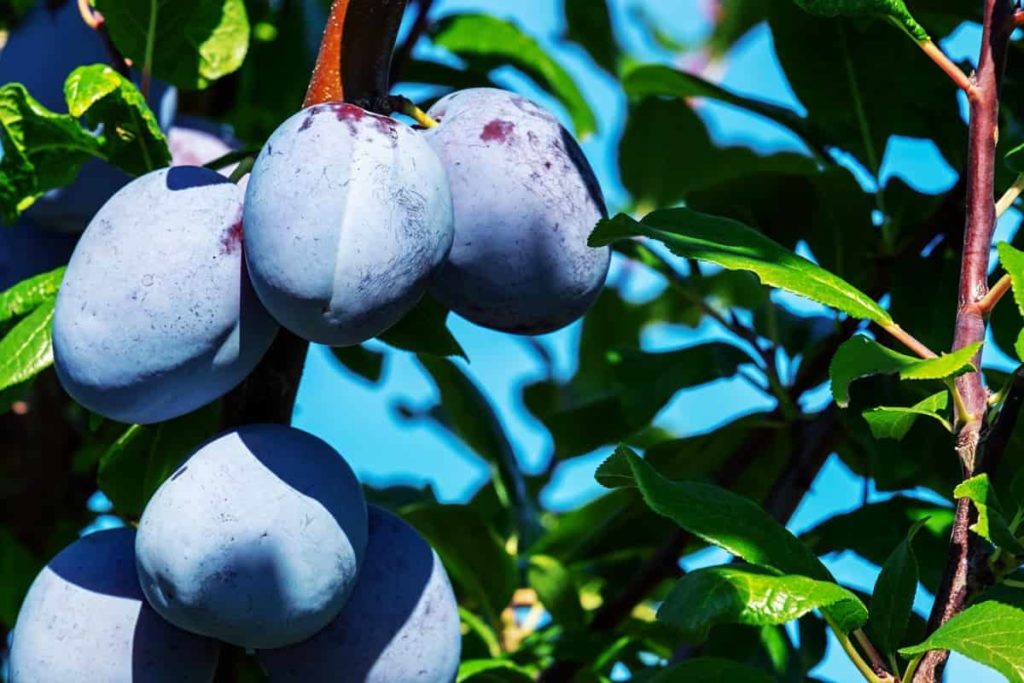
It usually occurs from late July to August and often looks exactly like ripe Plum. Initially, it is not a pest or disease but a result of changes in the water supply available to the roots. First, there is a period of drought, during which the skin of the Plum begins to harden slightly as a result. Then, if a large amount of water suddenly becomes available, the fruit will bloom, but the skin cannot stay with it and bursts.
If a Plum tree is grown in a container, the solution is to water more frequently but not water. Try to keep the water supply constant. If the tree is in the open field and dry, especially if the tree is planted along the wall, water every week or more. A mulch around the tree will help ensure an even supply of water.
When the fruits are separated, they are still perfectly edible. However, they will rapidly attract weeds, other pests, and diseases that further spoil the fruit. In addition, the plum shows a blob of semi-hard resin, which is just a side effect of the Plum splitting.
Step 16: Watering for higher quality fruits
For the first year or two, water your Plum tree weekly in low order during the growing season. A drip system will carry water deep into the ground and help new trees establish strong, deep roots. Then, for standing trees, water it well during the growing season, semi-regularly, and well in October to give them enough water to survive the dormant season.
Fertilization Once applied once a year, Plum trees thrive best, before fruiting in early spring, with all-purpose fertilizer or old fertilizer. Avoid fertilizing your Plum tree as soon as it starts to bear fruit – any new growth will take away energy from fruit production and become a threat to the coming cold weather.
Step 17: Tips for controlling problems for growing Plum
Culture, sanitation, resistance, and the combined use of fungicide sprays can effectively manage Plum diseases. This integrated approach to disease control reduces dependence on one type of control over another and usually results in higher quality fruits.
Treat a sick Plum tree – There is no cure once a tree is infected, and nearby plants should be removed to prevent further infection. Symptoms include colored circles on leaves and fruits. Controlling aphids is also helpful.
Fire blight (fungus) – The leaves turn brown and look burnt, hanging down from the branches, but do not fall off. Cankers are formed on the branches. Sprinkle with copper or fungicide soap as soon as you see it. Collect and destroy fallen leaves.
Bacterial canker – Brown spots may appear on the leaves, eventually becoming holes. Flat cankers form on stems and small branches. The branches die. The use of the Bordeaux mixture is beneficial during and after leaf fall. Cut and destroy badly cankered twigs. Destroy affected leaves.
Bacterial leaf spot – Small spots on leaves, twigs, and fruits range in color from light green to dark purple or brown. Fruits can be broken; twig cankers can be formed. Before you see the cankers, the bacterial spot will damage the leaves. Uproot and destroy infected plants. Disinfect all tools with a solution of abrasive alcohol or dilute bleach (1 part bleach, ten parts water).
Aphids – Aphids are another insect that attacks Plum trees, causing leaf curl and other damage. The leaves become spots and turn brown and curly. Chemical contact sprays and systematic sprays are the most effective in treating the problem. Some farmers spray the leaves with insecticide soap and water to kill them.
In case you missed it: Mango Farming in Philippines: How to Start, Varieties, Planting, Care, and harvesting
Step 18: How to revive a dying Plum tree?
A dead or diseased Plum tree can be caused by insects or pests, rain, mildew, bacteria, hot and cold weather, cold, lack of pollination, too much water, or lack of water. Plum trees are flexible trees, and there are many ways to treat pests and diseases. To revive a dying Plum tree, remove insects with chemicals or organic sprays or kill them with insecticide soap and water. Also, remove mold-infected fruits and branches and spray them with fungicides. Finally, adjust the watering schedule, add fertilizer, and use well-drained soil.
Step 19: Harvesting time improve fruit yield
The ripeness of the Plum fruit varies from variety to variety. The Plum should ripen completely on the tree. Ripe fruits are used in many picks and packaged with proper care. Plum ripens when they reach the right size and produce the right color for the crop. In Punjab, Plum is harvested from the second week of May. For local marketing, fruits should be harvested when ripe and ripe.
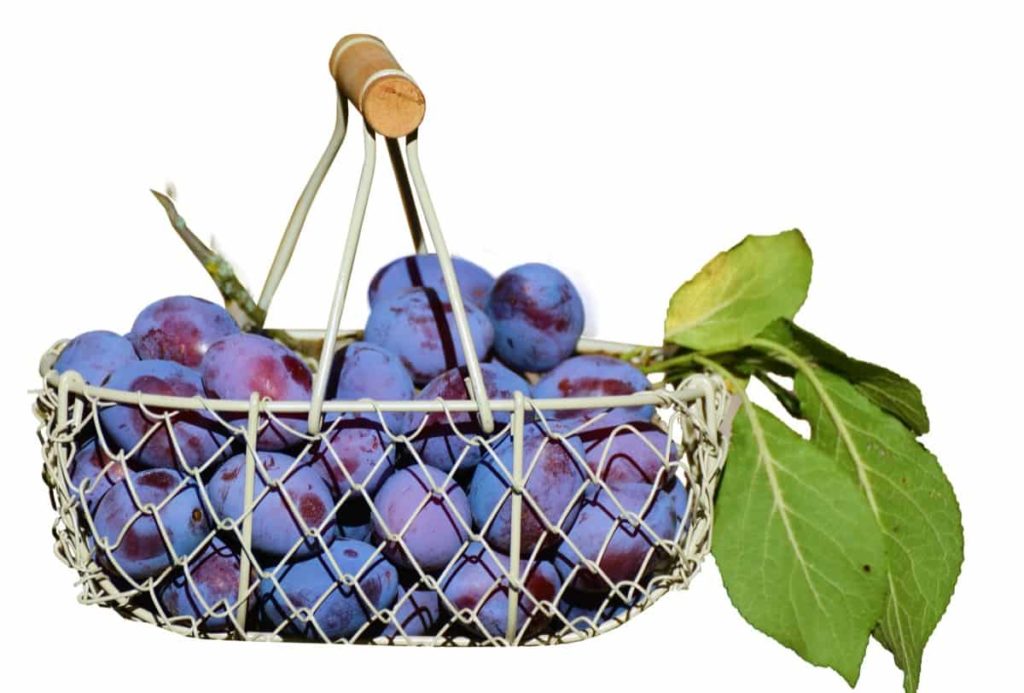
The fruits are picked when they are strong for distant markets, but 50% of the color is already on the skin. Fruits should be pruned with pedicels to avoid any injury. Plum is very perishable, so it should be handled with care. Small baskets should be filled with rice bins or hay at the bottom and sides.
Freshly chopped fruits are transferred to these baskets, covered with paper, and wrapped in a thin cloth. Fruits should be graded before packing in baskets or wooden boxes. Several pickings are made because not all the fruit on a single tree ripens at once. Fruits are also found on spurs, so care should prevent sprays from breaking during harvesting.
- Types of Pesticides Used in Agriculture: A Beginner’s Guide
- Economical Aquaculture: A Guide to Low-Budget Fish Farming
- 15 Common Planting Errors That Can Doom Your Fruit Trees
- How to Make Houseplants Bushy: Effective Tips and Ideas
- Innovative Strategies for Boosting Coconut Pollination and Yield
- Pollination Strategies for Maximum Pumpkin Yield
- The Complete Guide to Chicken Fattening: Strategies for Maximum Growth
- Natural Solutions for Tulip Problems: 100% Effective Remedies for Leaf and Bulb-Related Issues
- Revolutionizing Citrus Preservation: Towards a Healthier, Greener Future
- Natural Solutions for Peony Leaf and Flower Problems: 100% Effective Remedies
- Maximizing Profits with Avocado Contract Farming in India: A Comprehensive Guide
- Natural Solutions for Hydrangea Problems: 100% Effective Remedies for Leaf and Flowers
- The Ultimate Guide to Choosing the Perfect Foliage Friend: Bringing Life Indoors
- From Sunlight to Sustainability: 15 Ways to Use Solar Technology in Agriculture
- The Ultimate Guide to Dong Tao Chicken: Exploring from History to Raising
- The Eco-Friendly Makeover: How to Convert Your Unused Swimming Pool into a Fish Pond
- Mastering the Art of Delaware Chicken Farming: Essentials for Healthy Backyard Flocks
- 20 Best Homemade Fertilizers for Money Plant: DIY Recipes and Application Methods
- How to Craft a Comprehensive Free-Range Chicken Farming Business Plan
- Brighten Your Flock: Raising Easter Egger Chickens for Beauty and Bounty
- How to Optimize Your Poultry Egg Farm Business Plan with These Strategies
- Subsidy for Spirulina Cultivation: How Indian Government Schemes Encouraging Spirulina Farmers
- Ultimate Guide to Raising Dominique Chickens: Breeding, Feeding, Egg-Production, and Care
- Mastering the Art of Raising Jersey Giant Chickens: Care, Feeding, and More
- Ultimate Guide to Raising Legbar Chickens: Breeding, Farming Practices, Diet, Egg-Production
- How to Raise Welsummer Chickens: A Comprehensive Guide for Beginners
- How to Protect Indoor Plants in Winter: A Comprehensive Guide
- Ultimate Guide to Grow Bag Gardening: Tips, Tricks, and Planting Ideas for Urban Gardeners
- Guide to Lotus Cultivation: How to Propagate, Plant, Grow, Care, Cost, and Profit
- Agriculture Drone Subsidy Scheme: Government Kisan Subsidy, License, and How to Apply Online
- Ultimate Guide to Raising Araucana Chickens: Breed Profile, Farming Economics, Diet, and Care
- Bringing Hydroponics to Classroom: Importance, Benefits of Learning for School Students
- Ultimate Guide to Raising Polish Chickens: Breed Profile, Farming Economics, Diet, and Care
- Ultimate Guide to Raising Australorp Chickens: Profile, Farming Economics, Egg Production, Diet, and Care
- Silkie Chicken Farming: Raising Practices, Varieties, Egg Production, Diet, and Care
- Sussex Chicken Farming: Raising Practices, Varieties, Egg Production, Diet and Care