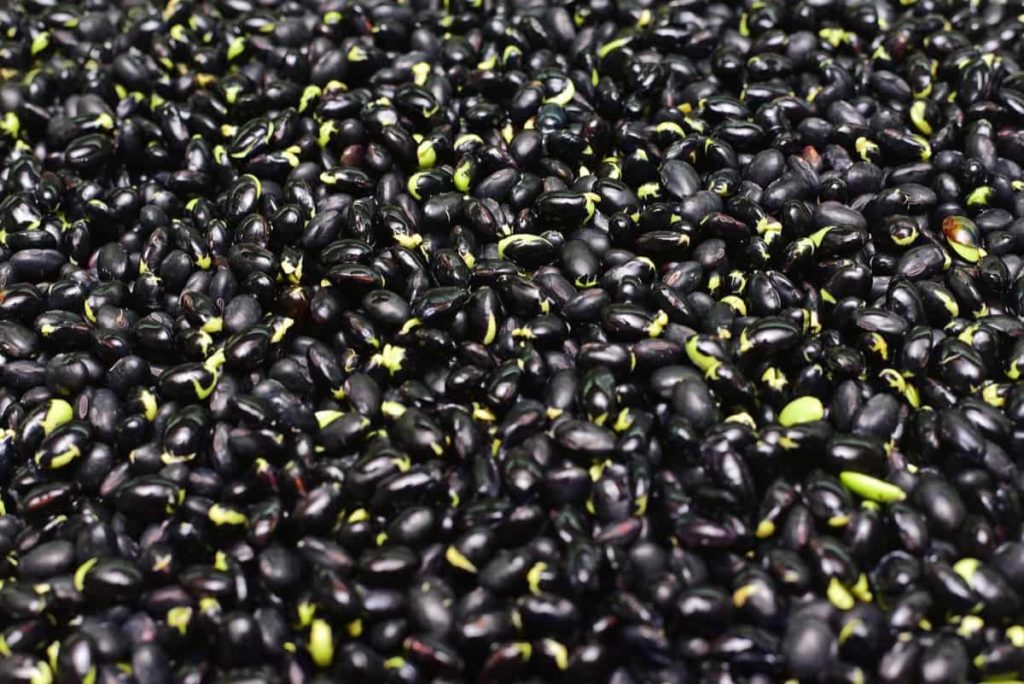
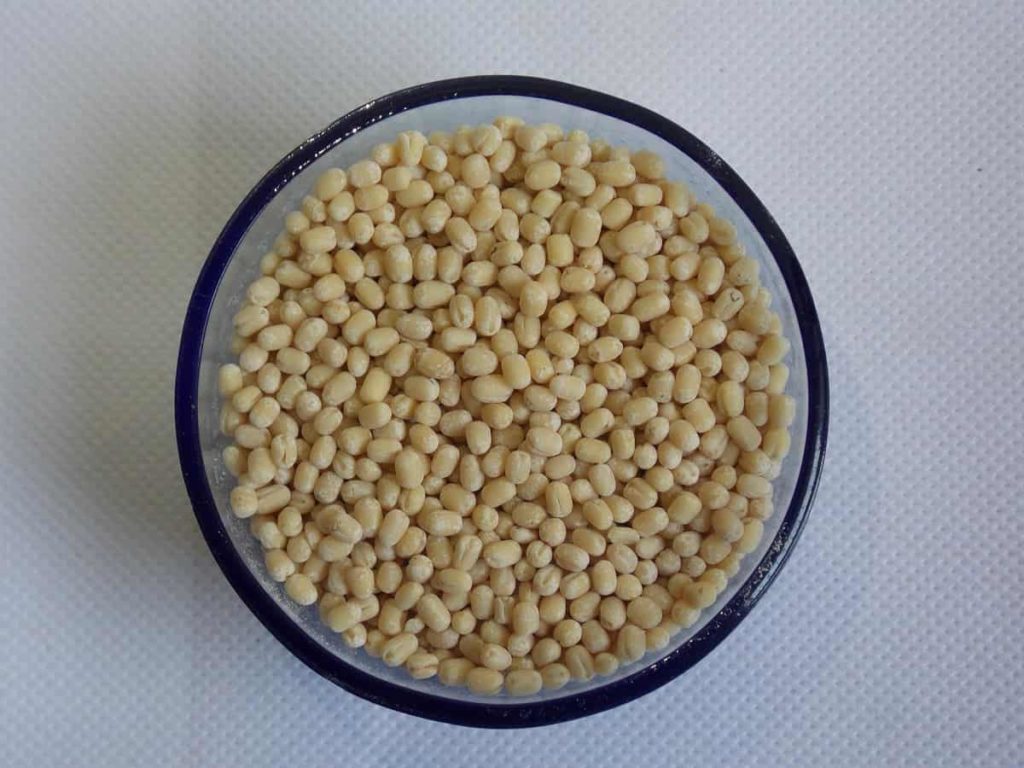
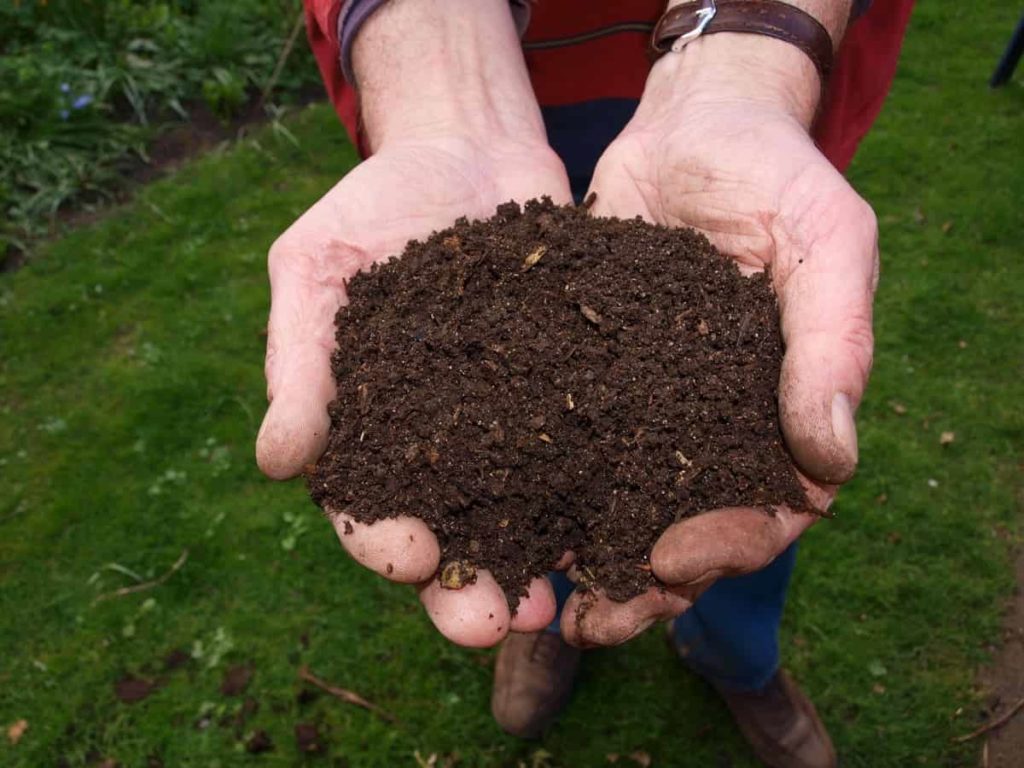
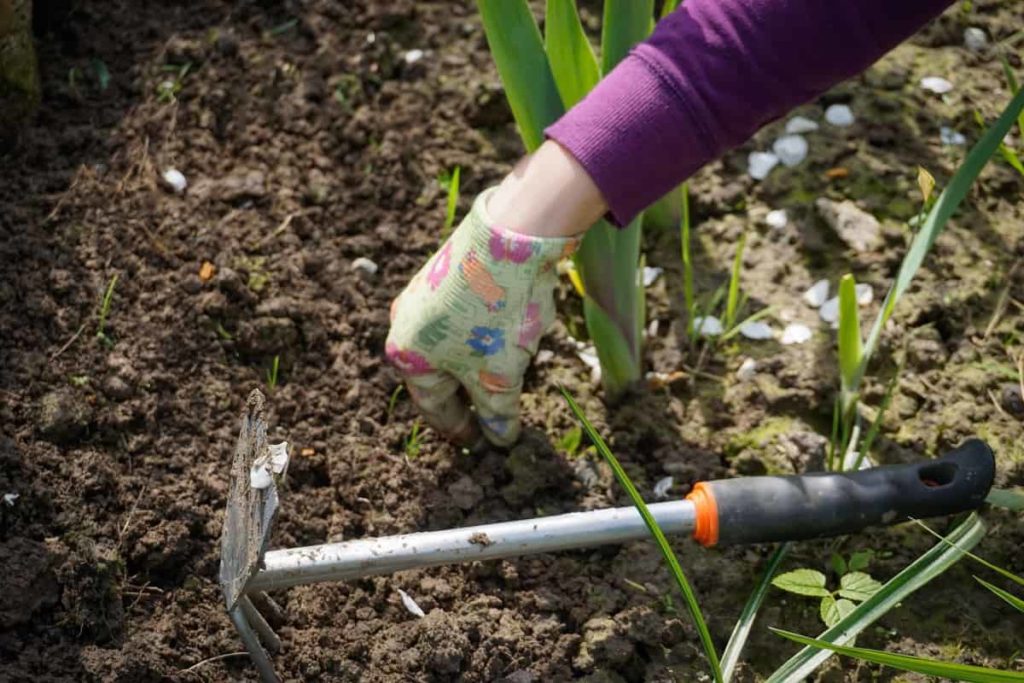
Black Gram is also known as “Urad Dal” and is used to make dal. “Vigna Mungo” is the scientific name for Black Gram, and it is one of the essential pulses grown in India. Cultivation of Black Gram is relatively easy as the plants are resistant to harsh and adverse weather conditions. However, black Gram production is low, including poor management practices and various physical, biochemical, and crop hereditary factors. Let’s check out the top 15 steps to boost Black Gram yield.

Inadequate integration partitioning of assimilates, flower dropping, and poor pod arrangement are mainly due to nutrient deficiencies during the critical stages of crop development, resulting in poor yields. Foliar sprays of nutrients and growth hormones can be followed at the reproductive stage to improve the Black Gram’s productivity. It will allow nutrients and hormones to reach the synthesis site directly, which improves the efficiency of the crop. In addition, black Gram works well on heavy soils such as black cotton soil, which retains moisture better.
The pulse ‘Black Gram’ plays an essential role in the Indian diet, as it contains vegetable protein and is an additional part of the grain-based diet. It has about 26% protein, almost three times more than grains, minerals, and vitamins. Farmers cultivated Black Gram because of its high yield, high income, and manageable growth. Black Gram is commonly known as urad in India. India is its primary origin and is mainly cultivated in Asian countries, including Pakistan, Myanmar, and South Asia. About 70% of the world’s Black Gram production comes from India.
Top 15 steps to boost Black Gram yield
Step 1: Strategies to boost Black Gram production
These crops are rich in many desired roles. Short-term, restorative (land fertility crops) require less water and are also suitable for growing in mixed/intercropping systems and as a catch crop to eliminate residual soil moisture and fertility. However, pulses are ideal for their needs, such as neutral soil pH (liming acid soil) for maximum yield, phosphate and sulfur fertilizers, rhizobium culture, and molybdenum for seed treatment. The following are the general strategies that need to be followed to increase the production capacity of Black Gram.
- Expansion of pulse area in Pre-Rabi, Rabi, and Summer seasons where there is scope
- Use better varieties in rainy conditions and grow early maturing varieties
- Sow at the appropriate time.
- Cultivation of Pulses in Mixed and Inter-Cropping System
- Inoculation with Bio-Fertilizer and Use of Balanced Fertilizer (N, P, K & S)
- Irrigation at a critical stage (flowering and pod filling stage)
- Effective plant protection measures
- Liming acid soils once every three years
In case you missed it: Best Fertilizer for Black Gram: Organic, Compost, NPK, How and When to Apply

Step 2: Select high yielding varieties
BARI- 1 (Pantho), BARI- 2 (Sharat), BARI- 3 (Hemonta), BINAmas – 1, BINAmas- 2, Vamban 1, VBN (Bg) 5, VBN 6, VBN(Bg) 7, MDU 1, VBN 8, KKM 1, ADT 6
Black Gram varieties that are suitable for all seasons are LBG-20 (Teja), WBG-26 (Usha), PBG-1, LBG-752, T-9, LBG-623, MBG-207, PU 31 (These Black Gram varieties are suitable for all season’s cultivation viz., Kharif, rabi, summer).
The use of resistant plant varieties is recommended as follows.
- Yellow Mosaic Virus (YMV) resistant varieties are Pant U – 30 Sarala, Teja (LBG – 20), Pant U – 19, Jawahar urd – 2, ADT – 4
- Powdery Mildew (PM) resistant plant varieties: IPU 02 – 43
- Stem fly resistant varieties are KBG – 512
- Cercospora leaf spot resistant varieties are Jawahar urd – 3, Jawa har urd – 2
Step 3: Good location for crop growth
Choose a good place to grow Black Gram first. Black Gram plants usually grow well in fertile soil rich in organic matter. Plants also need good sunlight and a good drainage system for good growth. Clay or loam soils are suitable for growing Black Gram, but soil pH should be neutral.
Step 4: Seed selection is essential for increasing crop yield
Black Gram seeds used for sowing should be purchased from an authorized source. Seeds should be naturally pure and of good quality. Seeds used for sowing should be adequate for the good field. Seeds should be thoroughly inspected and free from pests, insects, and diseases.
Seed selection plays the most critical role in the successful cultivation of Black Gram. When choosing seeds for Black Gram cultivation, ensure that the selected seeds are free from pests, insects, diseases, dust particles, and weeds. In addition, the seed should germinate well and be clean.
Step 5: Fertilizer dose to get more production
Feed 20:40:20 NPK kg/hectare with 20 kg S / hectare significantly increases pulses’ yield and benefits the succeeding crop. Zinc is one of the most nutritious micronutrients for crop growth. So, using zinc by 25 kg/hectare as a basal gives promising results. Boron and molybdenum provide better results in acid soils.
In the pre-flowering stage, about 2% DAP and 2% KCl increase foliar spray yield. As a leguminous crop, it requires 20 kg/hectare of nitrogen, 40 kg/hectare of phosphorus, 20 kg/hectare of potash, and 20 kg/hectare of high-yielding varieties of sulfur. However, fertilizer or FYM by 5-10 tonnes/hectare should be applied during soil preparation to improve soil texture.
In case you missed it: Organic Black Gram Farming -Production In India

Step 6: Seed rate and treatment for Black Gram growth
The seed rate in Black Gram cultivation depends on the type of seed selected. About 8 to 10 kg per acre of seeds is sufficient for crop growth. Seeds must be treated with seed fungicide to reduce soil fungus infections. Black Gram seeds are treated with 2 grams of Boston per kg of seed. Organic fungicides such as Trichoderma viridi are also available for pulses at 4 grams per kg.
Step 7: Seed sowing methods for maintaining crop yield
Black Gram seeds can be sown by broadcasting or line sowing. But it is better to sow Black Gram seeds in rows. When sowing in rows, a distance of 30 cm between rows is maintained. Seeds are sown continuously in rows, maintaining a 2-3 cm depth. During the last plowing, the seeds are spread evenly throughout the field and covered with soil by laddering in the broadcast method.
Step 8: Sowing time required for crop development
The second fortnight of July (July 15 to 30) is the best time for sowing Black Gram in the Kharif season. If sown early, more leaves and fewer flowers will come, and sometimes flowers will not come. Summer sowing should be from the third week of February to the first week of April. Late sowing should be avoided.
Step 9: Recommendation to get a high yield
- Plow once in 3 years in deep summer.
- Seed treatment must be done before the sowing process.
- Fertilizer application should be based on the cost of soil testing.
- In the Kharif season, the ridge and furrow method should be sowing.
- Yellow mosaic resistant or tolerant varieties are VBN (Bg) 7, Pratap urd 1, IPU 94 – 1 (Uttara), Shekhar 3 (KU 309), Ujala (OBJ 17), etc., and are suitable for any area.
- Weed control should be controlled at the right time.
- Use an integrated approach to plant protection.
Step 10: Foliar application for reducing flower drop
- Spraying 2% DAP at the time of first flower appearance and spray 15 days after the first spray for a better seed set.
- Spray NAA 40 ppm on first flowering and second spray after 15 days to reduce flower drop. NAA can be mixed with fungicides and insecticides.
- On the 35th and 45th day of sowing, spray 0.1% brassinoloid (or) spray with 3% cowpea juice 30 days after sowing (or) 30/40 days after sowing with 0.5% Nutrigold.
Step 11: Weed control for quick growth
Weed control within 2 to 3 weeks prevents the soil from getting nutrients through the herbs, preserves moisture, and helps in crops’ early growth and development. In addition, the line sowing will facilitate hoeing and weeding between lines. Between 25 to 30 days after sowing, weeding and hoeing are done, and if weeds are still present in the fields, 45 days after sowing, another grass should be added.
In case you missed it: Black Gram Seed Germination Procedure (Urad Dal)

Chemical herbicides such as Pendimethalin or Metalachlor @ 1.0-1.5 kg/hectare are very effective after appearance. Depending on the severity of the weed, the weed should be applied with one or two hands for 40 days after sowing. Weeds can be controlled using herbicides, i.e., Fluchloralin (Basalin) 1 kg a.i. (active ingredient)/ hectare 800-1000 liters of water before planting as requested.
Step 12: Field preparation for more plant growth
Prepare the land for fine tillage and make beds and channels. Amendments for soil surface crusting: Apply lime at 2 tons per hectare with FYM at 12.5 tonnes/hectare rate for application of soil surface crusting or apply composted coir pith at 12.5 tons per hectare land to get about 15 to 20% extra yield.
Step 13: Irrigation is required for better yield
Many irrigation systems are available, like drip irrigation, microjet, sprinkler irrigation, and basin irrigation but irrigation suitable for Black Gram cultivation depends on weather conditions and soil type. Cultivation of Black Gram requires irrigation only in the summer season. It does not need irrigation in the rainy season.
The Black Gram plant needs irrigation at intervals of 10 to 15 days. The Black Gram plant needs moisture in the soil during the flowering stage. Black Gram needs life-saving irrigation when there is prolonged drought. Light irrigation is always beneficial. After each irrigation, a hoe should be used to promote air. Irrigate 1 or 2 days, 30, and 50 days after sowing for better crop yields.
In case you missed it: Black Gram Cultivation Income (Urad Dal) – A Full Guide

Step 14: Pests and diseases control for Black Gram crop growth
The primary pest of the Black Gram crop is stem fly. It affects the crop by causing the plants to dry out and wither in the early stages. In addition, large insects such as leafhoppers, aphids, and whiteflies affect the field crop during the growth phase. These pests should be controlled by spraying Dimethoate, Phosphomidan, or mehyldematan with 2 ml per liter. In addition, incidents of yellow mosaic can be observed during the growing stages of the seed crop.
The affected crop shows yellowish mottled symptoms. These plants can be taken out as soon as they are seen. Whiteflies are responsible for spreading the disease after removing infected plants and spraying pesticides. In addition, the Black Gram crop is also affected by root rot and withering, and they should be removed, and 0.1% Bavistin solution should be sprayed on the affected part of the field.
Rarely Black Gram crop is affected by powdery mildew, which is noticed by the presence of white powder deposits on the leaves. Cercospora leaf spots can be seen with the presence of brown spots. Cercospora and powdery mildew diseases can be controlled by spraying 1% Bavistin solution.
Step 15: Harvesting time is essential for Black Gram crop growth
Collect pods from Black Gram plants in 1-2 picks and dry them on the floor. Crops should be cut at harvest time, and plants should be spread on the floor to dry out. The plants will turn black and dry, and the beans will start sprouting. Use flexible sticks to hit the plants to save the seeds. After harvesting, plants are used as fodder for animals. Yield depends on seed type and field management. Black Gram should be harvested when 70-80% of the pods are ripe, and most beans are black.
In case you missed it: Black Gram Cultivation (Urad Dal) Guide

Excessive maturity can result in shattering. The harvested crop should be dried on the threshing floor for a few days and then threshed. The threshing process in Black Gram can be done manually or trampled under oxen’s feet. Clean seeds should be dried in the sun for 3 to 4 days to bring their moisture content to 8-10% to be stored safely in suitable containers.
The pods and plants dry out, the grains harden, and the moisture content of the grain at harvest should be 20-22%. Pod shattering in the pulse is a common problem. Therefore, picking should be done as soon as the pods are ripe. Harvest should be done 2-3 pickings. The pods or whole crops should be threshed manually or by machine after they are completely dry.
- Types of Pesticides Used in Agriculture: A Beginner’s Guide
- Economical Aquaculture: A Guide to Low-Budget Fish Farming
- 15 Common Planting Errors That Can Doom Your Fruit Trees
- How to Make Houseplants Bushy: Effective Tips and Ideas
- Innovative Strategies for Boosting Coconut Pollination and Yield
- Pollination Strategies for Maximum Pumpkin Yield
- The Complete Guide to Chicken Fattening: Strategies for Maximum Growth
- Natural Solutions for Tulip Problems: 100% Effective Remedies for Leaf and Bulb-Related Issues
- Revolutionizing Citrus Preservation: Towards a Healthier, Greener Future
- Natural Solutions for Peony Leaf and Flower Problems: 100% Effective Remedies
- Maximizing Profits with Avocado Contract Farming in India: A Comprehensive Guide
- Natural Solutions for Hydrangea Problems: 100% Effective Remedies for Leaf and Flowers
- The Ultimate Guide to Choosing the Perfect Foliage Friend: Bringing Life Indoors
- From Sunlight to Sustainability: 15 Ways to Use Solar Technology in Agriculture
- The Ultimate Guide to Dong Tao Chicken: Exploring from History to Raising
- The Eco-Friendly Makeover: How to Convert Your Unused Swimming Pool into a Fish Pond
- Mastering the Art of Delaware Chicken Farming: Essentials for Healthy Backyard Flocks
- 20 Best Homemade Fertilizers for Money Plant: DIY Recipes and Application Methods
- How to Craft a Comprehensive Free-Range Chicken Farming Business Plan
- Brighten Your Flock: Raising Easter Egger Chickens for Beauty and Bounty
- How to Optimize Your Poultry Egg Farm Business Plan with These Strategies
- Subsidy for Spirulina Cultivation: How Indian Government Schemes Encouraging Spirulina Farmers
- Ultimate Guide to Raising Dominique Chickens: Breeding, Feeding, Egg-Production, and Care
- Mastering the Art of Raising Jersey Giant Chickens: Care, Feeding, and More
- Ultimate Guide to Raising Legbar Chickens: Breeding, Farming Practices, Diet, Egg-Production
- How to Raise Welsummer Chickens: A Comprehensive Guide for Beginners
- How to Protect Indoor Plants in Winter: A Comprehensive Guide
- Ultimate Guide to Grow Bag Gardening: Tips, Tricks, and Planting Ideas for Urban Gardeners
- Guide to Lotus Cultivation: How to Propagate, Plant, Grow, Care, Cost, and Profit
- Agriculture Drone Subsidy Scheme: Government Kisan Subsidy, License, and How to Apply Online
- Ultimate Guide to Raising Araucana Chickens: Breed Profile, Farming Economics, Diet, and Care
- Bringing Hydroponics to Classroom: Importance, Benefits of Learning for School Students
- Ultimate Guide to Raising Polish Chickens: Breed Profile, Farming Economics, Diet, and Care
- Ultimate Guide to Raising Australorp Chickens: Profile, Farming Economics, Egg Production, Diet, and Care
- Silkie Chicken Farming: Raising Practices, Varieties, Egg Production, Diet, and Care
- Sussex Chicken Farming: Raising Practices, Varieties, Egg Production, Diet and Care